Schedules
Hub can regularly perform the same action to a Space via Job Schedules.
Spaces which are deployed with Bi-Directional Sync automatically have a Schedule added.
Schedules can be added to the entirety of a Space. It is also possible to schedule more granular activities within a Space for some workflow types, E.G. regular Hydration of an individual file or directory.
Policy-based Tiering has different configuration options to other workflow types.
See the Policies page for more details.
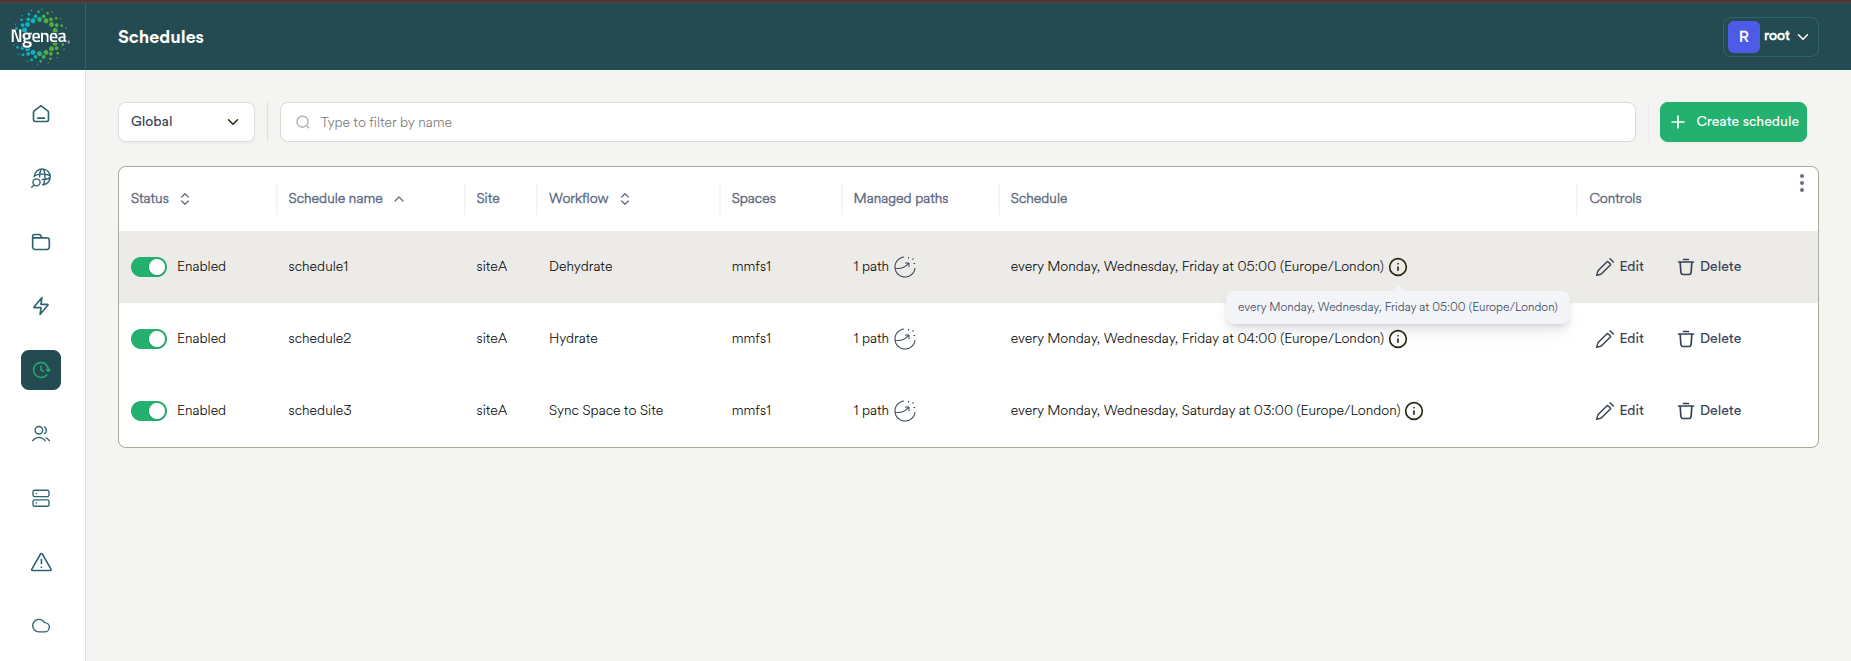
Viewing Schedules
To view available Schedules, click the Schedules menu button.

|
Navigates to the Schedules screen |
Adding a Schedule
Click the Create Schedule button to display a dialog to configure a Schedule.

Important
This function can only be performed by a Hub Administrator
Creating a Schedule Wizard
Navigating the Wizard

|
Click the close button to exit the wizard. Changes are not saved. |

|
Click the Next button to advance to the next page of the wizard. The Next button is disabled until all required page elements are completed. |

|
Click the Go Back button to return to the previous wizard page. |

|
Click the Finish & Create button to apply the changes displayed on the wizard summary page. |
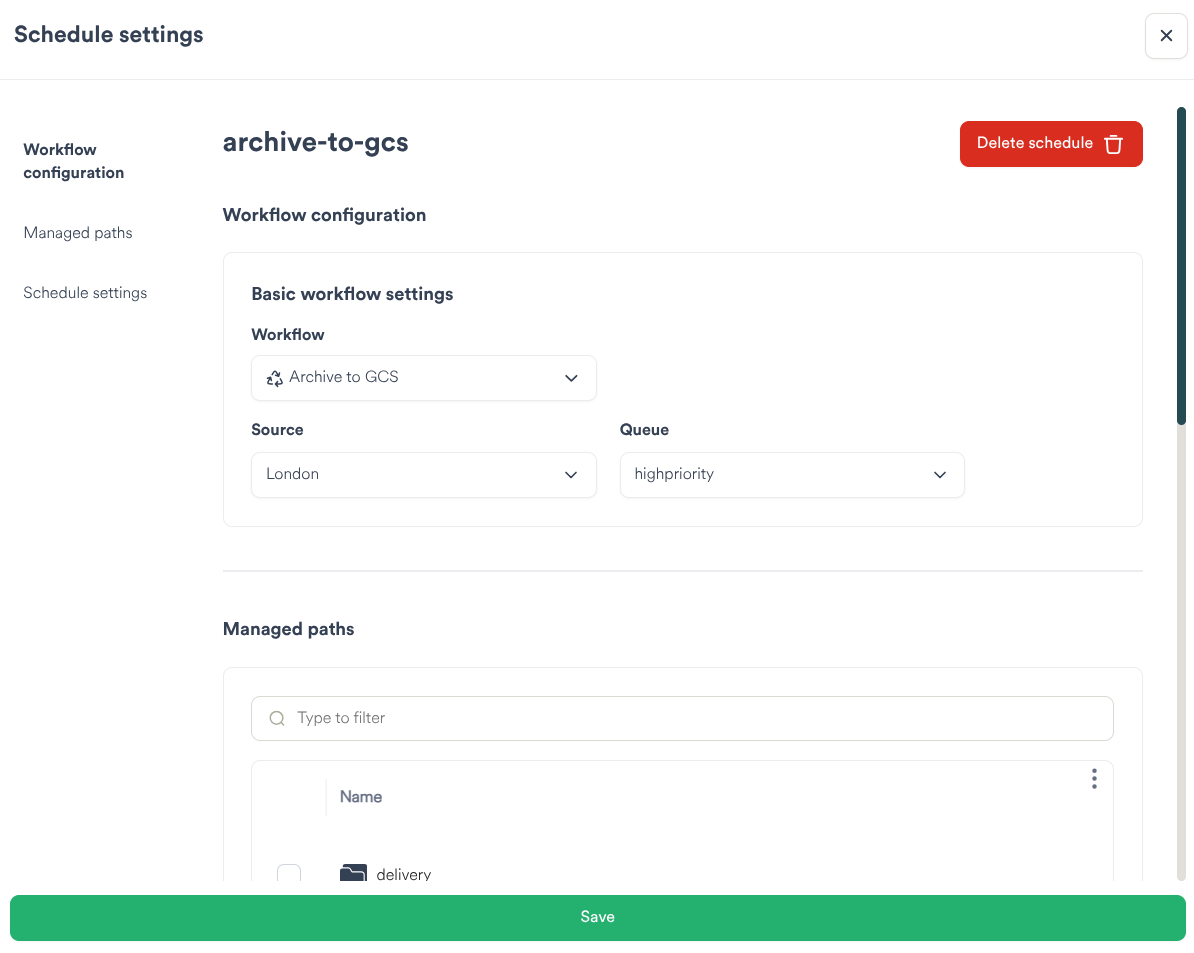
Workflow
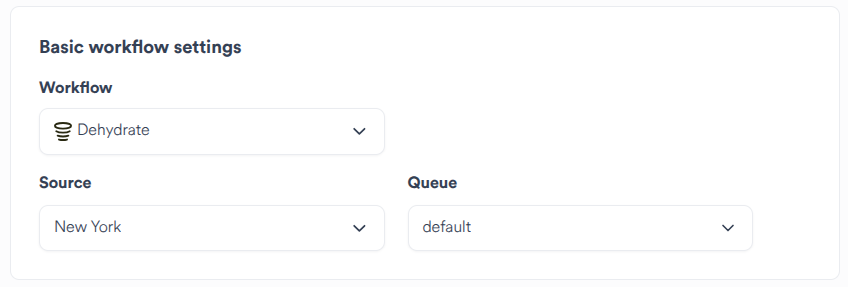
Set the desired workflow type
Select the Site and Queue the workflow will run on
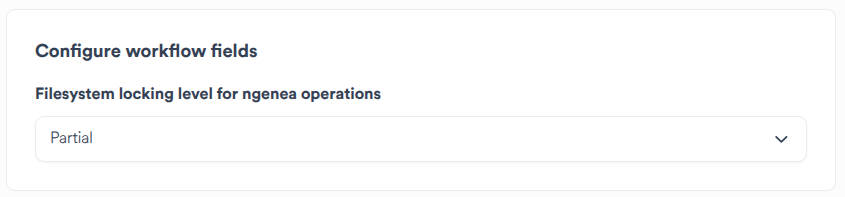
Configure workflow-specific fields (if applicable)
Managed paths
Select paths which the schedule should manage
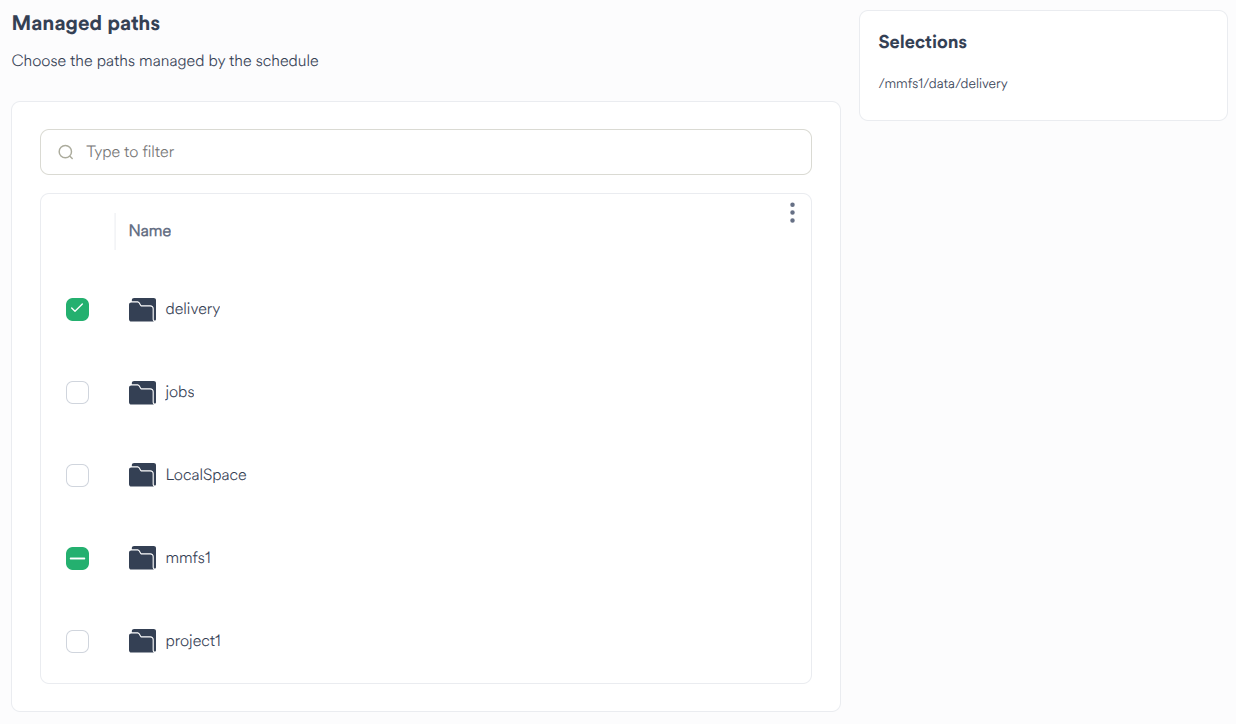
Initially, a list of spaces is displayed.
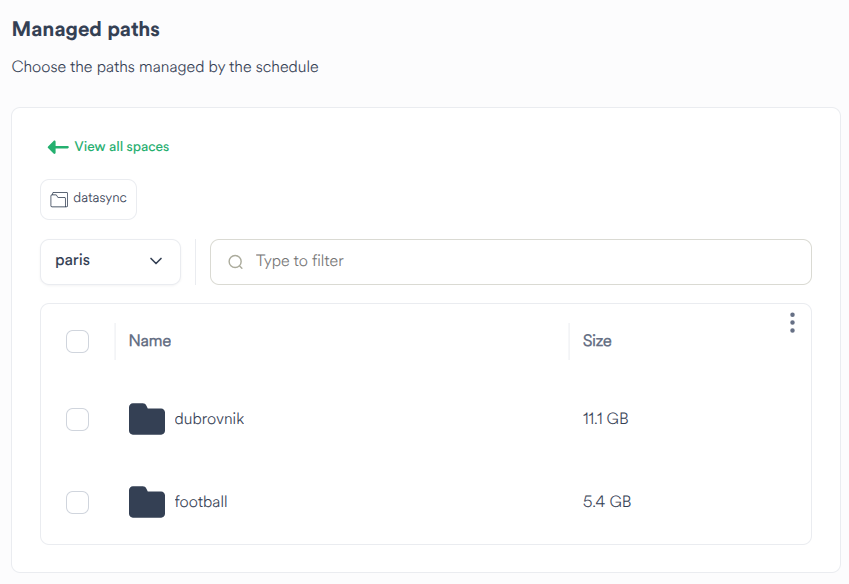
Click a space name to view and select space contents.
Automation
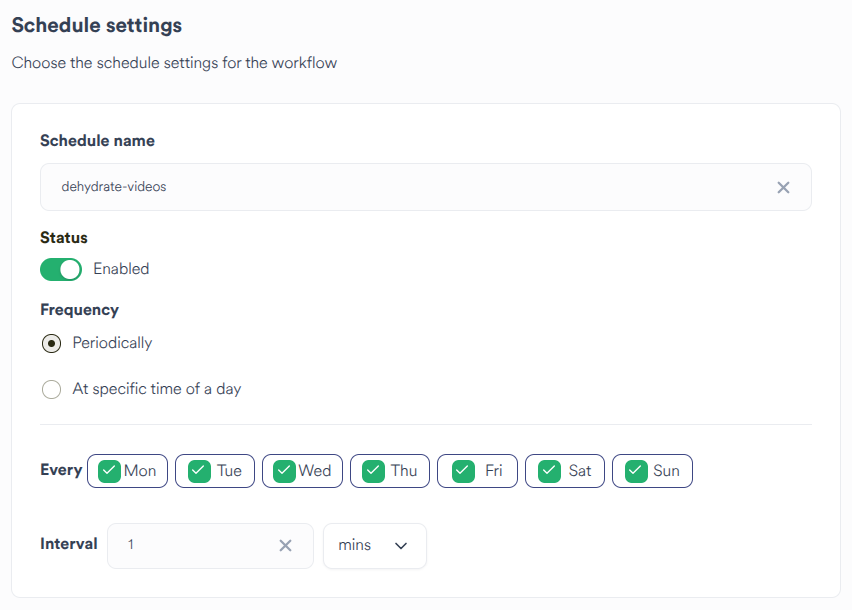
Give the Schedule a descriptive name
Determine the required frequency of the Scheduled run.
Choosing Periodically will ensure that the Schedule will run on the next interval set.
E.G:
1 hour: The Schedule will run on the next hour (12.00, 13.00)
15 mins: The Schedule will run on the next 15 minute interval past the hour (15, 30, 45, 00)
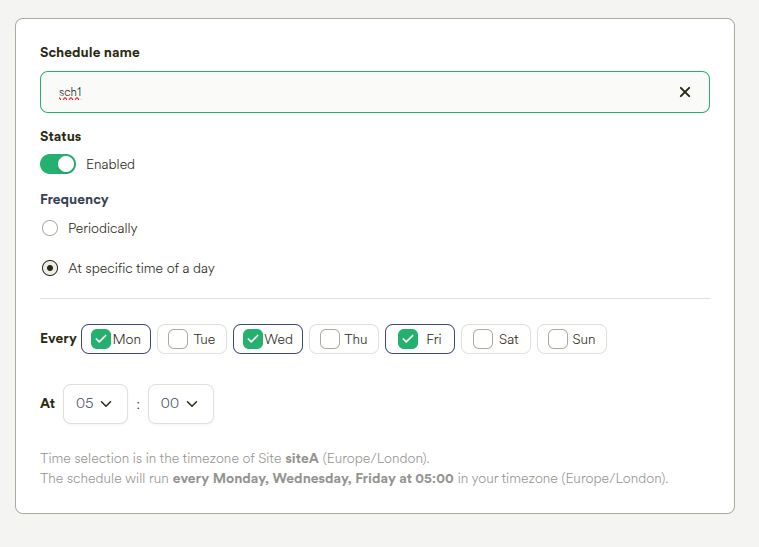
Choosing At Specific Time of A Day allows the Schedule to run once per chosen day at a specific time of day.
Hint
The schedule time is set in the Site’s local timezone, but will be stored in the UTC timezone.
The schedule may be disabled at the point of creation by switching the Enabled toggle to Disabled.
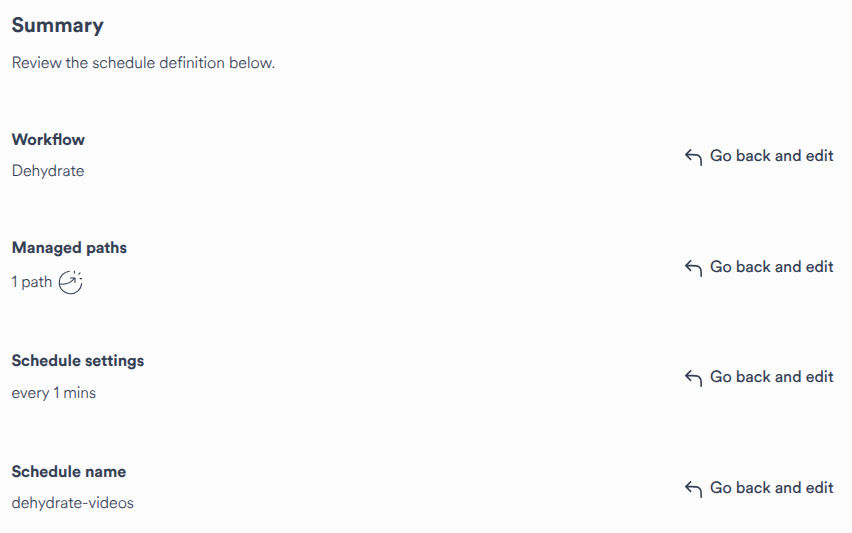
Summary
Upon completing the wizard steps a summary is presented:
|
|
Click the Finish & Create button to apply the changes displayed on the wizard summary page. |
Alternatively Go back and change the proposed configuration as required or close the wizard to cancel the creation of the Schedule.
Editing a Schedule
Important
This function can only be performed by a Hub Administrator.
Clicking the Schedules button in the main menu bar displays the list of schedules:

|
Click the edit icon on the required Policy row to edit the Policy |
Modify the Schedule settings as required. Refer to Adding a Schedule for settings guidance.
Deleting a Schedule
Important
This function can only be performed by a Hub Administrator.
Clicking the Schedules button in the main menu bar displays the list of Schedules:

|
Click the delete icon on the required Schedule row to delete |
A confirmation dialog is raised:

Click Yes to delete the Schedule. This action is irreversable.
Alternately click no, or close the confirmation dialog.
Disabling a Schedule
Important
This function can only be performed by a Hub Administrator.

|
Click the Enabled toggle to disable the schedule |
When a schedule is disabled it will not run.
Click the toggle again to re-enable the schedule.