Scheduling
Hub can regularly perform the same action to a Space via Job Schedules.
Spaces which are deployed with Bi-Directional Sync automatically have a Schedule added.
Schedules can be added to the entirety of a Space. It is not possible to schedule more granular activities within a Space (E.G. regular Hydration of an individual file or directory).
Adding a Schedule
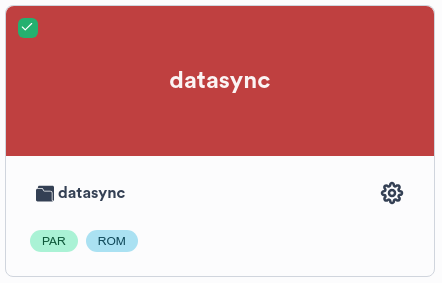
To add a Schedule to a Space, select the Space checkbox at the top left of the Space Card.
Selecting the checkbox shows the Job Creator Panel.

For further information refer to Using the Job Creator Panel.
After selecting any chosen requirements for the Job Creator Panel, the Configure workflow fields panel is raised.
If the job is to be immediately run, click the larger titled button related to the chosen Workdlow (E.G. Hydrate). Alternately the Job can be Scheduled to run later.
To Schedule the Job to run later, click the Schedule button.

|
Click the Schedule button to Schedule the Job for later |
The Schedule button raises the Schedule Job dialog.
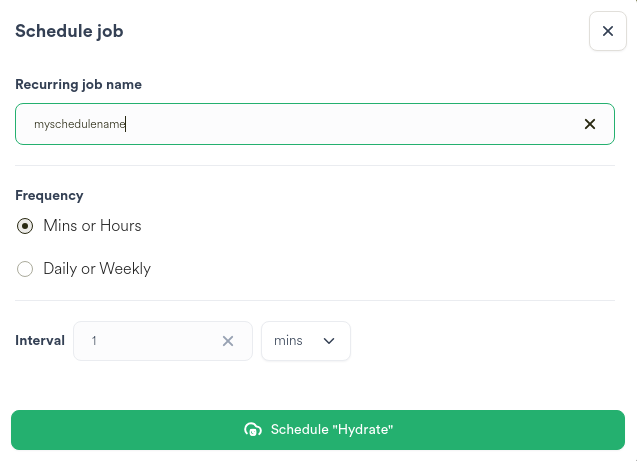
Enter the name of the Schedule
Select the desired Schedule settings
Click the Schedule button to create the Schedule
Editing Schedules
Schedule settings can be modified as required.

|
Clicking the Settings button on the Space card raises the Settings dialog for the Space. |
Important
Adding or Configuring a Space can only be performed by a Hub Administrator or User with Space Administration rights granted through group management.
Click the Job Schedules menu item on the Space settings dialog.
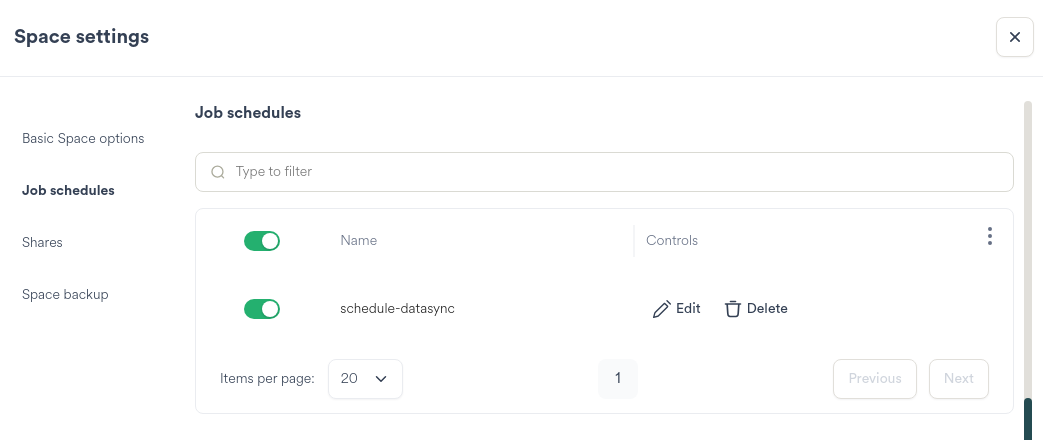
The Schedules for the Space are viewable.

|
Click the Edit button for the Schedule to be modified |
Clicking the Edit button raises the Update job schedule dialog.
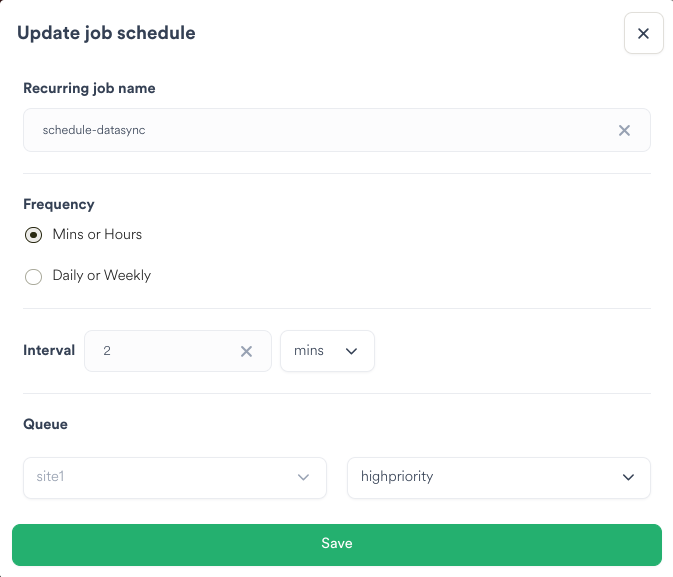
Modify the desired Schedule settings
Click the Save button to store the modified Schedule settings
Deleting Schedules
Schedules no longer required can be removed from Hub.
|
|
Clicking the Settings button on the Space card raises the Settings dialog for the Space. |
Important
Adding or Configuring a Space can only be performed by a Hub Administrator or User with Space Administration rights granted through group management.
Click the Job Schedules menu item on the Space settings dialog.
The Schedules for the Space are viewable.

|
Click the Delete button for the Schedule to be deleted |
Tip
Deleted Schedules are non-recoverable. If a Schedule has been inadvertently removed, do not press the Save button, instead click off the Space settings dialog to the main area of the screen.
Clicking the Save button at the bottom of the Space settings dialog saves any changes made.