6.1. API
6.1.1. Reference
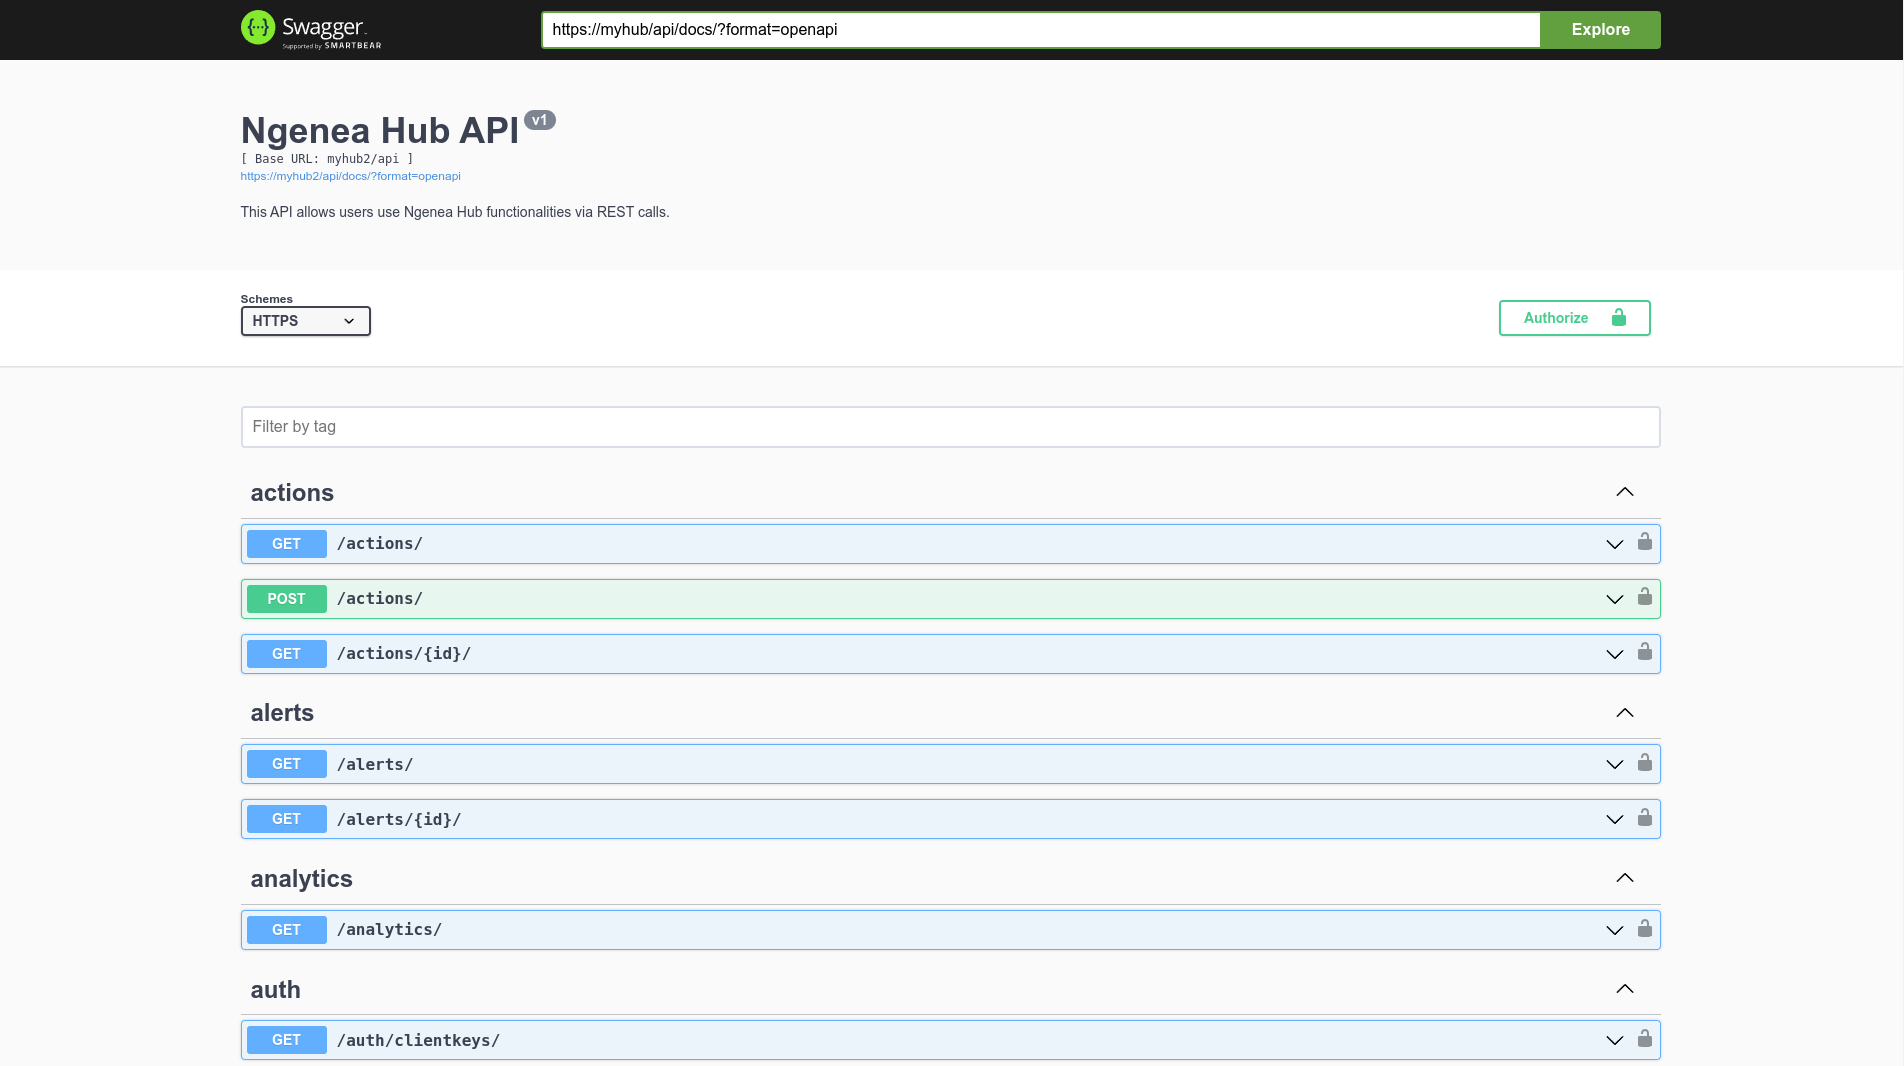
The API reference can be found at your Ngenea Hub install at http(s)://myhub/api/docs/. This section does not attempt to duplicate the reference, but instead provide some usage examples.
6.1.2. Authentication
Authentication to the API can be performed in 2 ways
JWT Authentication
Client Keys
The first one is for interacting with the API interactively and is therefore most likely not suitable for building automated workflows. On the other hand, client keys are valid until they are revoked and are more suitable for automation.
6.1.2.1. JWT Authentication
To use the API directly, authentication tokens should be generated to prevent sending the username and password repeatedly. You need to generate these tokens by sending your username-password pair to the login endpoint: /auth/token/
curl -s -X POST 'http://localhost:8000/api/auth/token/'  -H 'Accept: application/json'  -H 'Content-Type: application/json' -d '{"username": "dfoster",  "password": "******"}' | jq -r
{
  "access": <access_token>,
  "refresh": <refresh_token>,
}
There are 2 types of authentication tokens:
Access token
Refresh token
Access tokens are used for doing API requests. You need to include the token in the Authorization header to use any other endpoint:
curl -s -X GET 'http://localhost:8000/api/jobs/'  -H 'Accept: application/json'  -H 'Content-Type: application/json'  -H "Authorization: Bearer $JWT_ACCESS_TOKEN" | jq
{
    "count": 1,
    "next": null,
    "previous": null,
    "results": [
        {
            "url": "http://10.201.2.158:8000/api/jobs/1/",
            "id": 1,
            "workflow": "migrate",
            "fields": {
                "lock_level": "implicit"
            },
            "created": "2025-05-07T14:58:46.442659Z",
            "started": "2025-05-07T14:58:46.491711Z",
            "completed": "2025-05-07T14:58:47.325761Z",
            "runtime": 0.870274,
            "state": "SUCCESS",
            "site": "site1",
            "queue": "default",
            "owner": {
                "type": "user",
                "id": 1,
                "name": "pixadmin"
            },
            "discovery": "recursive",
            "dir_walk_complete": true,
            "is_settings_job": false,
            "friendly_name": "Dehydrate of '/mmfs1/pixitmedia.png' on 'site1'",
            "progress": null
        },
    ]
}
On the other hand, refresh tokens are used for refreshing the access token. For security purposes, access tokens expire in 1 hour and refresh tokens expire in 1 day. When an expired token is used, one of HTTP 401 Unauthorized and HTTP 403 Forbidden errors is received. In that case, you need to refresh the access token with /api/token/refresh/ endpoint:
curl -s -X POST 'http://localhost:8000/api/auth/token/refresh/'  -H 'Accept: application/json'  -H 'Content-Type: application/json' -d '{"refresh": "<refresh_token>"}' | jq -r
{
  "access": <new_access_token>,
}
Refresh tokens can also be expired too. In that case, you need to send your credentials (username and password) again to obtain new token pair.
6.1.2.2. Client Keys
6.1.2.2.1. Creating Client Keys
Note
The UI does not currently support creating client keys and therefore have to be done via the API directly
Before we can authenticate using the client key, we need to temporarily authenticate using JWT to be able to create a client key.
To get a valid JWT access token using curl and jq:
export JWT_TOKEN=$(curl -s -X POST 'http://localhost:8000/api/auth/token/'  -H 'Accept: application/json'  -H 'Content-Type: application/json' -d '{"username": "dfoster",  "password": "******"}' | jq -r .access)
echo $JWT_TOKEN
<token>
This can now be used to create a client key:
curl -s -X POST 'http://localhost:8000/api/auth/clientkeys/'  -H 'Accept: application/json'  -H 'Content-Type: application/json'  -H "Authorization: Bearer $JWT_TOKEN" -d '{"name": "my_automation_key"}' | jq '.'
{
  "url": "http://localhost:8000/api/auth/clientkeys/1/",
  "id": 1,
  "name": "my_automation_key",
  "api_key": "YOUR_API_KEY"
}
{warning} This is the only time the client key will be visible, make sure it is recorded.
6.1.2.2.2. Using Client Keys
The key created in the previous section can now be used by setting the header Authorization: Api-Key YOUR_API_KEY against an API endpoint. For example:
export API_KEY=YOUR_API_KEY

curl -s -X GET 'http://localhost:8000/api/jobs/'  -H 'Accept: application/json'  -H 'Content-Type: application/json'  -H "Authorization: Api-Key $API_KEY" | jq
{
  "count": 0,
  "next": null,
  "previous": null,
  "results": [],
  "stats": {
    "type": {
      "migrate": 0,
      "premigrate": 0,
      "recall": 0
    },
    "state": {
      "SUCCESS": 0,
      "FAILURE": 0,
      "STARTED": 0,
      "PENDING": 0,
      "ERROR": 0
    },
    "created": {},
    "site": {}
  }
}
6.1.3. Submitting Workflow
To submit a workflow, the following parameters are required:
name |
description |
|---|---|
|
The name of the workflow to submit |
|
A list of paths to execute the workflow on |
|
The name of the site where the workflow should be started from. Steps within a workflow may run on different sites. |
In addition, the following optional parameters may be provided:
name |
description |
|---|---|
|
Name of the file discovery technique to use. Currently the only supported discovery is |
|
Additional parameter for the workflow, typically used by custom workflows. |
6.1.3.1. Migrate
Using a Client Key stored in a environment variable TOKEN, the following is an example of migrating a file using curl.
curl -s -X POST 'http://example.com/api/file/workflow/' -H 'Accept: application/json' -H 'Content-Type: application/json' -H "Authorization: Api-Key $TOKEN" -d '{"paths": ["/mmfs1/data/sample_data.tgz"], "site": "dfoster1", "workflow": "migrate", "discovery": null}'
Note
Since we’re only migrating a single file, we don’t need recursive discovery, so discovery has been set to null to disable it.
6.1.4. Trailing Slashes
In general, the endpoint used with POST requests must have a trailing slash.
For example, a POST request made to http://example.com/api/file/workflow would error, but
if made to http://example.com/api/file/workflow/ it would work.