5.2.2. AWS Lambda Function
What’s AWS Lambda?
AWS Lambda is a service provided by Amazon Web Services (AWS) that allows you to run code without needing to manage servers. Imagine it as a machine that runs your code only when something specific happens, like a file being uploaded to an online storage system (like S3, which is AWS’s storage service). You just upload your code, and AWS Lambda automatically handles the running of that code when it’s needed.
What’s IAM (Identity and Access Management)?
IAM is a service in AWS that helps you manage access to AWS resources. It allows you to define who can access what and what they can do with those resources. Think of IAM as a security guard that checks if someone has permission to use a certain resource or perform a certain action.
5.2.2.1. Create an IAM Policy and Role
IAM Policy: This is a set of permissions that define what a service (like Lambda) can or cannot do. For example, in this guide, the policy gives Lambda permission to:
Create log groups (where logs are stored).
Write logs into CloudWatch (a service that monitors AWS resources).
Get information about IAM users (a part of the AWS permissions system).
IAM Role: A role is like a job given to a service, like AWS Lambda, with specific permissions attached. The role lets Lambda use the permissions defined in the IAM policy you just created. It’s like assigning a job to an employee (Lambda) and giving them a set of instructions (the policy) for what they’re allowed to do.
To set up an IAM policy and role for AWS Lambda, follow these steps in the AWS console:
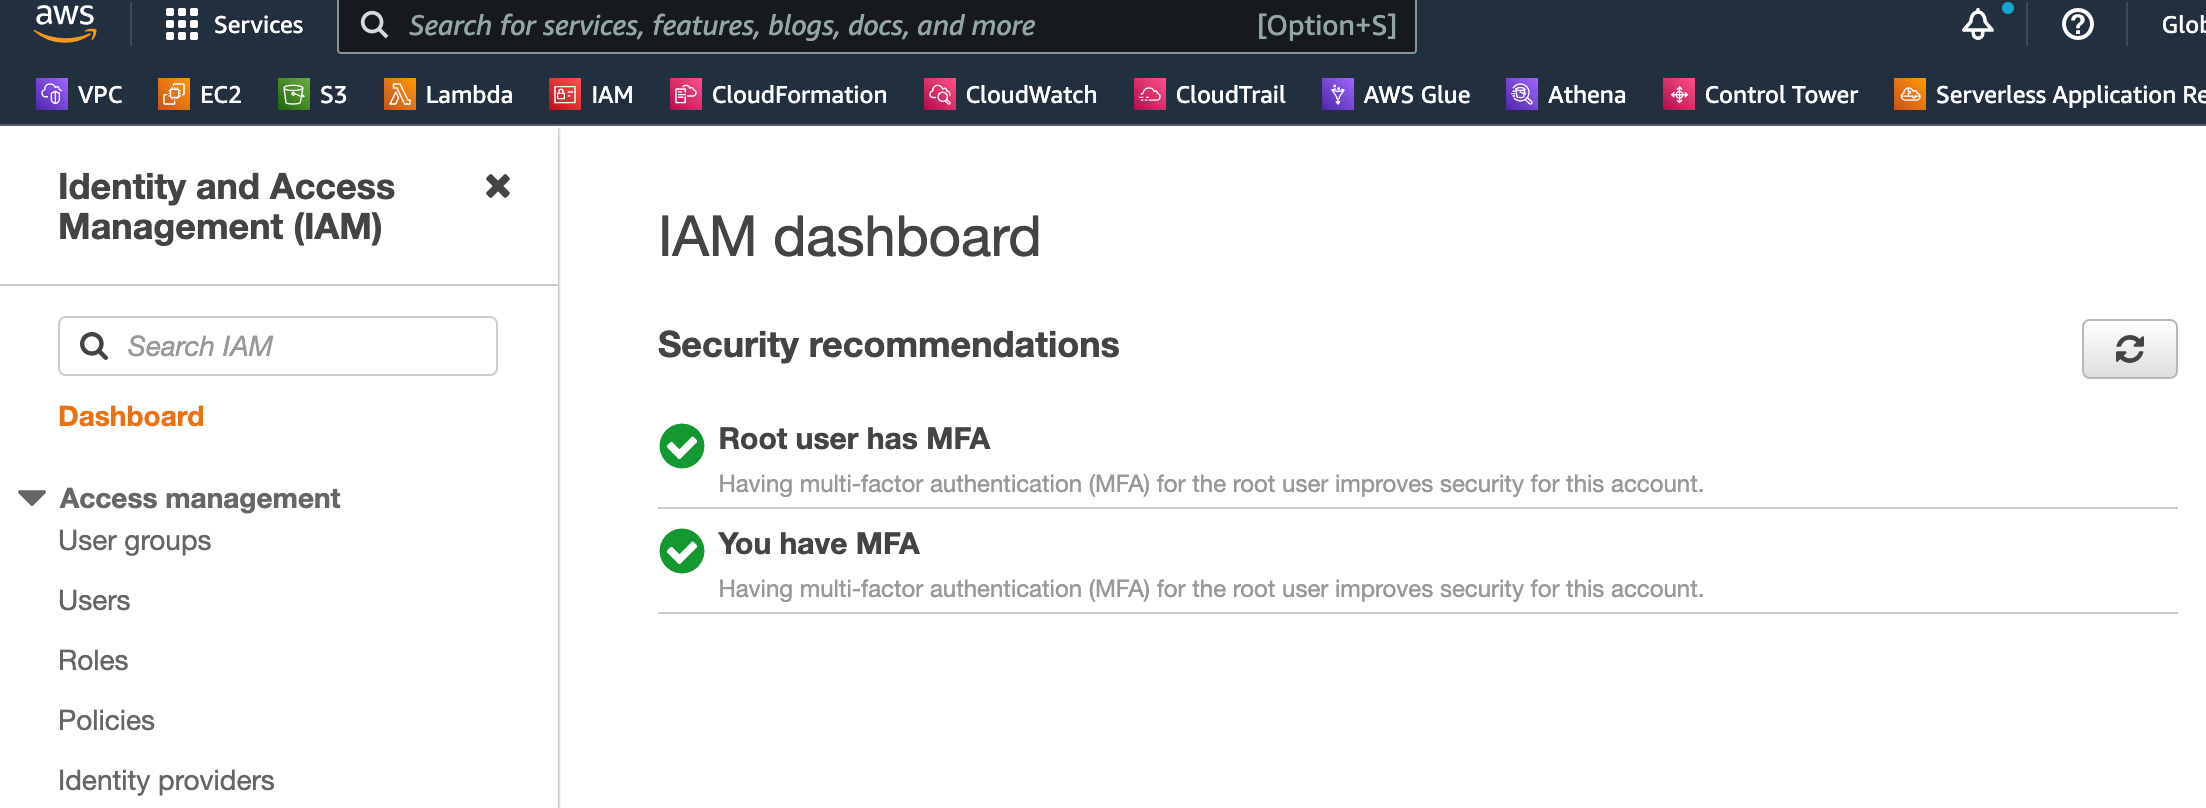
Navigate to the IAM Service: In the AWS Management Console, go to the IAM service. You can search for “IAM” in the search bar if it’s hard to find.
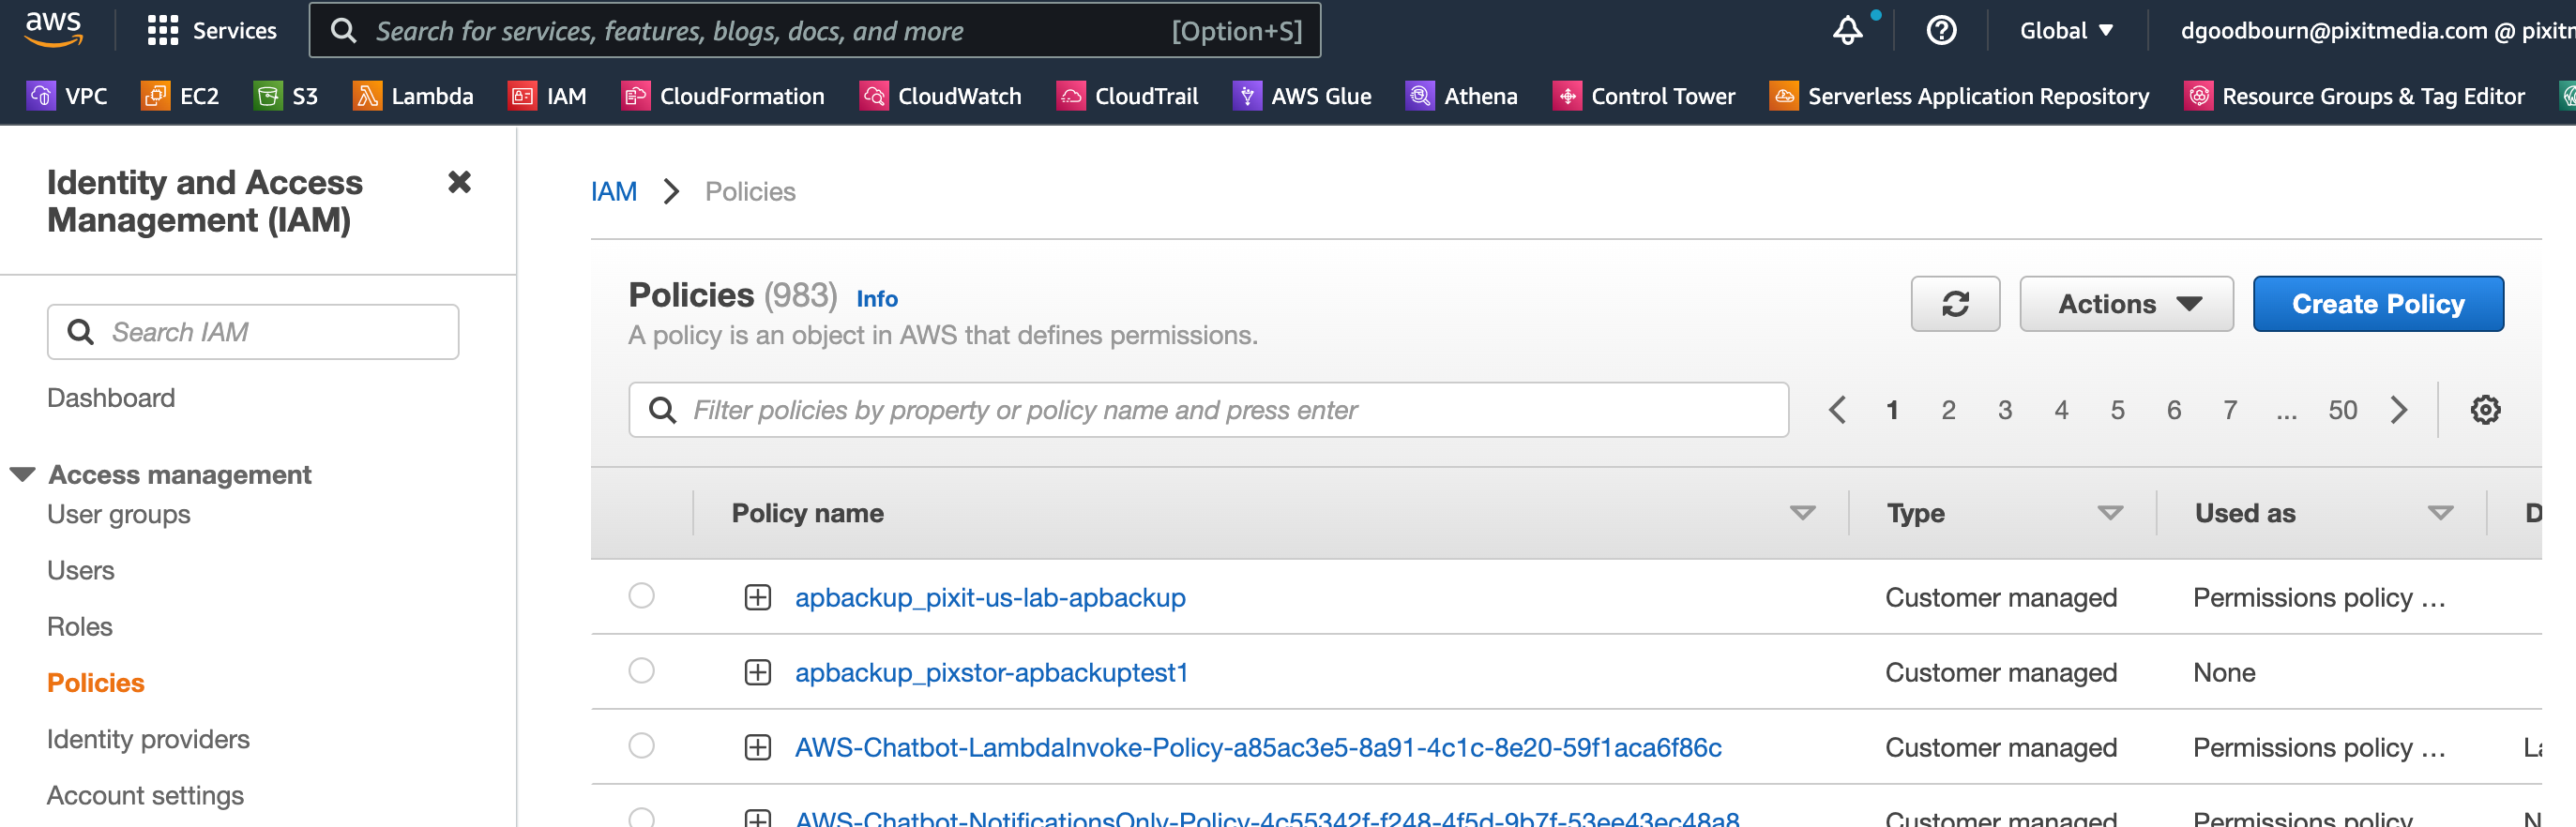
Create a New Policy: In the left-hand menu, choose Policies and click the Create policy button.
Switch to the JSON Tab: After clicking Create policy, you’ll be taken to a page where you can define the policy. Select the JSON tab.
Replace the Default Policy JSON: Replace the existing text in the JSON editor with the following policy document:
{
    "Version": "2012-10-17",
    "Statement": [
        {
            "Effect": "Allow",
            "Action": "logs:CreateLogGroup",
            "Resource": "arn:aws:logs:*:<<AWS_ACCOUNT_ID>>:*"
        },
        {
            "Effect": "Allow",
            "Action": [
                "logs:CreateLogStream",
                "logs:PutLogEvents"
            ],
            "Resource": [
                "arn:aws:logs:*:<<AWS_ACCOUNT_ID>>:log-group:/aws/lambda/<<LAMBDA_NAME>>:*"
            ]
        },
        {
            "Effect": "Allow",
            "Action": "iam:GetUser",
            "Resource": "*"
        }
    ]
}
Replace
<<AWS_ACCOUNT_ID>>: Substitute<<AWS_ACCOUNT_ID>>with your actual AWS account ID. Your AWS account ID is a 12-digit number (e.g.,123456789012). Do not include any hyphens.Replace
<<LAMBDA_NAME>>: Replace<<LAMBDA_NAME>>with the name of your Lambda function (e.g., my-lambda-function).
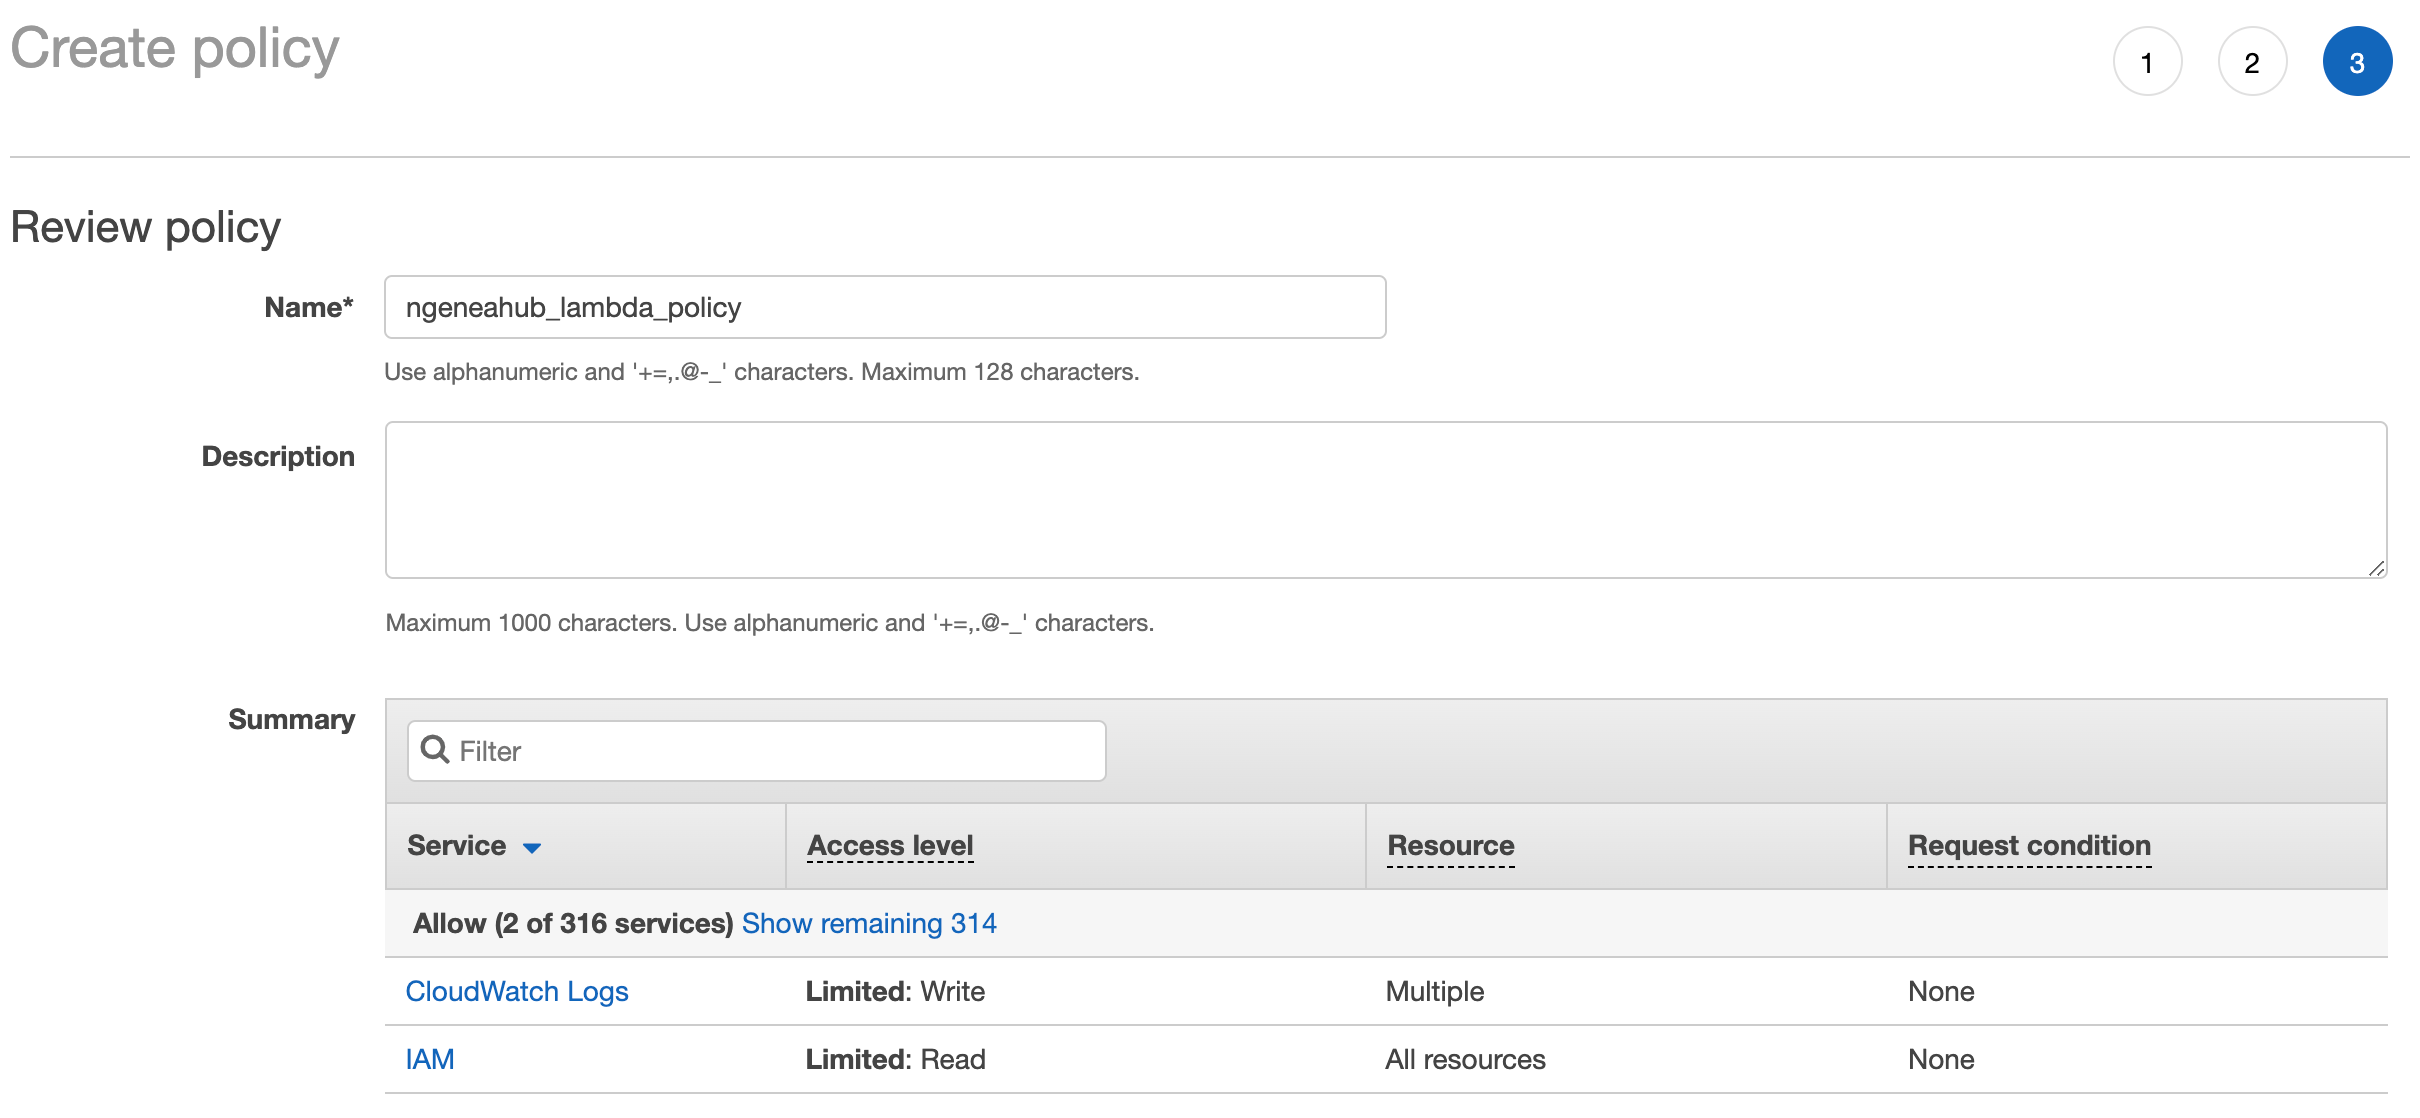
Review and Create the Policy:
After replacing the placeholders with the correct values, click Next: Tags.
If you need to add tags (optional), you can do so here, otherwise click Next: Review.
Give the policy a meaningful name, such as
ngeneahub_lambda_policy.Finally, click Create Policy.
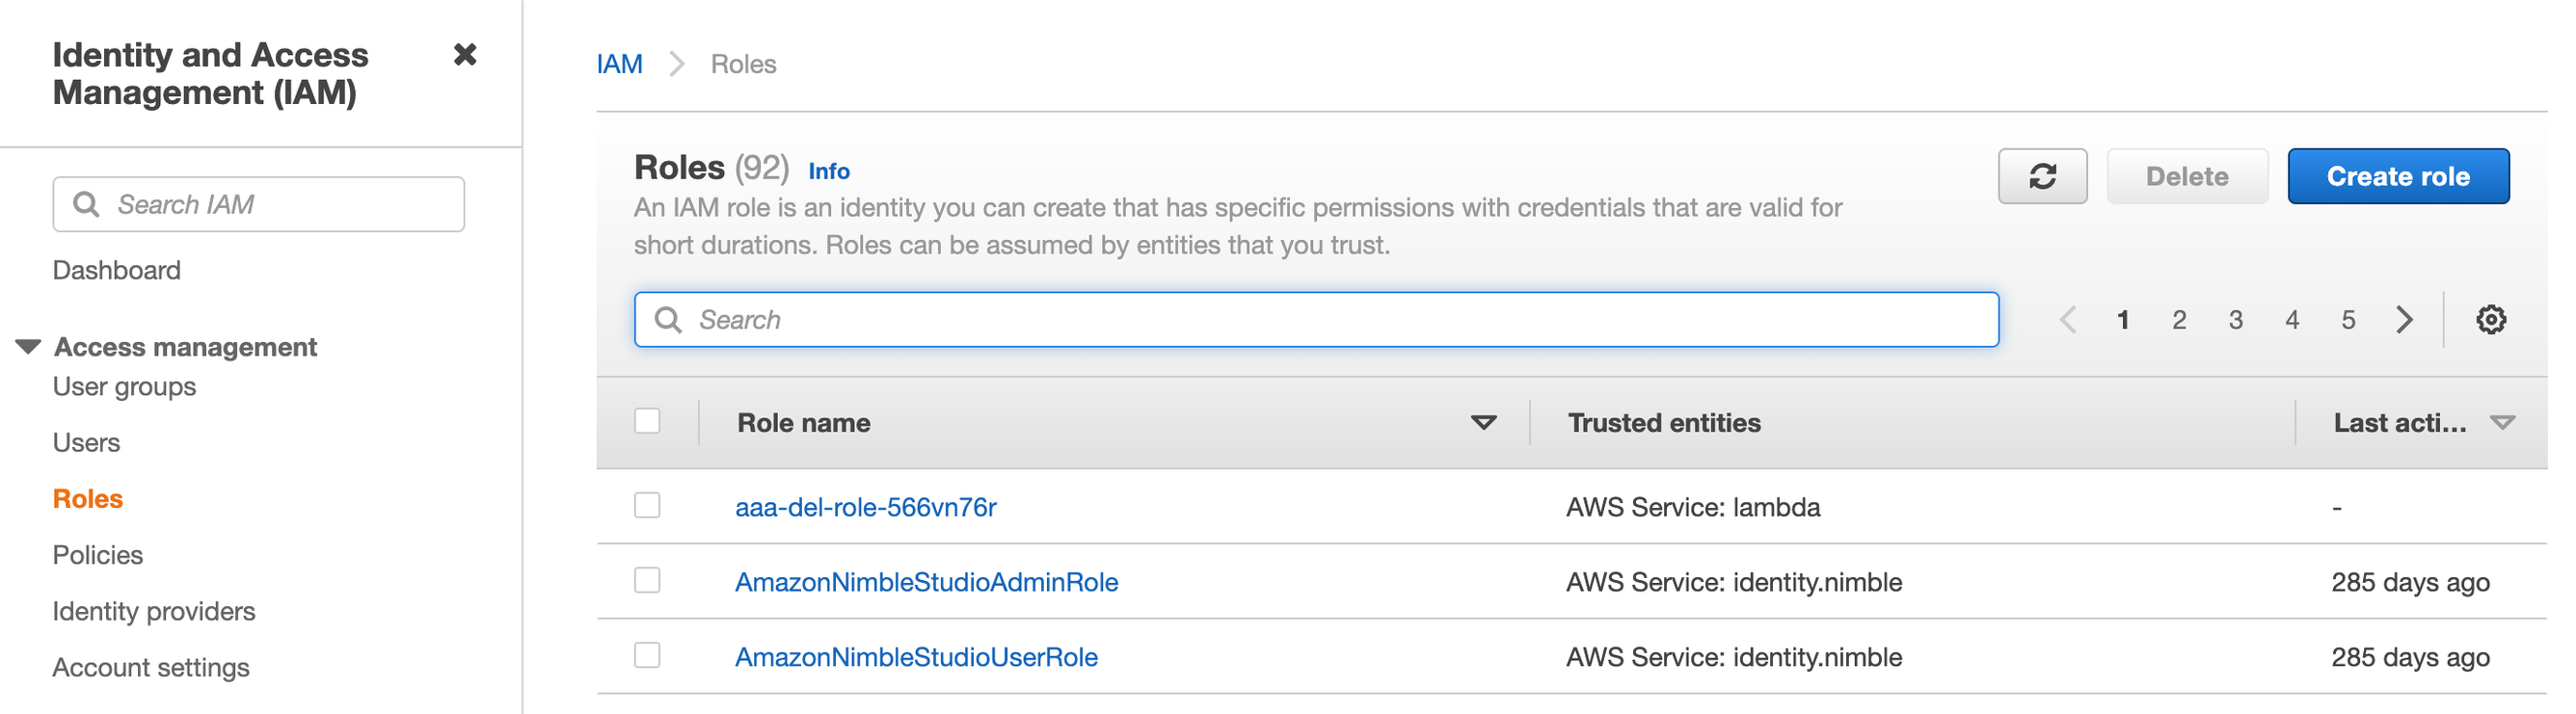
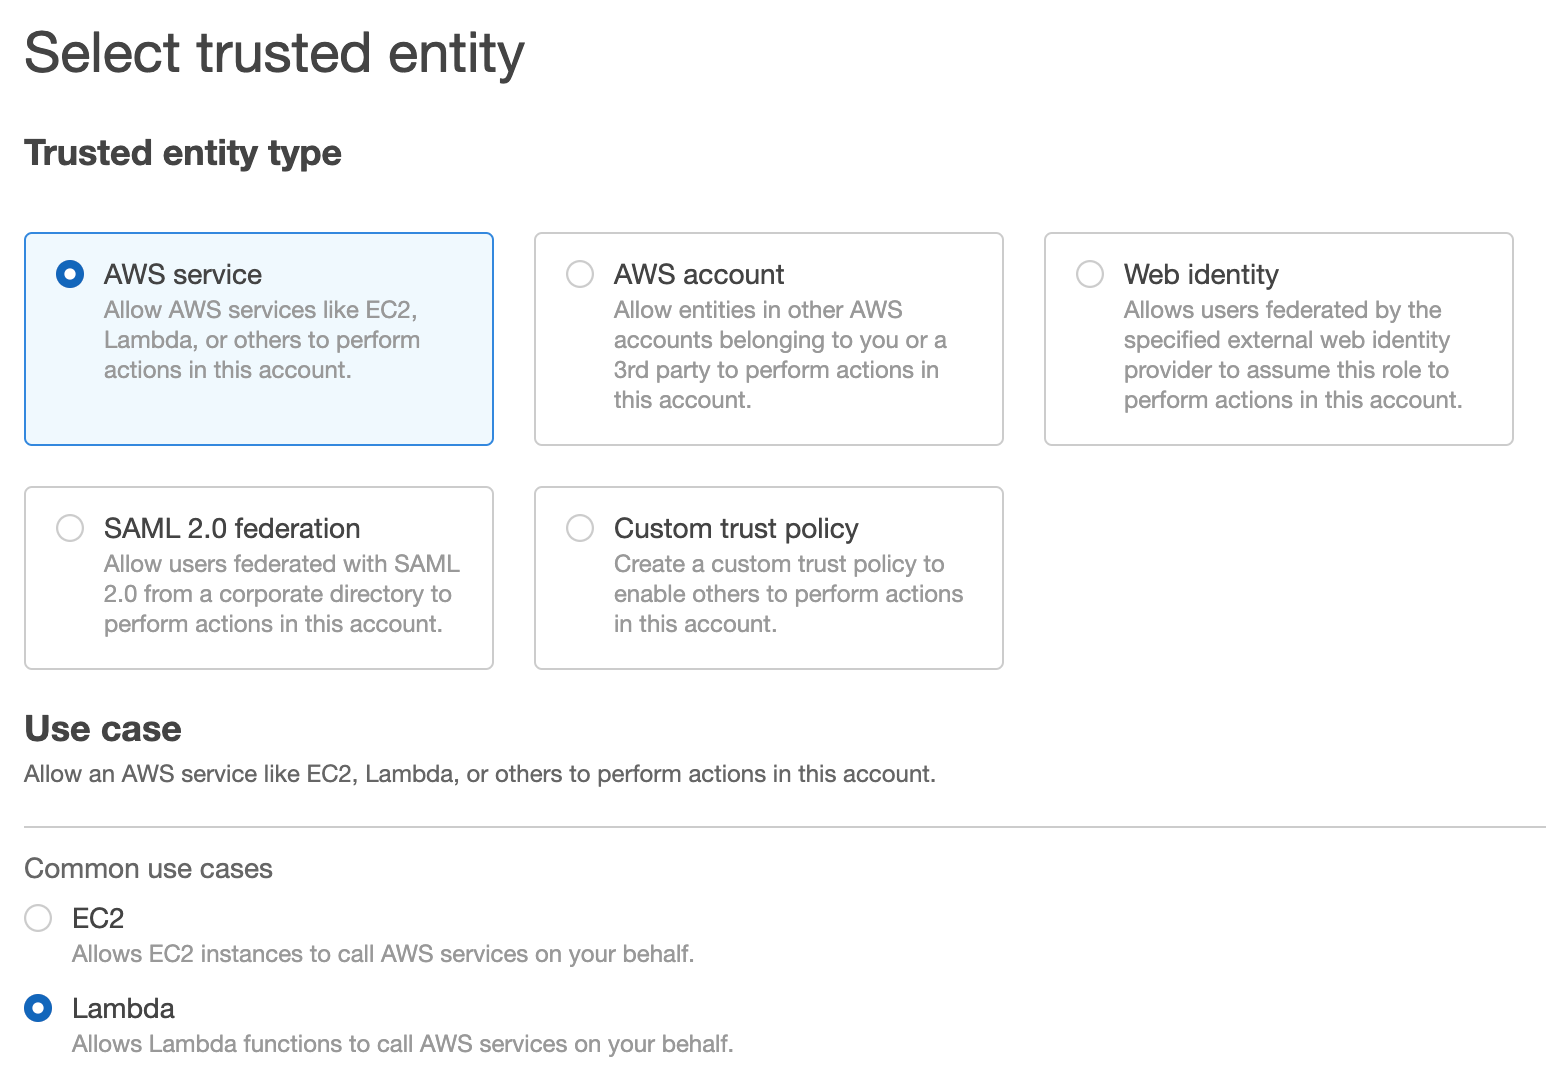
Create the IAM Role
To Create the IAM Role, In the left-hand menu, select Roles and Click the Create role button.
For the trusted entity type, choose AWS service. In the use case, select Lambda.
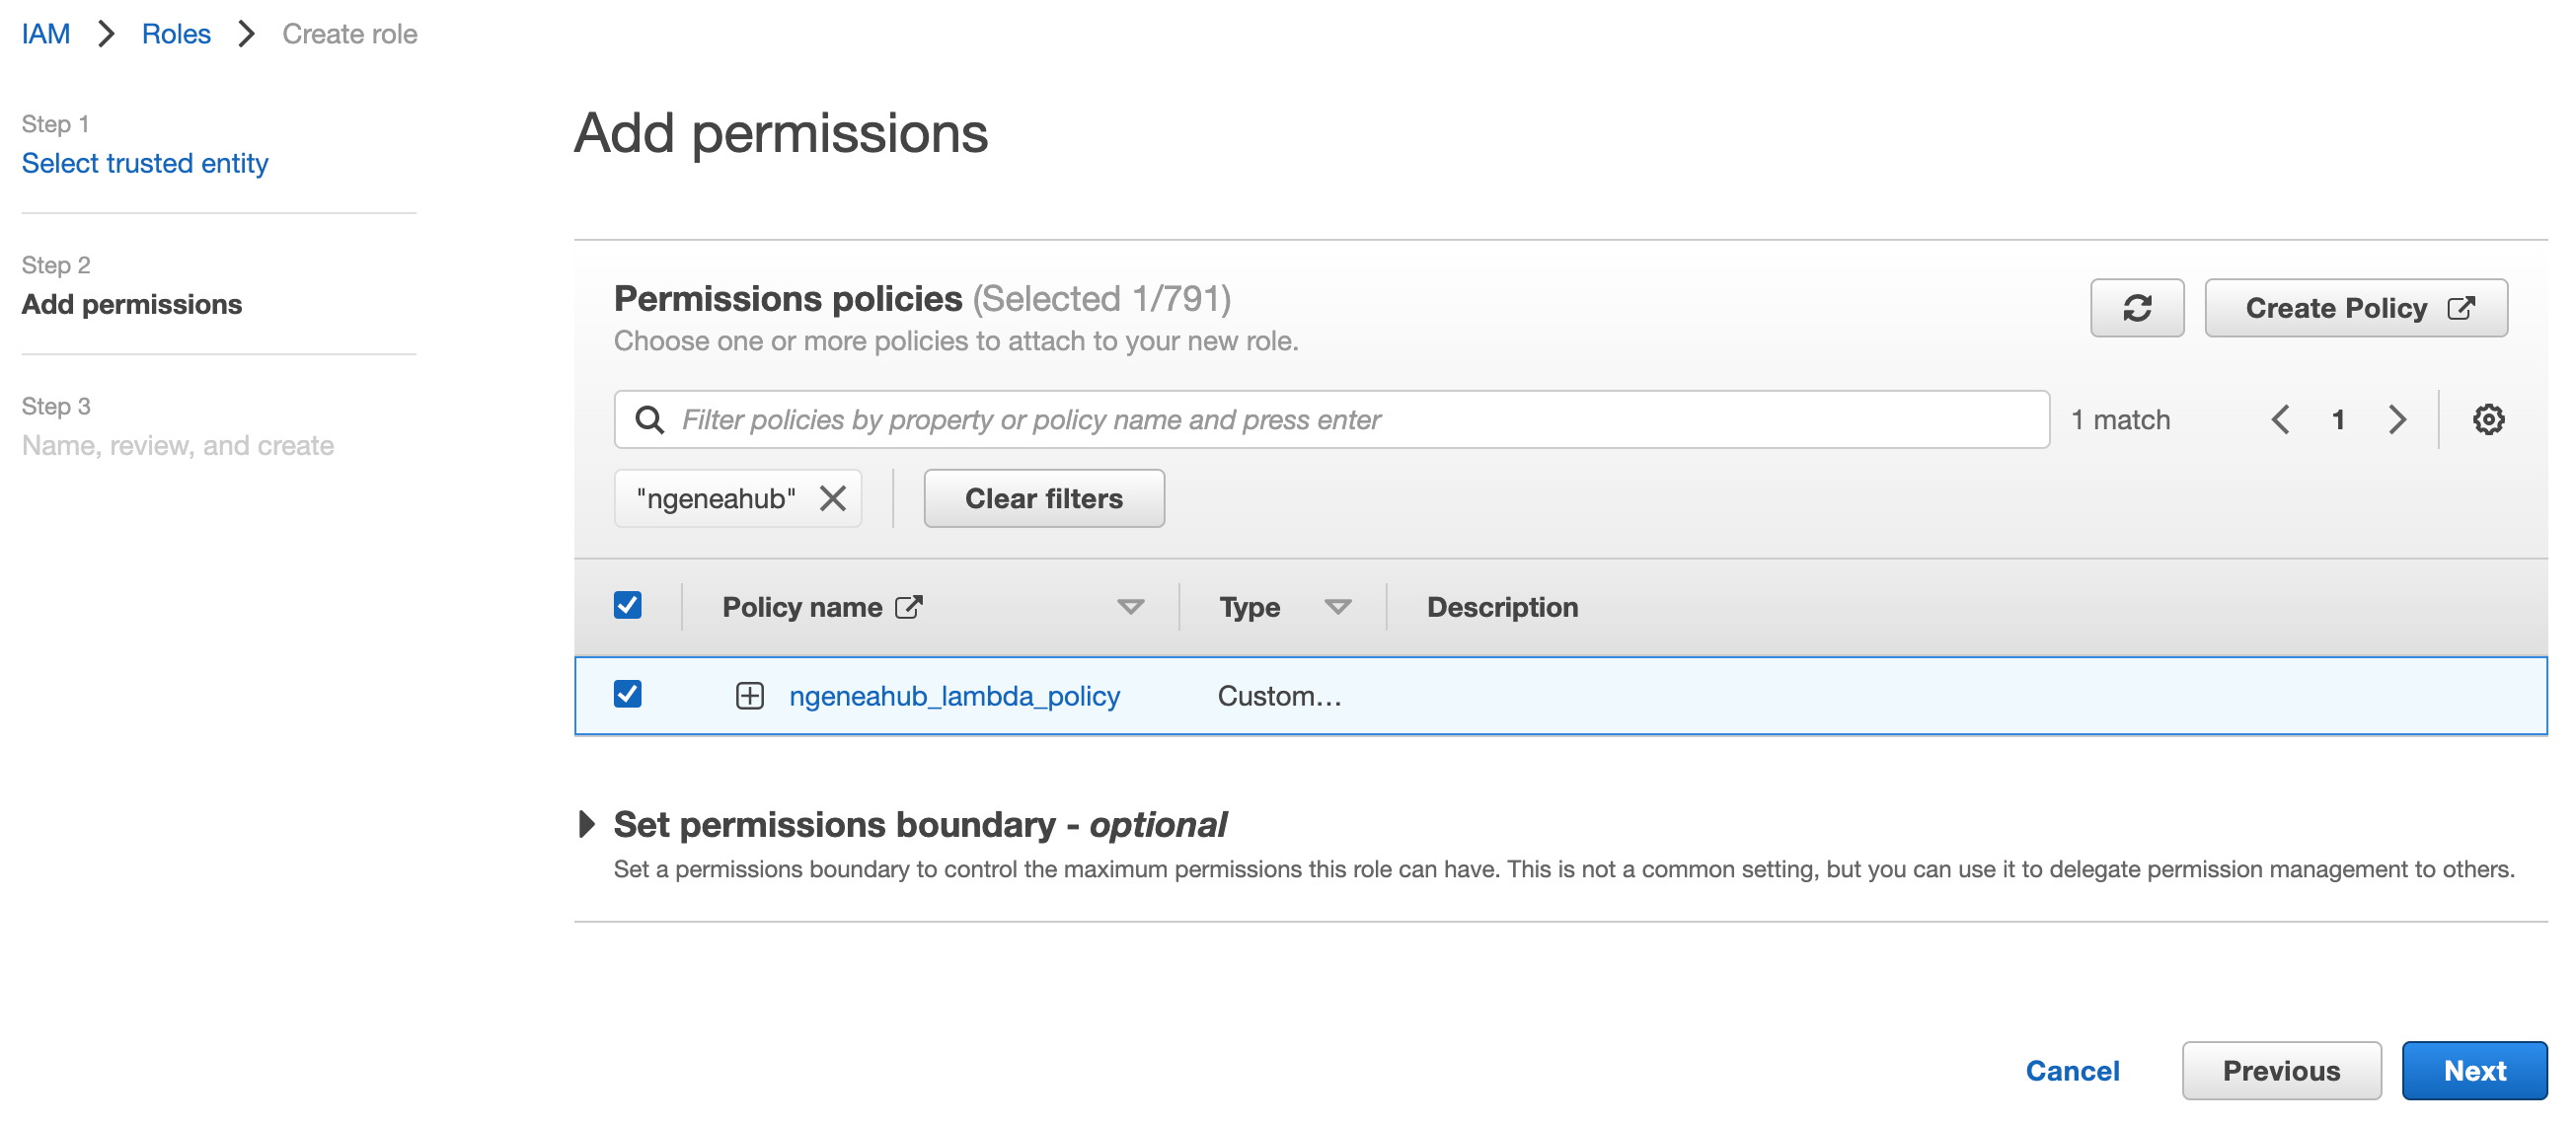
On the next screen, you’ll be asked to attach permissions to the role. Search for the policy you just created, Select the policy, then click Next: Tags.
Again, if you need to add tags, you can do so here, otherwise click Next: Review.
Name the role
ngeneahub_lambda_roleto keep it descriptive and clear. Finally, click Create Role.

5.2.2.2. Create the Lambda function
A function in AWS Lambda is a small piece of code that does something specific when triggered. For example, you could write a Lambda function that resizes images whenever a new image is uploaded to S3. The Lambda function runs automatically when an event occurs, like uploading a file.
Creating the Function: To create a Lambda function, you start by selecting Python 3.9 or above as the runtime and choosing the appropriate IAM role that defines the permissions for the function. If the function needs to connect to a private network, you configure the VPC, Subnet, and Security Group. You then upload the function code in a ZIP file, which contains the logic for Lambda to execute when triggered. Additionally, you provide a config.json file with necessary settings, such as API keys or database connections, for the function to operate correctly.
Follow the steps to create an AWS Lambda function.
Go to the AWS Management Console at Cloud Computing Services - Amazon Web Services (AWS) and log in with your account.
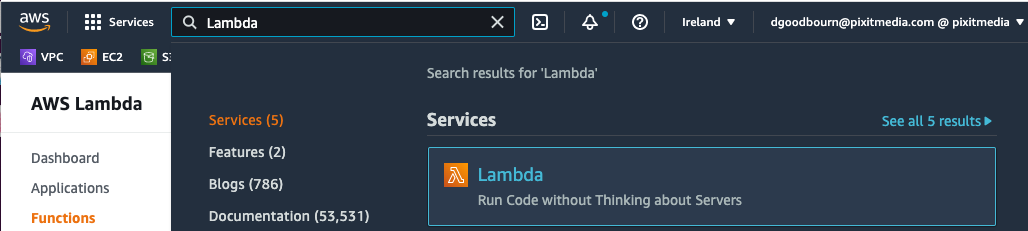
In the AWS Console, type “Lambda” in the search bar at the top and select Lambda from the dropdown list. This will take you to the Lambda service.
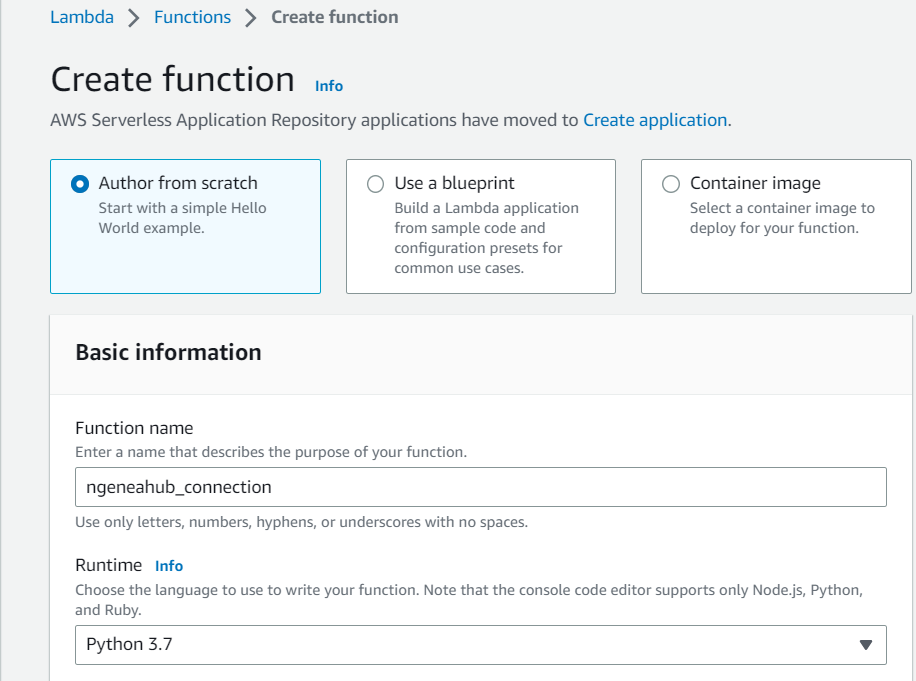
On the Lambda dashboard, you’ll see a button that says Create function. Click on it.
Select “Author from scratch”: This is the option that allows you to build a function from the ground up.
Function name: Enter a name for your Lambda function (e.g., “MyLambdaFunction”).
Runtime: From the Runtime dropdown, choose Python 3.9+ (or another version of Python if required for your use case).
Note: Re-enabling the Requests Module in AWS Lambda (Python 3.9 Runtime)
Since AWS has removed Python 3.7 from the Lambda runtimes, it has also removed the Requests module. To continue using the Requests module in your Lambda functions running on Python 3.9, you will need to add it back by creating a custom Layer.
Follow the steps provided the in section: 5.2.2.5. AWS Lambda with Python 3.9: Adding Requests Module to add a custom Layer to your Lambda function, which will include the Requests module for your code to utilize.
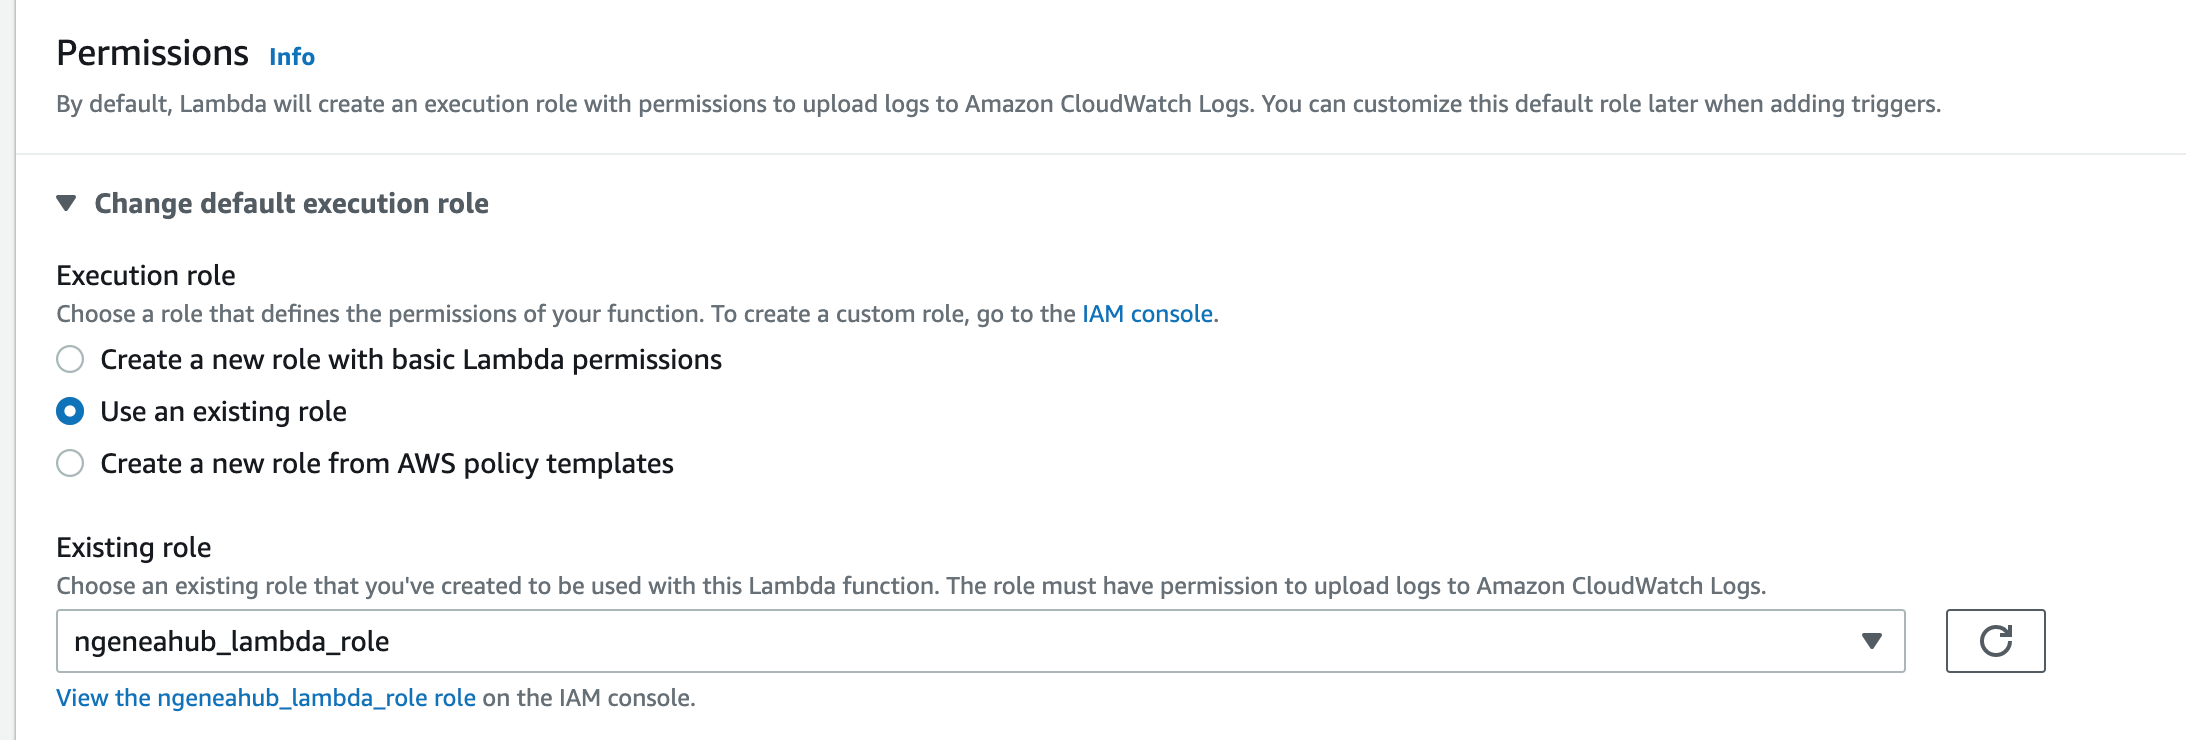
Under Execution role, choose Use an existing role. In the Existing role dropdown, select the IAM role that you have previously created for this function (the one that has the appropriate permissions for your Lambda).
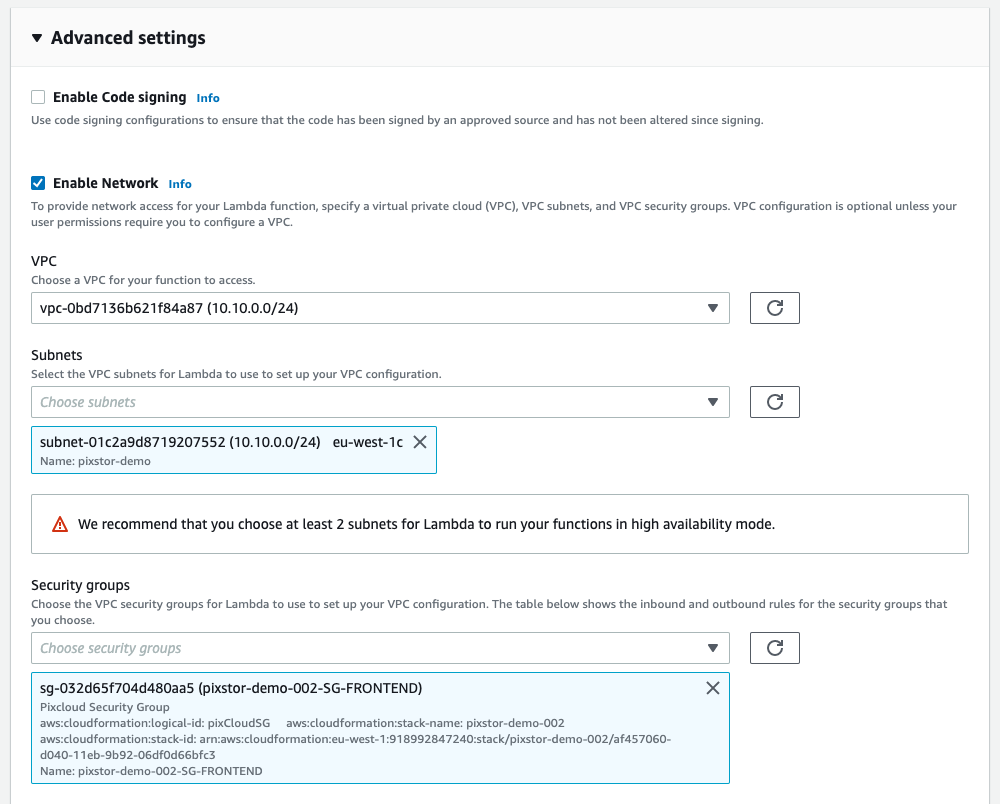
Configure VPC and Networking (If Necessary): If your Ngenea Hub doesn’t have an external IP to connect to, follow these steps:
Scroll down to Advanced settings and select Enable Network.
From the dropdown, select the VPC where the Ngenea Hub is located.
Select the Subnet within the VPC where the Ngenea Hub resides.
Choose a Security Group that allows access to the Ngenea Hub over port 8000 (Only if hub is being served on port 8000).
Update the IAM Policy: Your Lambda function will need permission to traverse the VPC’s networking. Here’s how to do it:
Go to the IAM console and find the policy you previously created. Add the following section to the policy:
{
    "Version": "2012-10-17",
    "Statement": [
        {
            "Effect": "Allow",
            "Action": "logs:CreateLogGroup",
            "Resource": "arn:aws:logs:*:<<AWS_ACCOUNT_ID>>:*"
        },
        {
            "Effect": "Allow",
            "Action": [
                "logs:CreateLogStream",
                "logs:PutLogEvents"
            ],
            "Resource": [
                "arn:aws:logs:*:<<AWS_ACCOUNT_ID>>:log-group:/aws/lambda/<<LAMBDA_NAME>>:*"
            ]
        },
        {
            "Effect": "Allow",
            "Action": "iam:GetUser",
            "Resource": "*"
        },
        {
            "Effect": "Allow",
            "Action": [
                "iam:GetUser",
                "ec2:DescribeNetworkInterfaces",
                "ec2:CreateNetworkInterface",
                "ec2:DeleteNetworkInterface"
            ],
            "Resource": "*"
        }
    ]
}
Replace
<<AWS_ACCOUNT_ID>>with your actual AWS account ID.Replace
<<LAMBDA_NAME>>with the name of your Lambda function.Once you’ve updated the policy, save it.
Create the Lambda Function: With the role and network settings configured, click the Create function button. This will take a few minutes.
After your function is created, you will be redirected to the function’s configuration page. Click on the Code tab.
Click on Upload a .zip file.
Click Upload, and then browse to select the AWS zip file you previously downloaded (from the ../../download page). Select the zip file and click Save to upload your code.

Update the config.json File: In the Code section, locate and edit the
config.jsonfile. You will need to update this file with all the relevant details based on the docs from Cloud Functions
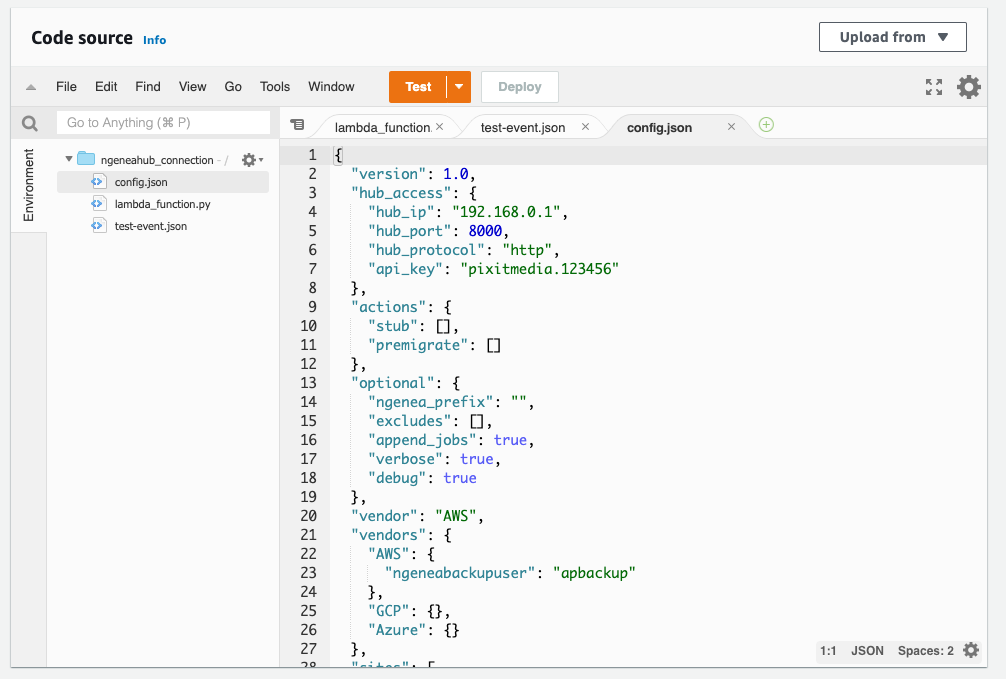
Once you have updated the file, click Deploy to save your changes.
5.2.2.3. Set Up the Trigger (S3 Bucket Event)
Event Trigger: A trigger is an event that automatically activates a specific action, and in this case, you can set up an S3 trigger to invoke a Lambda function whenever a file is uploaded to an S3 bucket. By selecting the “All object create events” option, you ensure that Lambda responds to any new file uploaded to the bucket, regardless of the file type. This allows Lambda to automatically execute whenever a new file is created in the S3 bucket.
Recursive Invocation: This setting ensures that if Lambda’s own activities (like writing logs) somehow trigger the function again, it won’t end up running in an endless loop.
Assigning a trigger to your Lambda function using an S3 bucket event:
Open the AWS Lambda Console. Select the Lambda function you created earlier.
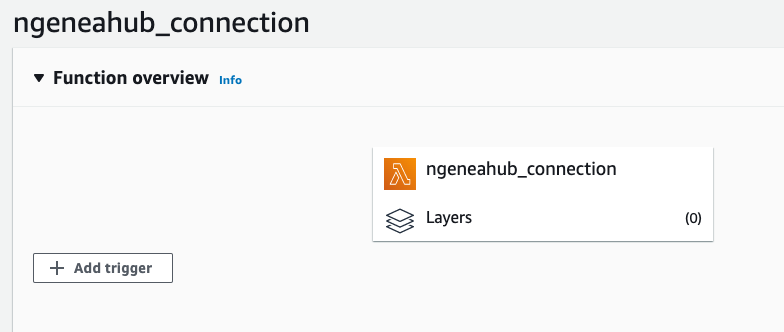
Under the Function overview section, click on Add trigger.
From the list of available triggers, choose S3.
In the Bucket dropdown, select the S3 bucket where you want the Lambda function to be triggered.
For Event type, select All object create events. This ensures that Lambda is triggered whenever any new object (file) is created in the S3 bucket.
Check the box labeled Recursive Invocation checkbox warning. This prevents Lambda from continuously triggering itself if it processes files within the bucket.
After selecting the options, click the Add button to assign the trigger to your Lambda function.
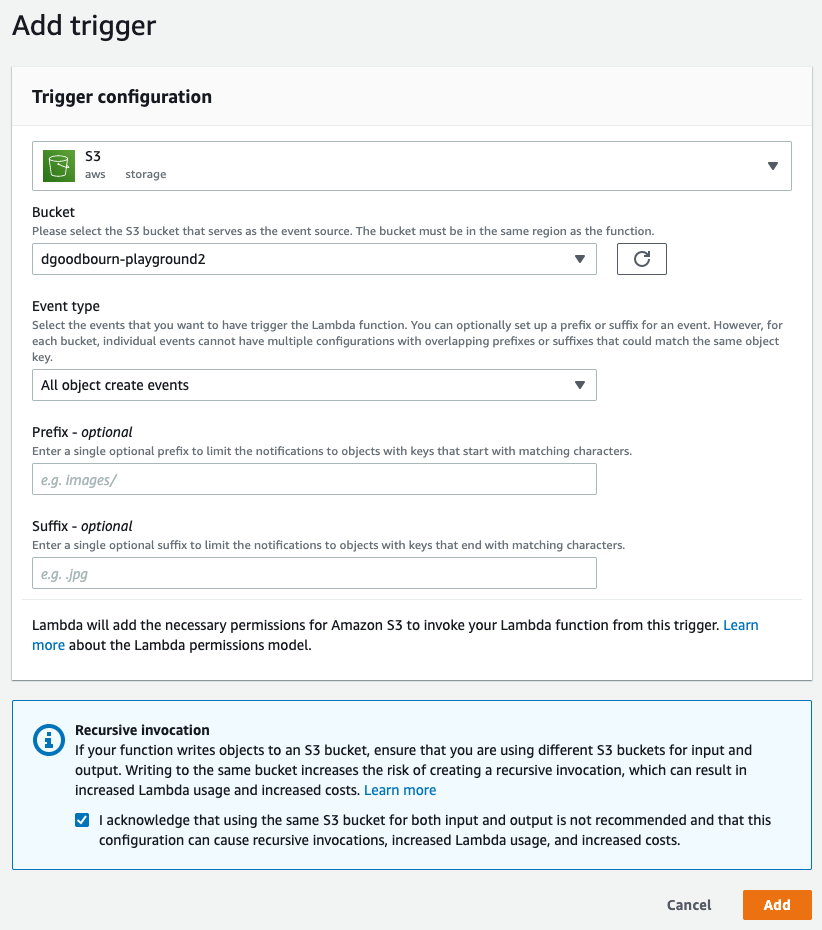
Your Lambda function is now configured with the S3 bucket event trigger, meaning it will automatically execute whenever a new file is uploaded to the selected bucket.
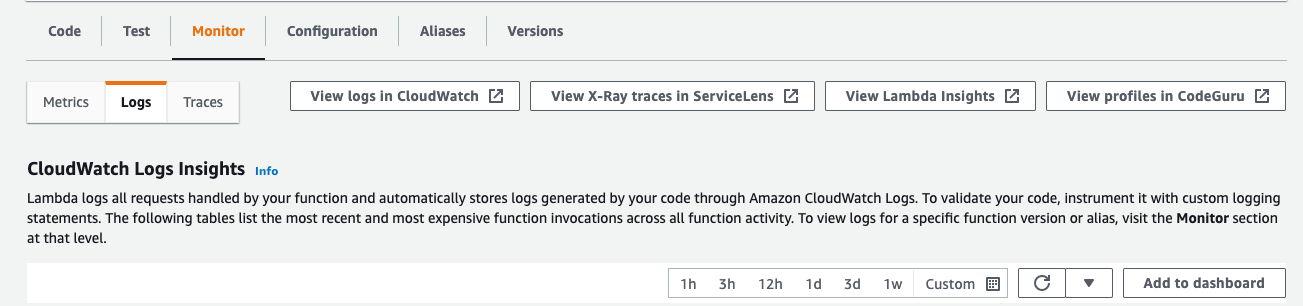
5.2.2.4. Monitoring Lambda Functions
CloudWatch: Amazon CloudWatch is an essential tool provided by AWS for monitoring various aspects of your AWS resources, including Lambda functions. It tracks vital metrics such as execution duration and logs that capture detailed information about the function’s behavior.
By leveraging CloudWatch, you can determine if your Lambda function is performing correctly and identify any potential errors or issues.
Once a trigger is assigned to your Lambda function, you can monitor its performance in the Monitor tab. This tab provides a variety of monitoring options, giving you a comprehensive view of your function’s performance.
For a more in-depth analysis, you can use View Logs in CloudWatch. This is the best place to access detailed logs and troubleshoot any issues your Lambda function might be facing.
5.2.2.5. AWS Lambda with Python 3.9: Adding Requests Module
AWS has removed Python 3.7 from its Lambda runtimes, which also means the requests module is no longer included. Until we update the cloud bucket events code, we need to manually add the requests module. To do this, we’ll create a Layer and attach it to the Lambda function.
In AWS Lambda, a Layer is a way to package and share additional code, such as libraries, dependencies, or even custom runtime components, that your Lambda function can use. In this case, you can create a Lambda Layer that includes the Requests library and attach it to your function.
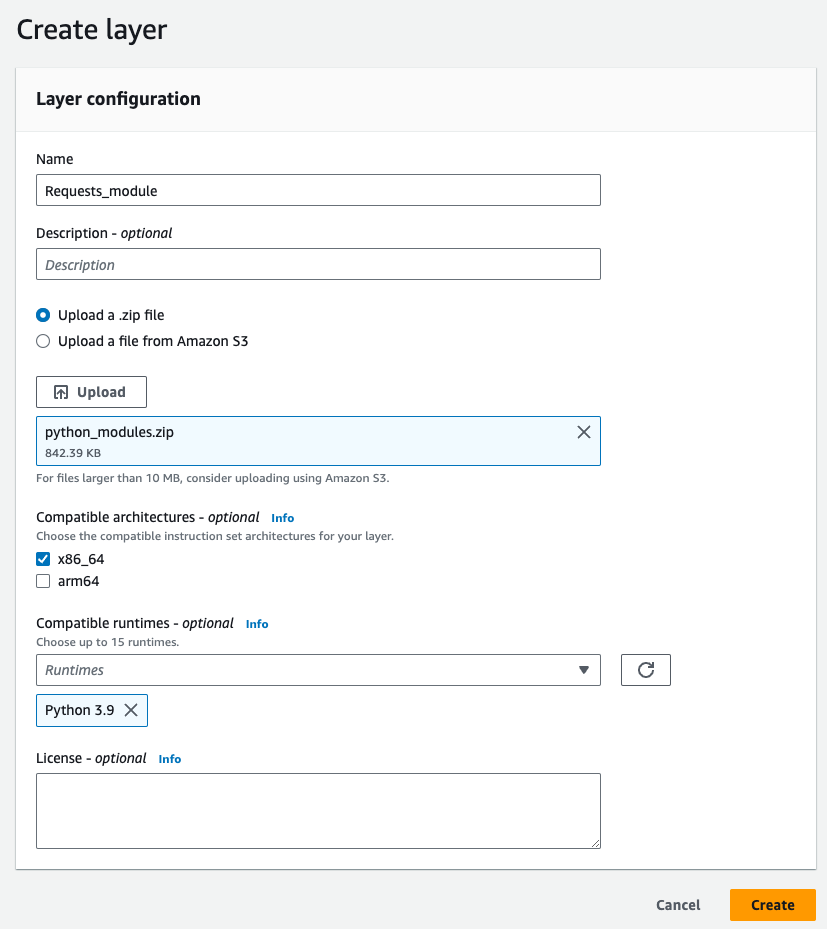
To create a new Lambda Layer, In the AWS Console, go to Lambda and click Layers in the left menu. Click Create Layer to continue.

Enter a name for your layer (e.g.,
RequestsLayer).Upload the
python_modules.zipzip file.Select
x86_64architecture andPython 3.9runtime. Click Create to save.
In your Lambda function, scroll down to the Layers section and click the Add a Layer button.

Select the Custom layers option, then choose the layer you created from the Custom layers dropdown and pick the Version.
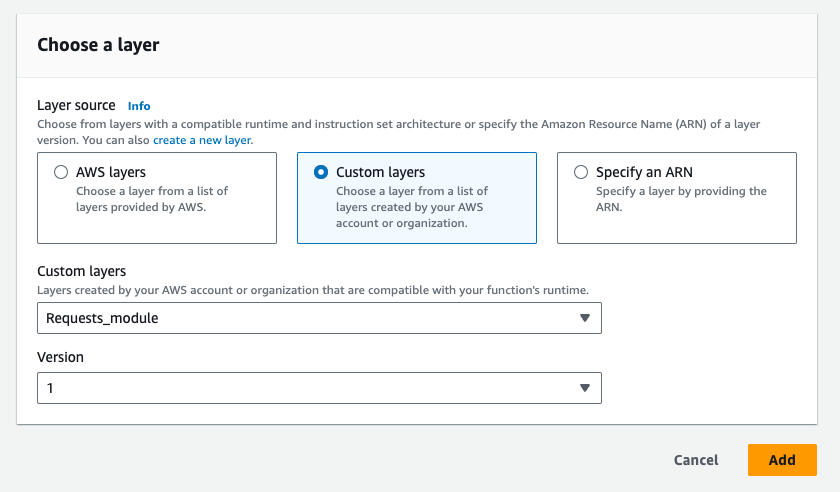
Your Lambda function should now work, as the
Requestsmodule is successfully loaded.