Target Import
An Ngenea target can be browsed, and files can be imported to the local PixStor file system.
Important
This function can only be performed by a Hub Administrator.
Clicking the Targets button in the main menu bar displays the list of Ngenea targets:

|
Click the browse icon on the Ngenea target row to browse the Ngenea target |
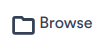
Browsing a Target
The target browser displays the file and folder contents of a target including additional contextual information such as size.
The target bowser screen is comprised of several areas.
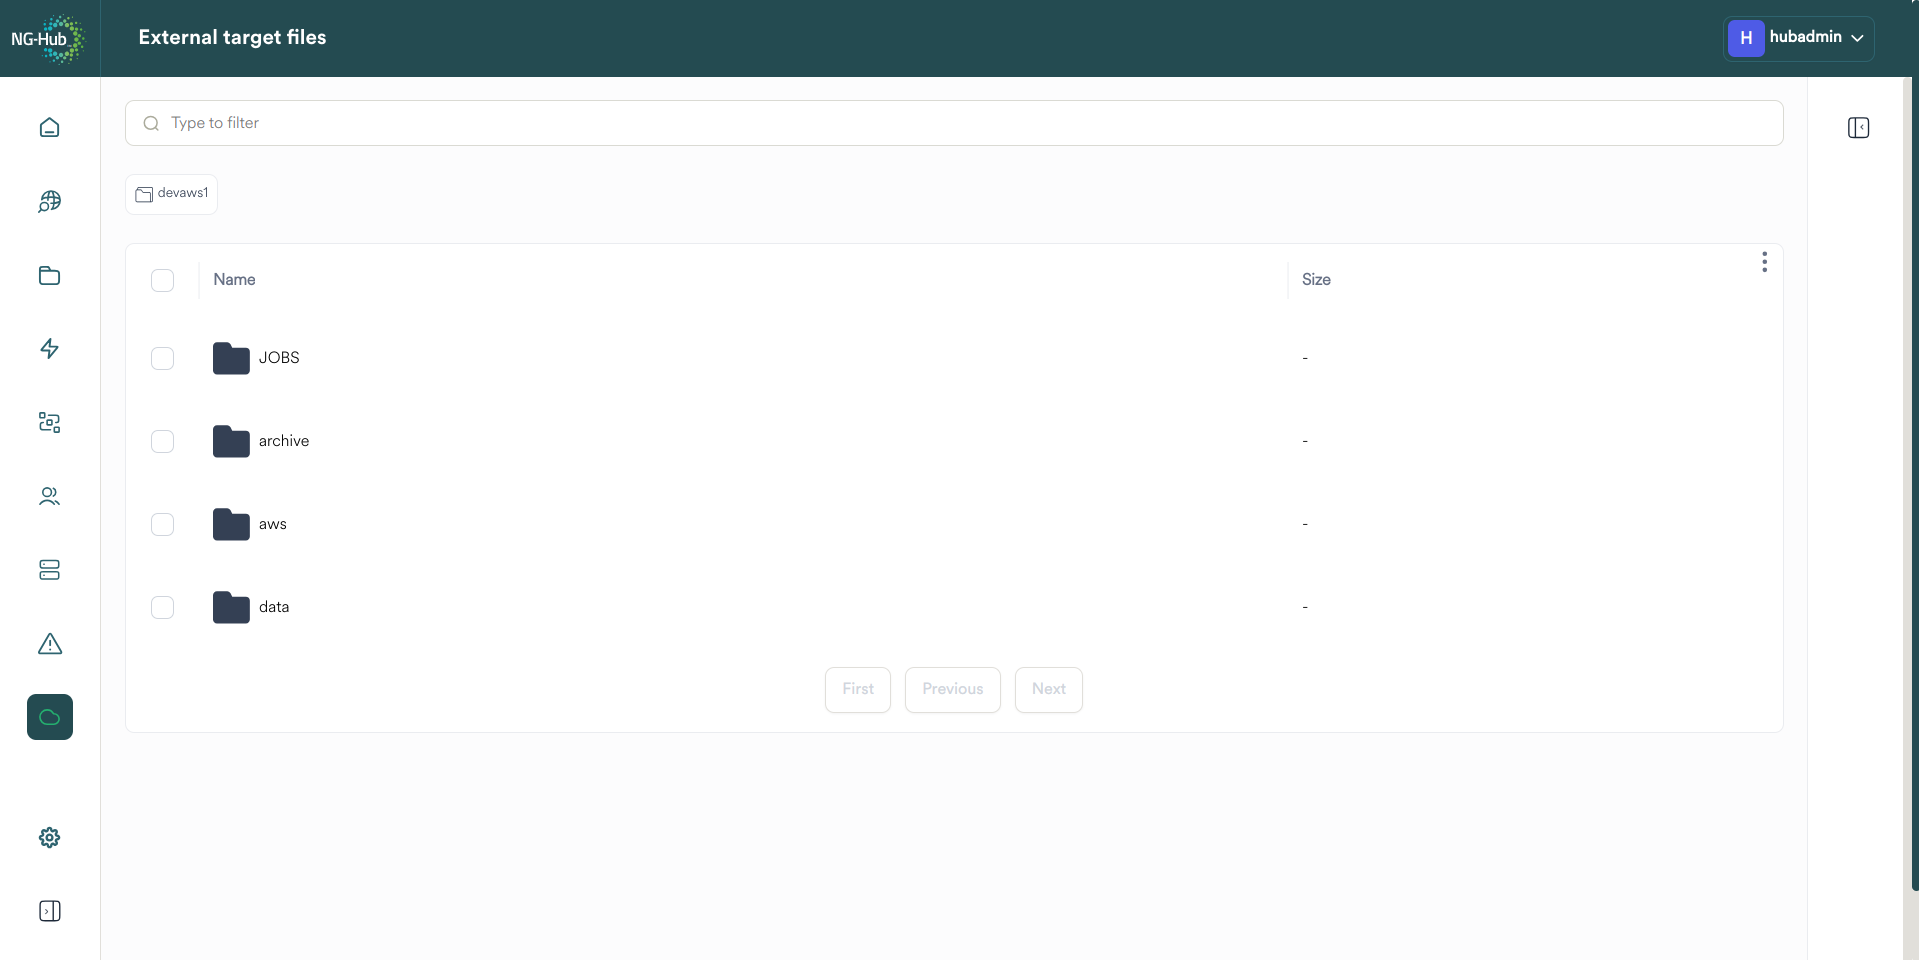
Filtering the Target Browser
To display files or folders matching keywords, enter the keywords in the filter bar.
Target Browser File Attributes
The target browser displays information regarding the files and folders within the Target.
Available information may vary between target types.
Option |
Description |
|---|---|
Name |
The file or directory name |
Size |
The size of the file on the target |
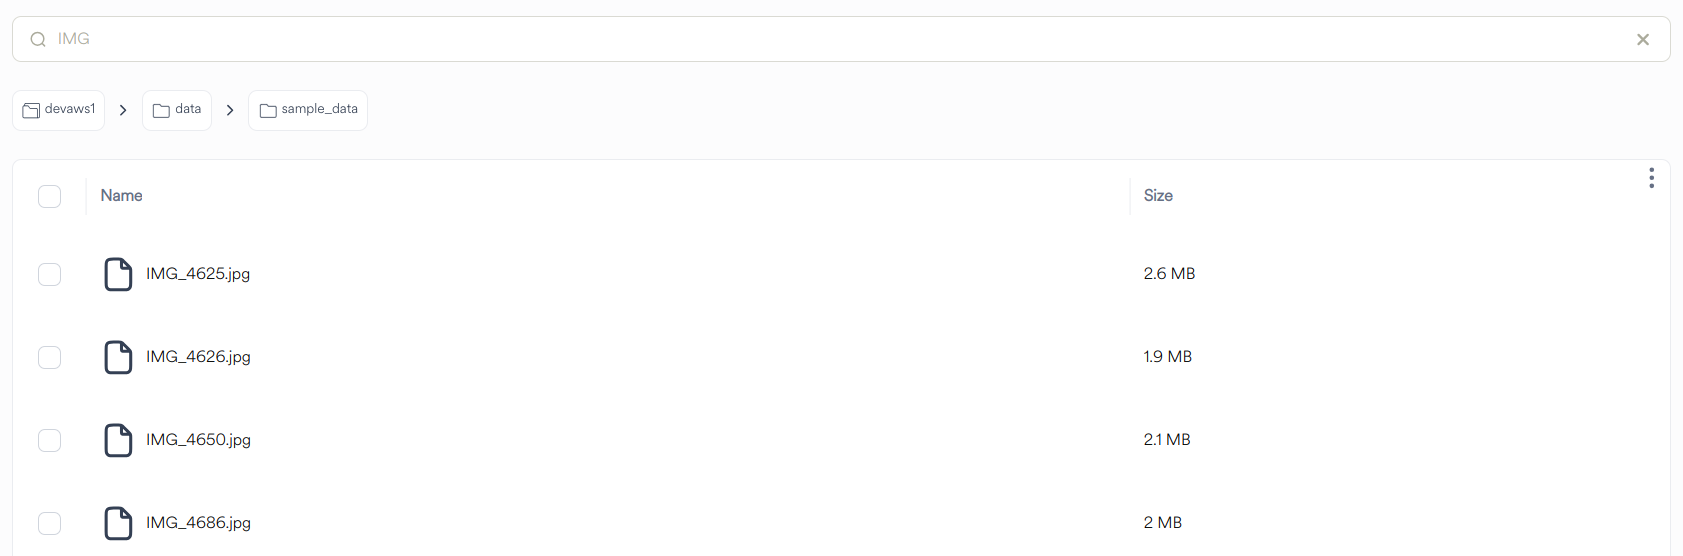
Viewing File or Folder Metadata
Metadata Panel
Click a file or directory name to view the associated metadata:
The metadata panel provides a summary of metadata.
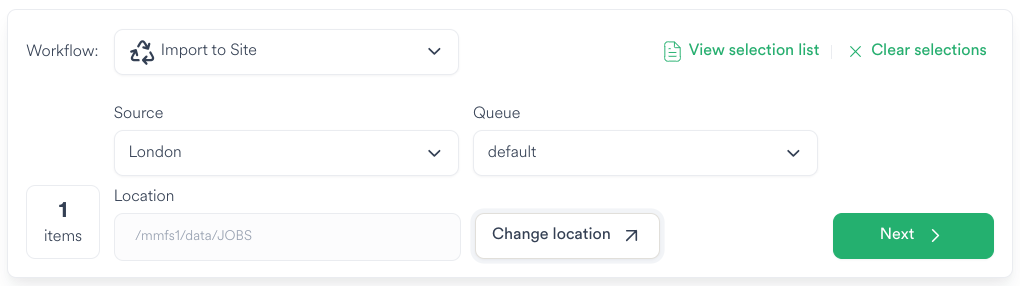
Using the Job Creator Panel
Explain panel areas, buttons and operations
Selecting files and directories
Selecting an individual file or directory populates the selection list with the item. Selecting a directory populates all items within the chosen directory tree.
Selections of the entire Target or a directory are each counted as 1 item.
Select the 'select all' checkbox next to the Name field in order to select the entire Target.
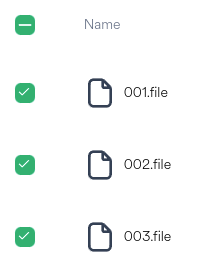
As selections are added or removed, the selected item count is updated:

|
Click the View Selection List button to show the files and directories selected to be processed by the chosen workflow |

|
Click the Clear selections to remove all files and directories currently selected from the selection list |
|
Click the Choose Location button to choose where to import the files and folders |
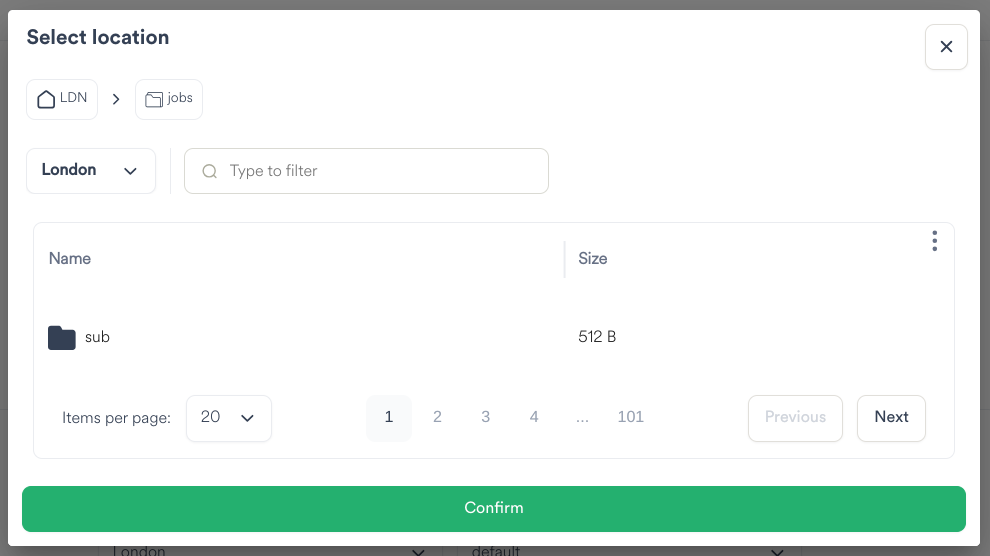
|
Click the target location in the Choose Location panel, and click Confirm |
Note
Target files can only be imported to Locations in Spaces which match the target's "File match" pattern.

|
Click the Next button to enact the Job |
Jobs with Workflows which require additional user decisions prior to enacting the Job raise the Configure workflow fields dialog:

After entering the field information [if required], select the button at the bottom of the dialog to submit the Job.

|
Click the button at the bottom of the dialog to submit the Job. |
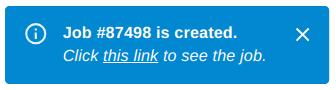
|
Upon submitting the workflow, a notification indicates the job was created with a link to view details of that job |
Job Types (Workflows)
Default Workflows
Import to Site
The Import to Site workflow transfers the file metadata and data from the Ngenea target (E.G. an AWS cloud bucket). After successful transfer the metadata and data content of the file is present on the chosen site, within the chosen Location.