5.1. Web Interface
To access Ngenea Hub, go to http://example.com:8000/.
5.1.1. Authentication
5.1.1.1. Login
Upon navigating to the Ngenea Hub UI a login screen is presented.
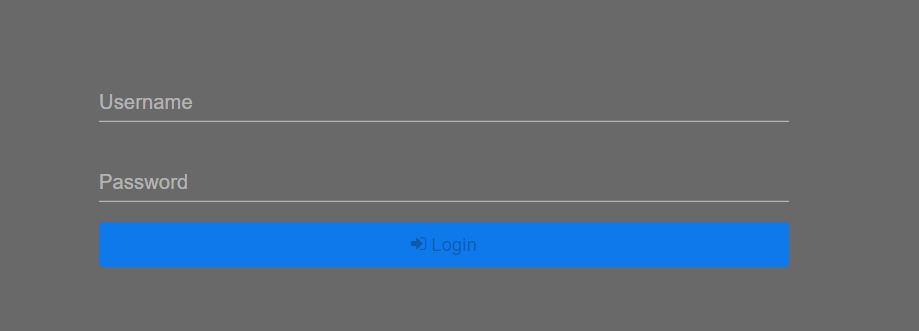
Enter a valid username and password before pressing the Login button to authenticate.
5.1.1.2. Logout
To end your session, select Logout from the Man Icon at the bottom left hand corner of the UI.
![]()
5.1.2. Browser
Upon logging in, select the directory icon on the left hand side of the UI. This takes to the Browser page.
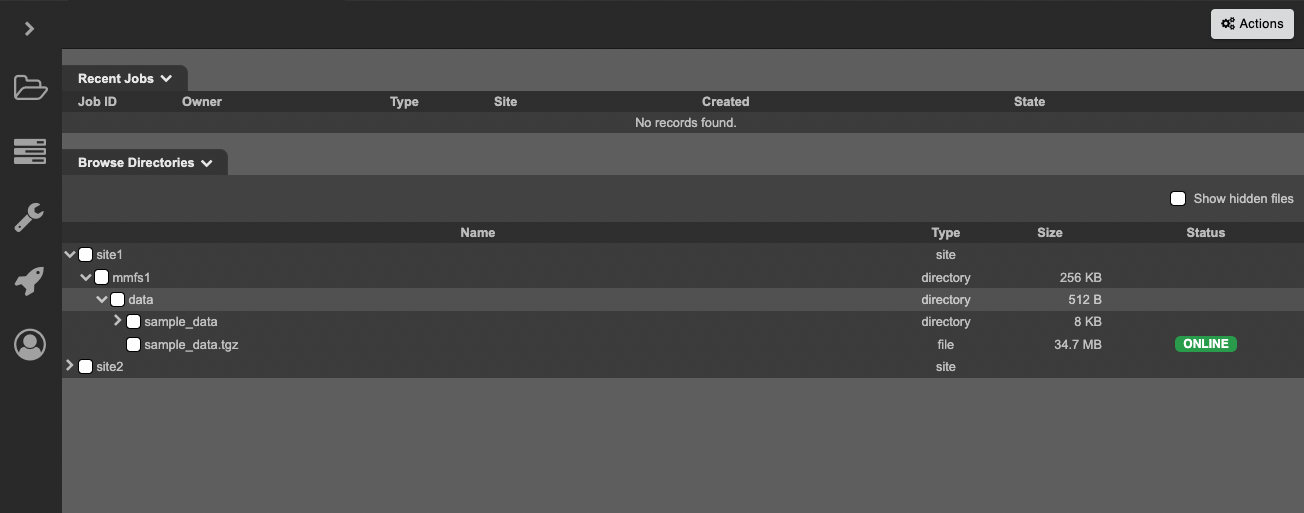
The Browser page allows users to see a list of recent jobs as well as browse all available directories across all Sites for the purpose of either migrating, pre-migrating, recalling, or sending files.
5.1.2.1. Recent Jobs
The Recent Jobs section shows a list of the 5 most recent jobs that were initiated via the UI.
The view presents several columns:
Option |
Description |
|---|---|
Job ID |
Shows the identification number associated with the job |
Owner |
Name of the user who created the job |
Type |
Shows the job’s type, i.e. Migrate, Recall, Premigrate, or Send |
Site |
Name of the Site where files were migrated from |
Created |
Shows the job’s creation time |
State |
Shows the job’s state, i.e. success or failure |
5.1.2.2. Search
Note
Before you can use the search feature, additional set-up is necessary, as described in the search feature page.
Search section contains a search bar to discover the contents of the configured Sites.
The view presents a search bar, a button for managing the search filters and another button for starting and stopping the search. The view also presents (?) button to get more instructions about starting a search.

To search for a term, type the search term in the search bar and click Search button (or hit Enter key) to start a search. The default search filter is “core.filename”.
5.1.2.2.1. Managing the search filters from the dialog
For more complex search operations, add more filters by clicking Apply Filters button and use the dialog opened after that. Type the search filter key in the input box with the label Search filter key and then pick an operator from the select box with the label Operator.
For the operator IS, the dialog is seen as in the image below:
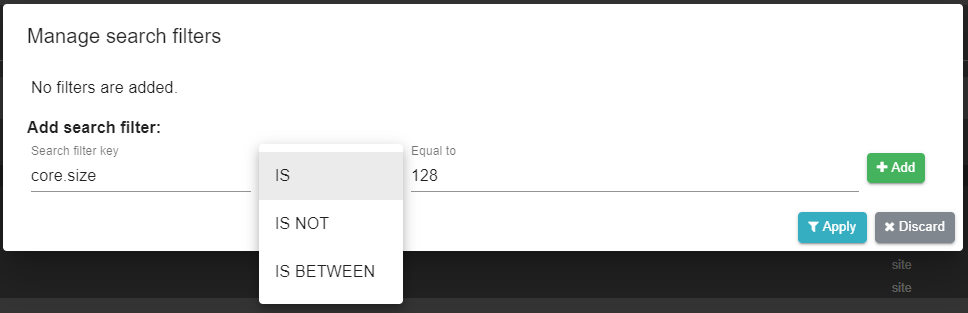
For the operator IS NOT, the dialog is seen as in the image below:
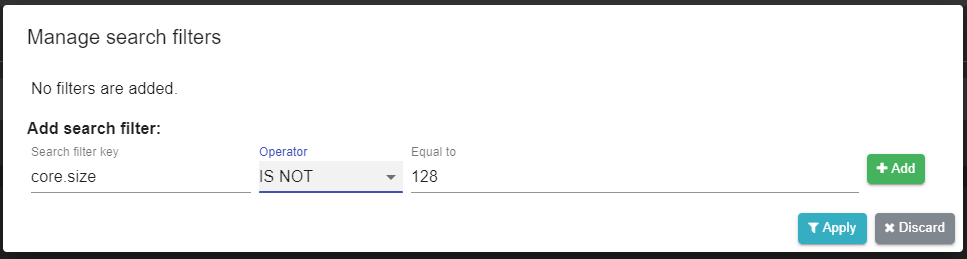
For the operator IS BETWEEN, the dialog is seen as in the image below:
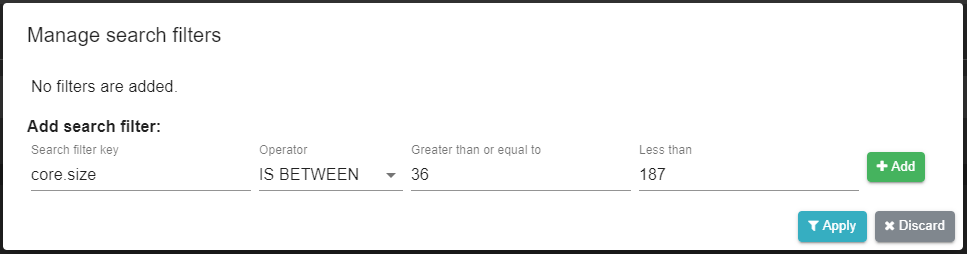
Click Add button to add the search filter. The dialog is seen as in the image below, when “core.size” is selected to be greater than or equal to 36 and less than 187, and “core.group.name” is selected to be “root”.
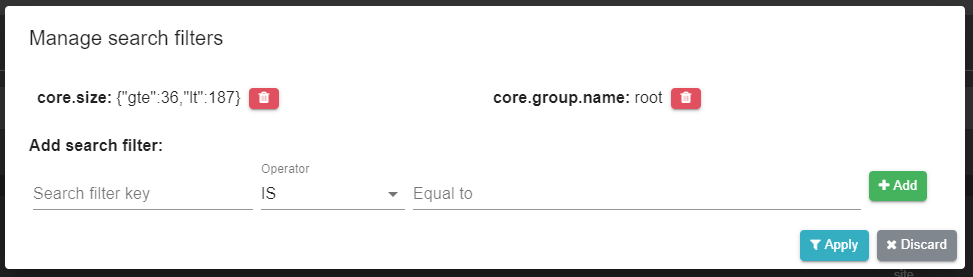
Once the selection is finished, click Apply button to save & close the dialog (this action does not submit the search). See that filters are shown as a query in the search bar and they are shown with badges under the search bar. The search section is seen as in the image below, after the search filters are selected:

5.1.2.2.2. Submitting the search and viewing search results
Click Search button, or hit Enter key to start the search. The search section will contain search results from each configured site, matching with the search filters. To stop the search, click Stop button. The search section is seen as in the image below after the search is in progress.

The search section is seen as in the image below after some results are found.

5.1.2.2.3. Advanced usage: Managing the search filters from the search bar
You can also make complex search operations by typing the search term in the format below:
(<key1>:<value1>) , (<key2>:<value2>) , (<key3>:<value3>) ...
For multiple search filters, you need to separate them by paranthesis. For using various comparison operators, here are the filter formats:
Operation |
Format |
|---|---|
Equal to |
|
Less than |
|
Greater than or equal to |
|
Combined |
|
5.1.2.3. Browse Directories
The Browse Directories section contains a list of configured Sites and correspondent directories under the Sites’ filesystems.
The view presents several columns:
Option |
Description |
|---|---|
Name |
Shows the name of the Site, directories, and files |
Type |
Shows whether the listed item is a Site, directory, or file |
Size |
Shows the directories and files size |
Status |
Shows whether files are online or offline |
User can select one or multiple directories, or one or multiple files to migrate, premigrate, recall them or send them to a different Site.
5.1.2.3.1. Migrate
To Migrate a directory or file, expand the Site containing said directory and file. Select the directory or file you wish to Migrate by ticking their relevant boxes.
Click the “Actions” button at the top right hand side of the page and select “Migrate”.
A new Job is created and it is shown at the top of the “Recent Jobs” list. Job’s State will display a progress bar until completion.
Once job is complete, the State will either show as Success or Failed.
5.1.2.3.2. Premigrate
To Premigrate a directory or file, expand the Site containing said directory and file. Select the directory or file you wish to Premigrate by ticking their relevant boxes.
Click the “Actions” button at the top right hand side of the page and select “Premigrate”.
A new Job is created and it is shown at the top of the “Recent Jobs” list. Job’s State will display a progress bar until completion.
Once job is complete, the State will either show as Success or Failed.
5.1.2.3.3. Recall
To Recall a directory or file, expand the Site containing said directory and file. Select the directory or file you wish to Recall by ticking their relevant boxes.
Click the “Actions” button at the top right hand side of the page and select “Recall”.
A new Job is created and it is shown at the top of the “Recent Jobs” list. Job’s State will display a progress bar until completion.
Once job is complete, the State will either show as Success or Failed.
5.1.2.3.4. Send
Premigrate behaviour change
Prior to Ngenea Hub 1.8.0, the send workflow would migrate data on the source site. This has been changed to pre-migrate.
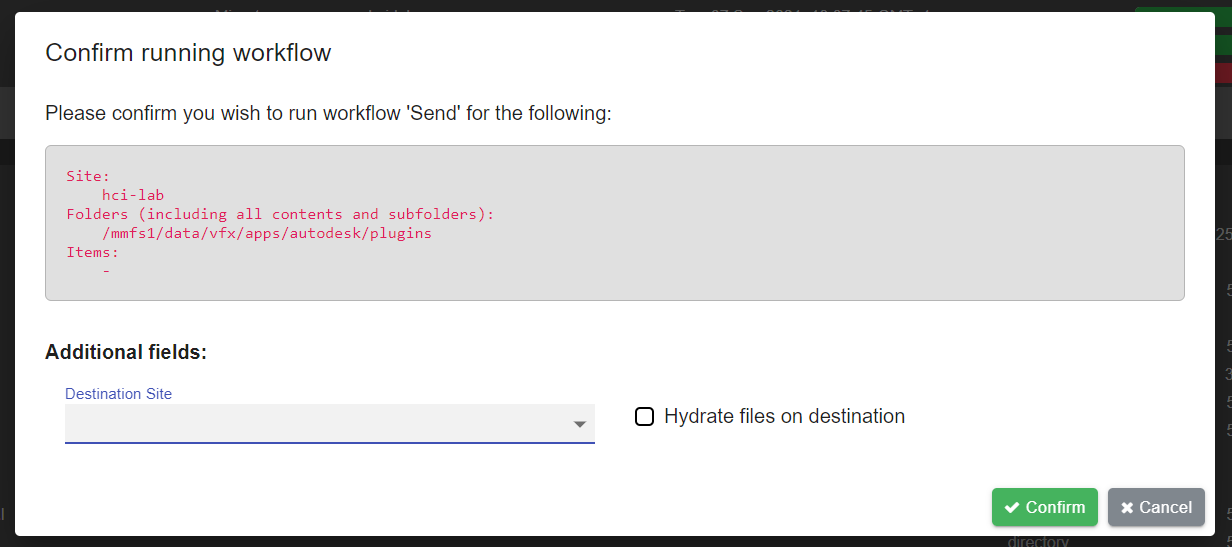
To Send a directory or file from one Site to another, expand the Site containing said directory and file. Select the directory or file you wish to Send by ticking their relevant boxes.
Click the “Actions” button at the top right hand side of the page and select “Send”.
Select the Site you wish to send the directory and/or files to. Tick the “Hydrate files on destination” if required, and click “Confirm”.
A new Job is created and it is shown at the top of the “Recent Jobs” list. Job’s State will display a progress bar until completion.
Once job is complete, the State will either show as Success or Failed.
Expanding the receiving Site’s Directories now shows the path that was replicated from the sending Site.
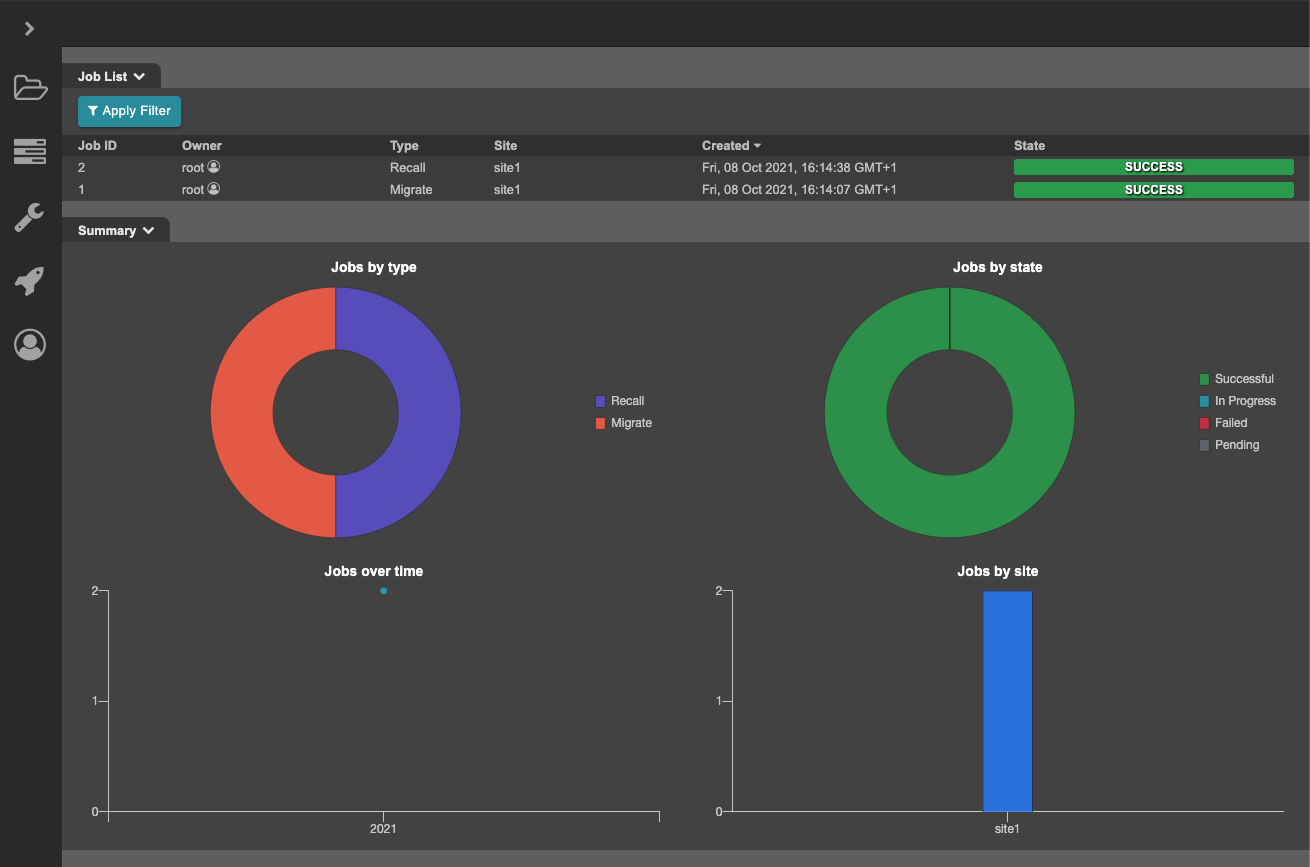
5.1.3. Jobs
The Jobs page shows a list of all the jobs that were initiated via the UI.
The view presents several columns:
Option |
Description |
|---|---|
Job ID |
Shows the identification number associated with the job |
Owner |
Name of the user who created the job |
Type |
Shows the job’s type, i.e. Migrate, Recall, Premigrate, or Send |
Site |
Name of the Site where files were migrated from |
Created |
Shows the job’s creation time |
State |
Shows the job’s state, i.e. success or failure |
Each column can be sorted in ascending and descending order.
5.1.3.1. Pagination
To select whether to view 20, 50, or 100 Jobs at the time, choose the relevant option in the “Items per Page” dropdown.
Clicking on the right and left arrow next to “Items per Page” will take you to the next/previous pages.
5.1.3.2. Apply Filter
Jobs list can be filtered by time period, job type, and job state.
To filter the list, select the “Apply Filter” button on the top left hand side of the UI.
Select one or a combination of filters, and click “Apply”.
Job are now filtered as per your selection.
To remove a filter, simply select the “x” next to the applied filter.
5.1.3.3. Job ID
On the Jobs page, click on a Job ID to see additional information regarding the Job.
The Job Details, Overall Statistics, and Tasks tab are displayed.
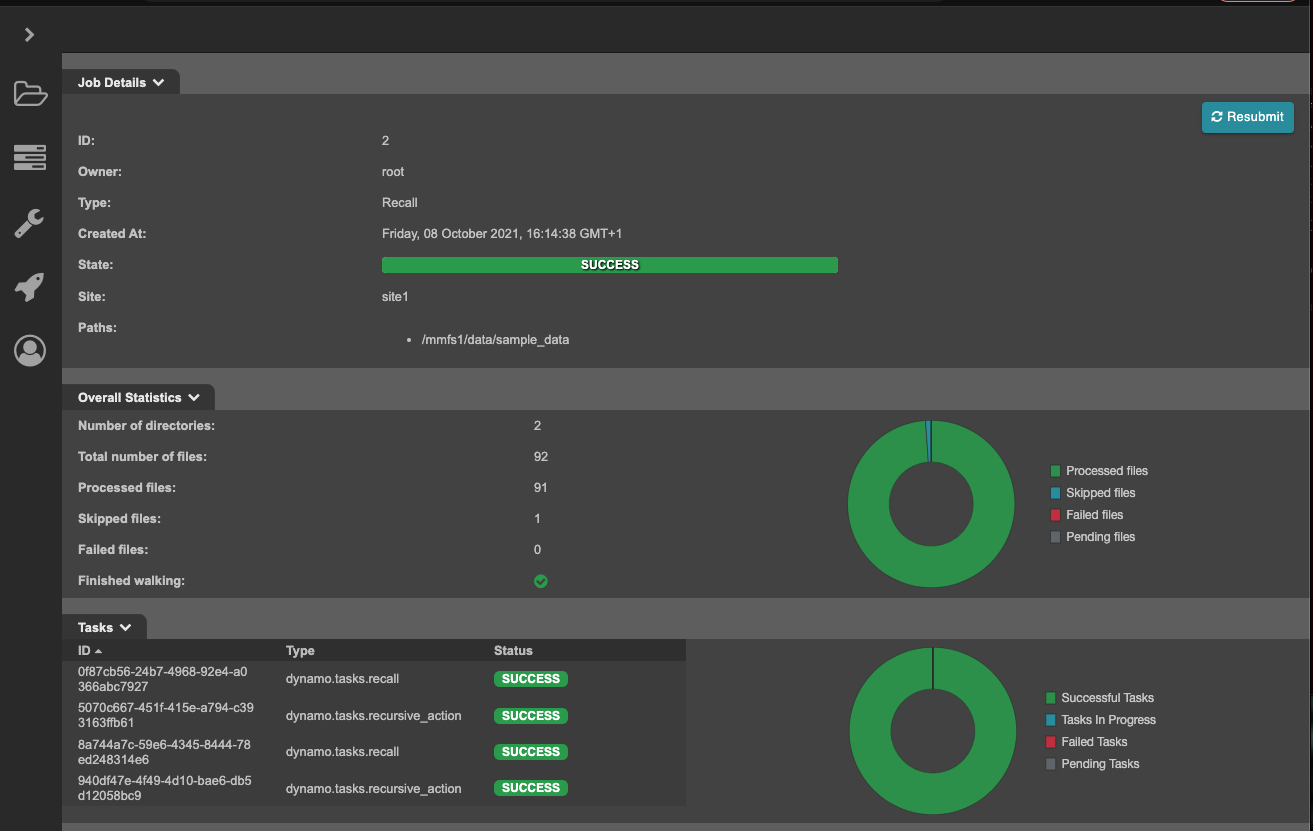
Each tab shows specific Job details, some of which are clickable:
Overall Statistics –> Total number of files, processed files, skipped files, and failed files.
Tasks –> ID
Selecting any of the clickable items opens a dialogue showing the relevant output.
Jobs can also be resubmitted by clicking the “Resubmit” button at the top right hand side of the page.
5.1.3.4. Owner
On the Jobs page, click on any Owner to see additional information regarding the user who initiated the Job.
Selecting an Owner takes to a page that shows details about the user, as well as a list of Jobs initiated by said user.
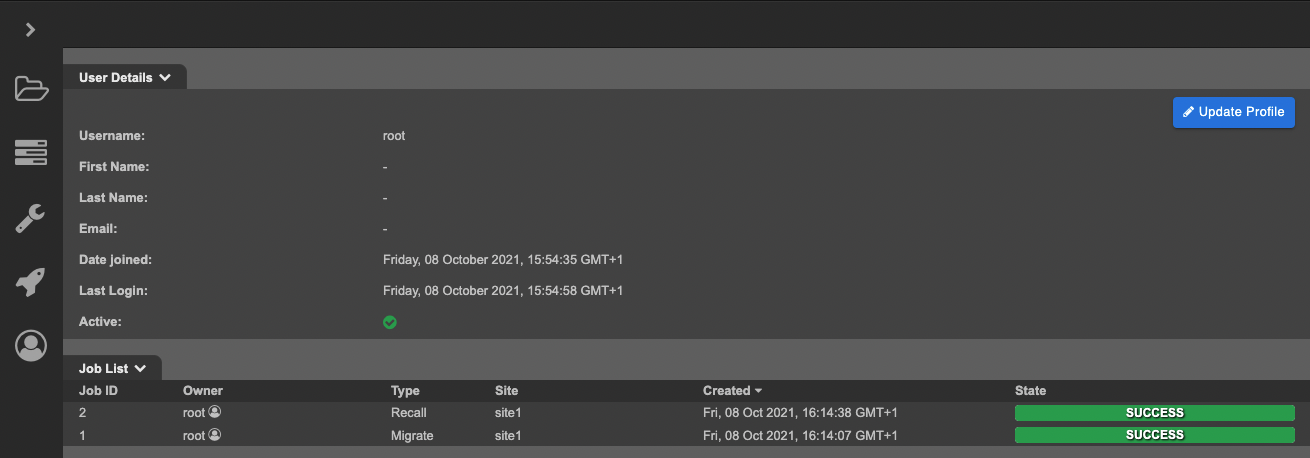
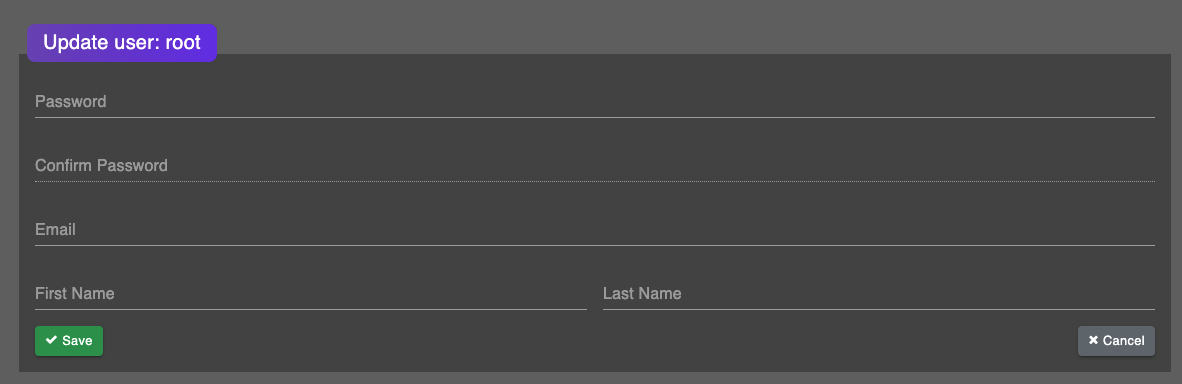
If you selected your own user, you will see an “Update Profile” on the top right hand side of the page.
This takes you to the “Update User” page where you can change your own password, email, first name and last name.
The Job List’s layout is the same as the one shown in Jobs page and has the same functionalities.
5.1.4. Administration
The Administration page allows you to add and delete Sites, add, activate and deactivate Users, as well as changing the name and colours of the labels found in the Browse Directories section.
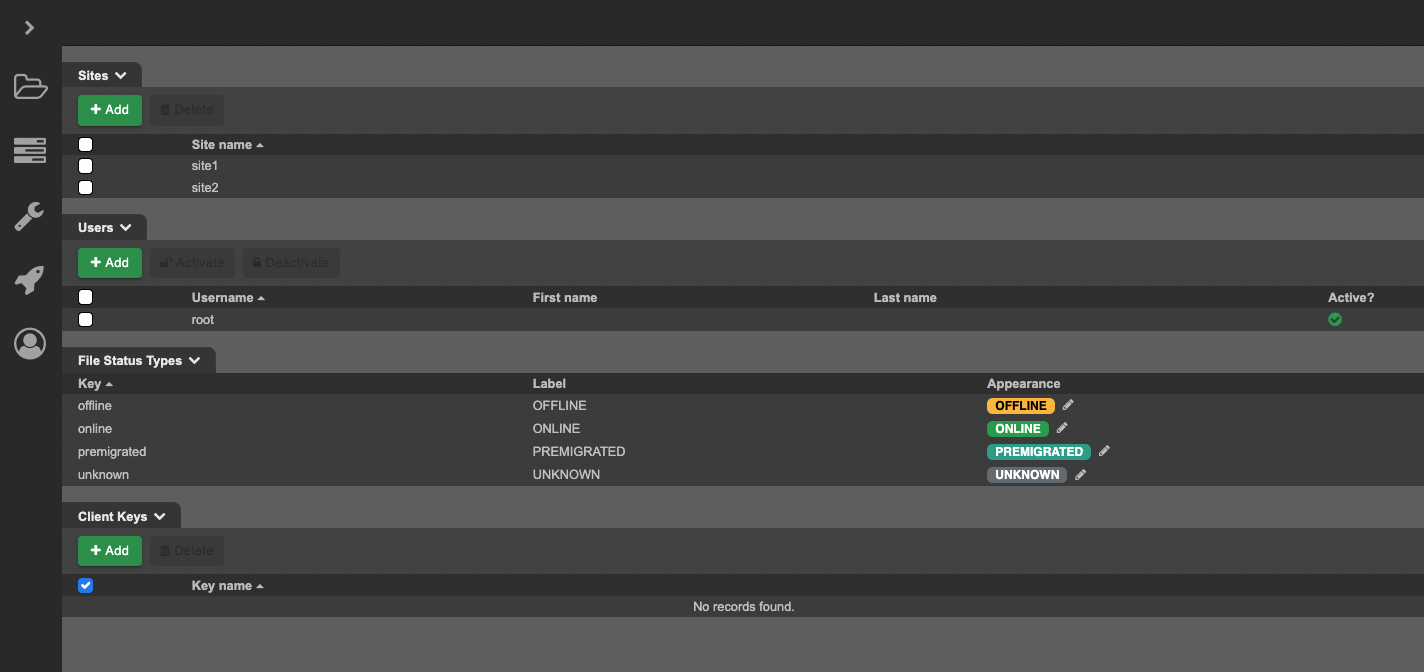
5.1.4.1. Sites
The Sites tab contains the list of Sites that have been configured. This list can be sorted by Site name in ascending and descending order.
5.1.4.1.1. Add Site
To add a Site, select the “Add” button, enter a Site name, and confirm by clicking “Add”
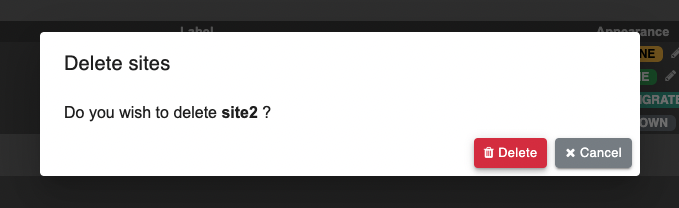
5.1.4.1.2. Delete Site
To delete a Site, select one or multiple Sites by ticking their correspondent boxes. Click “Delete” and then confirm deletion once the “Delete Site” dialogue is presented.
5.1.4.2. Users
The Users tab contains the list of Users who are allowed to use the UI. This list can be sorted by Username in ascending and descending order.
5.1.4.2.1. Add User
To add a new User, select the “Add” button, then enter a Username, Password, Email, First Name, and Last Name.
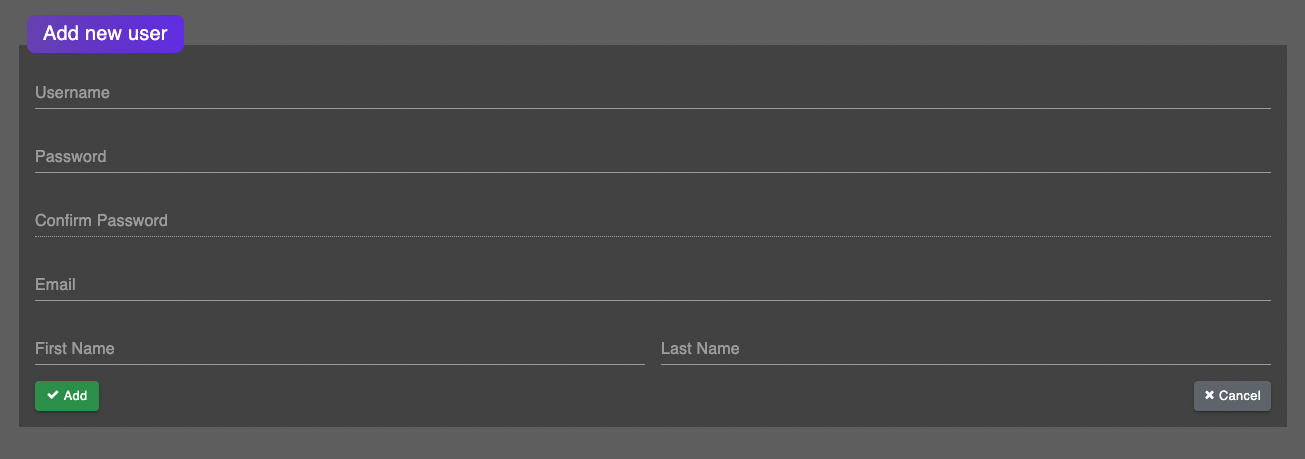
Confirm by clicking “Add”.
5.1.4.2.2. Activate User
To activate an existing User, select the “Activate” button, and then confirm activation once the “Activate user” dialog is presented.
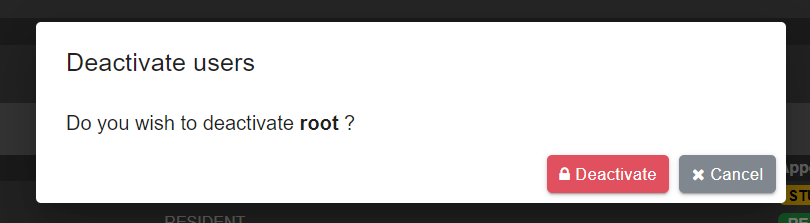
5.1.4.2.3. Deactivate User
To deactivate a User, select one or multiple Users by ticking their correspondent boxes. Click “Deactivate” and then confirm deactivation once the “Deactivate user” dialogue is presented.
User will no longer have access to the UI but still exists and can be reactivated at any time.
5.1.4.3. File Status Types
The File Status Types tab lists the labels that are used to indicate a file’s status.
The labels are customisable as both colour and label name can be changed.
To change the appearance of a label, select the pencil symbol next to the label that needs updating.
“Update File Status Type” page is displayed:
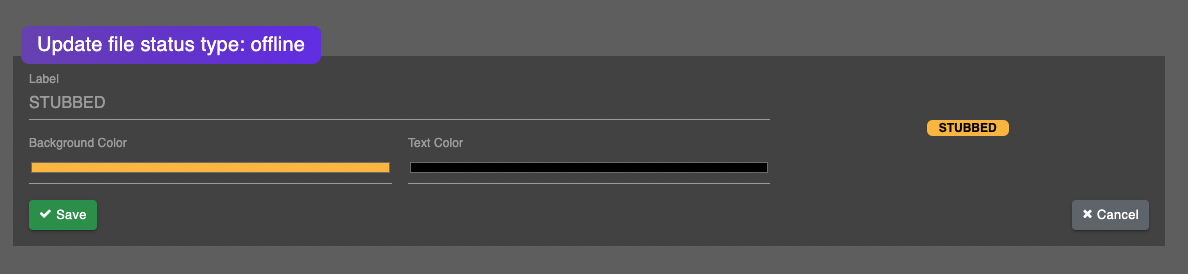
Change label name, background colour, or text colour as per your preference.
Click “Save” to confirm the update.