4.2.2. AWS Lambda Function
4.2.2.1. Create the IAM policy and role
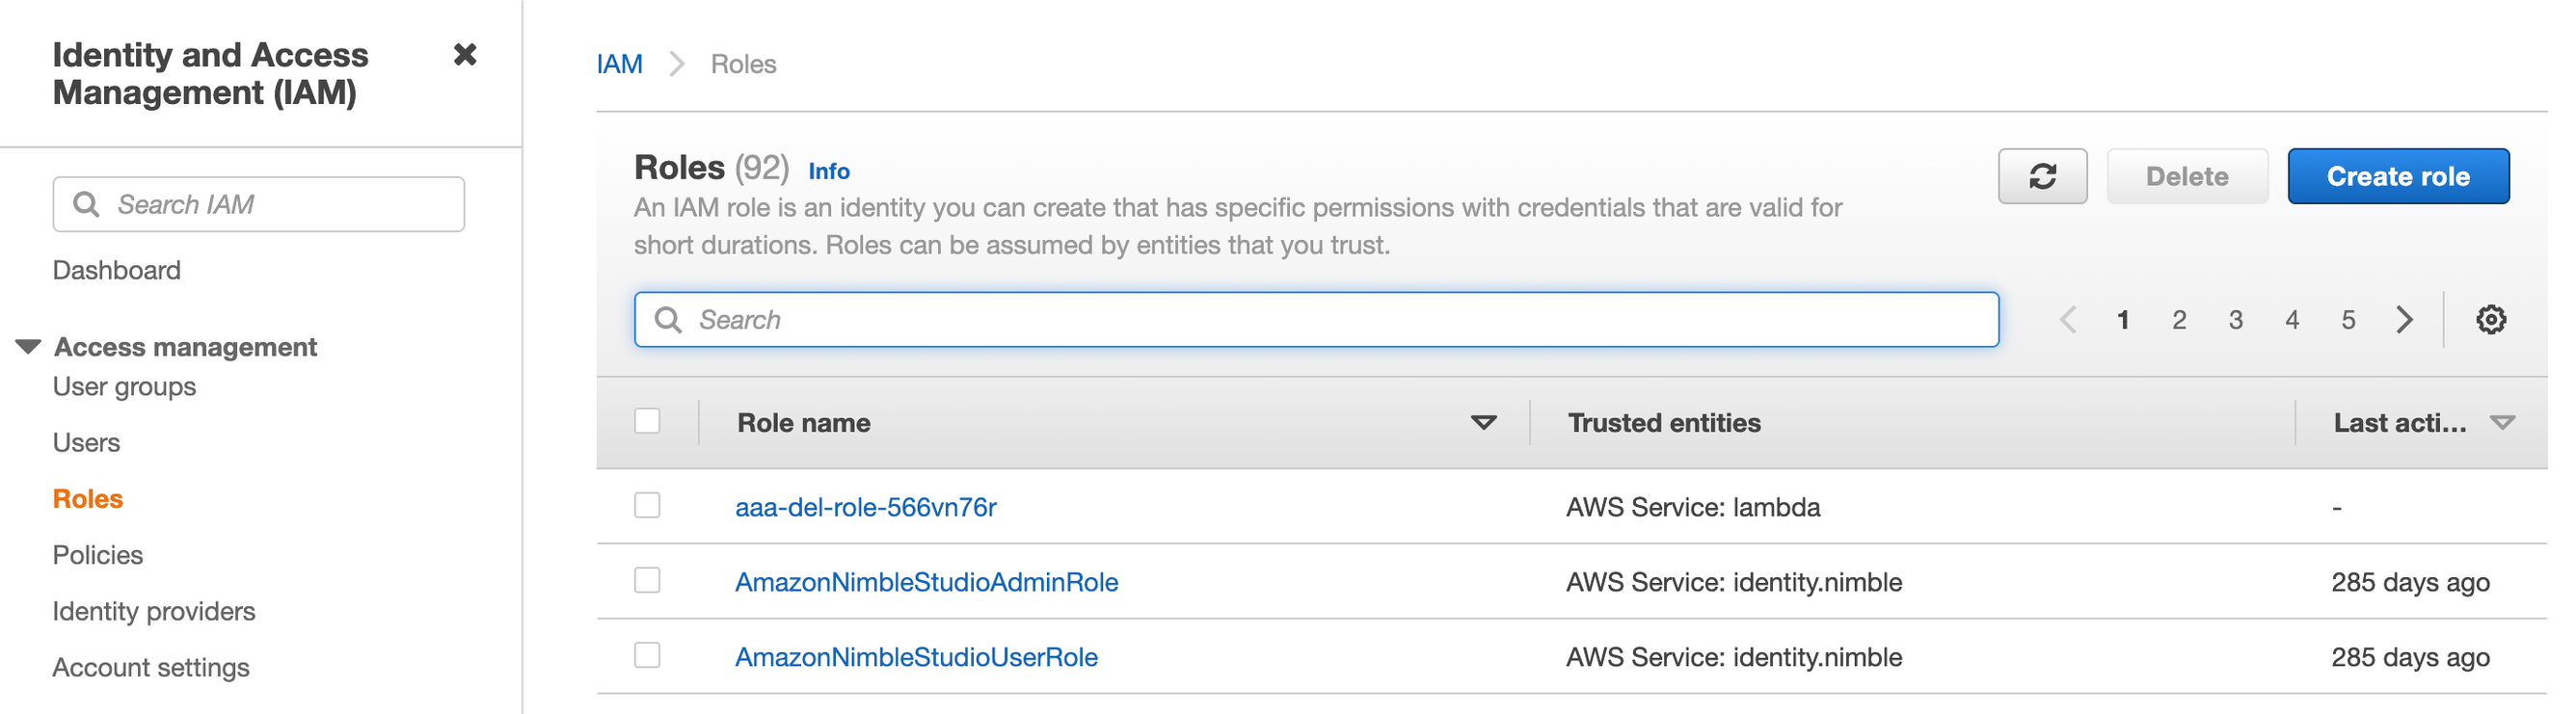
In the AWS console go to the IAM service
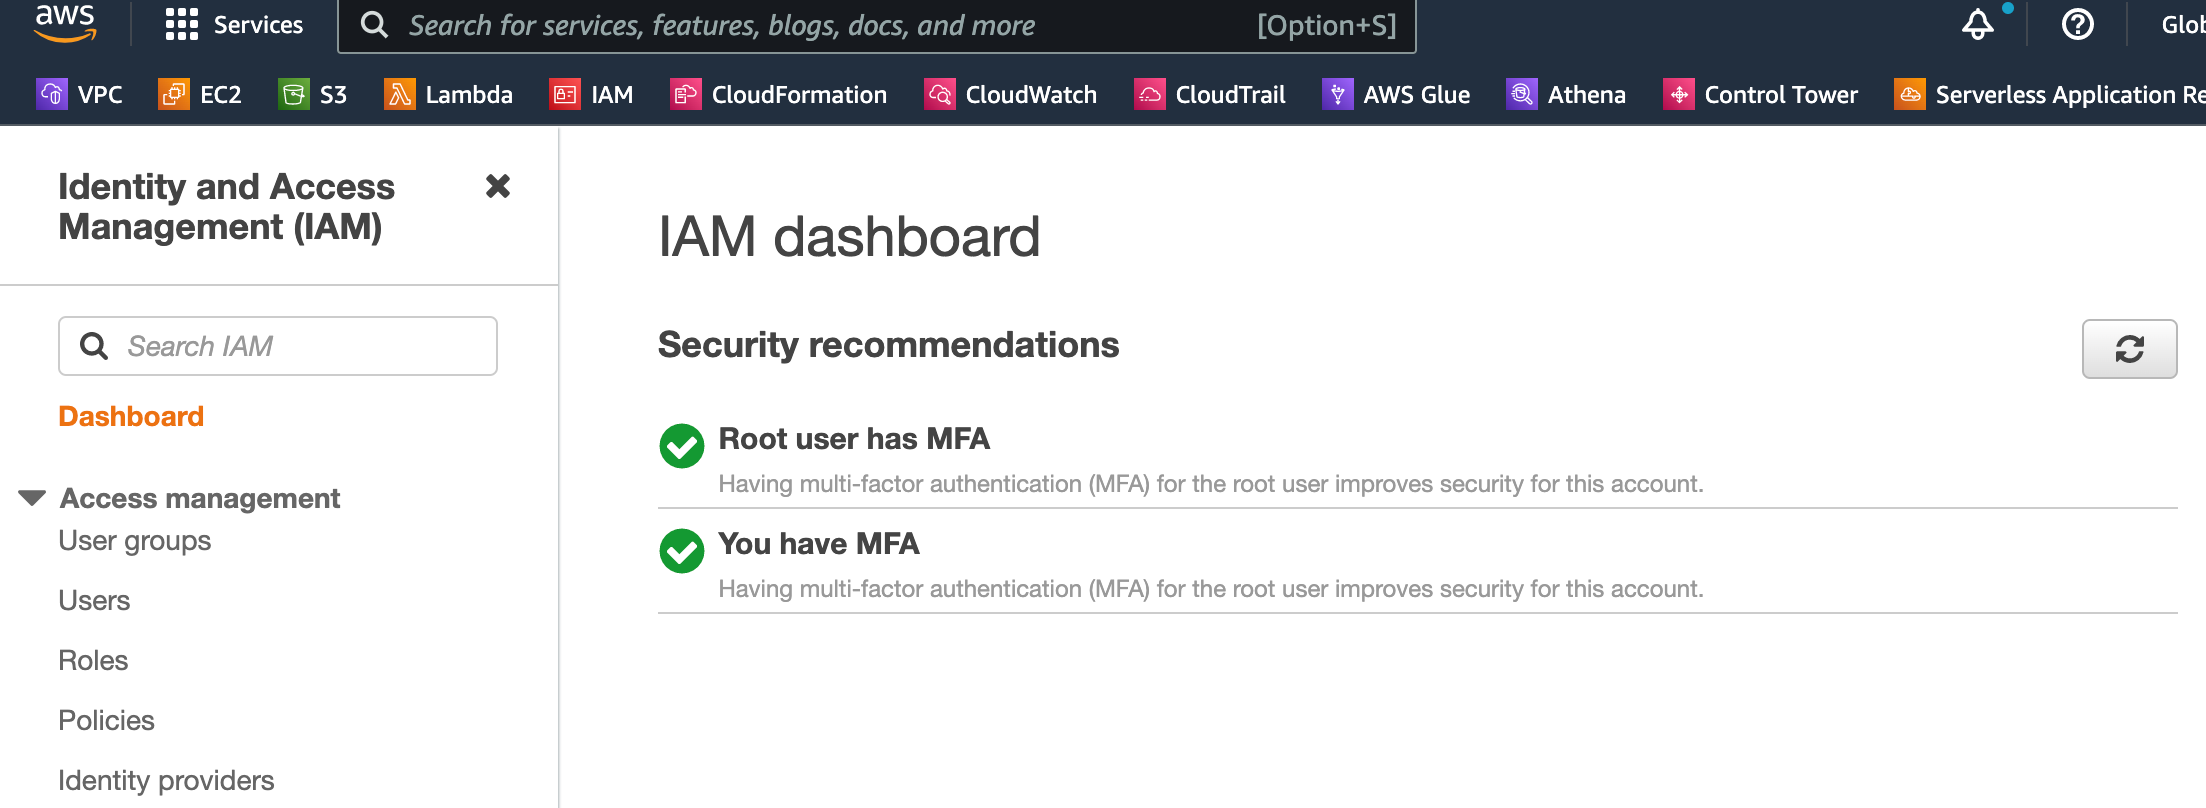
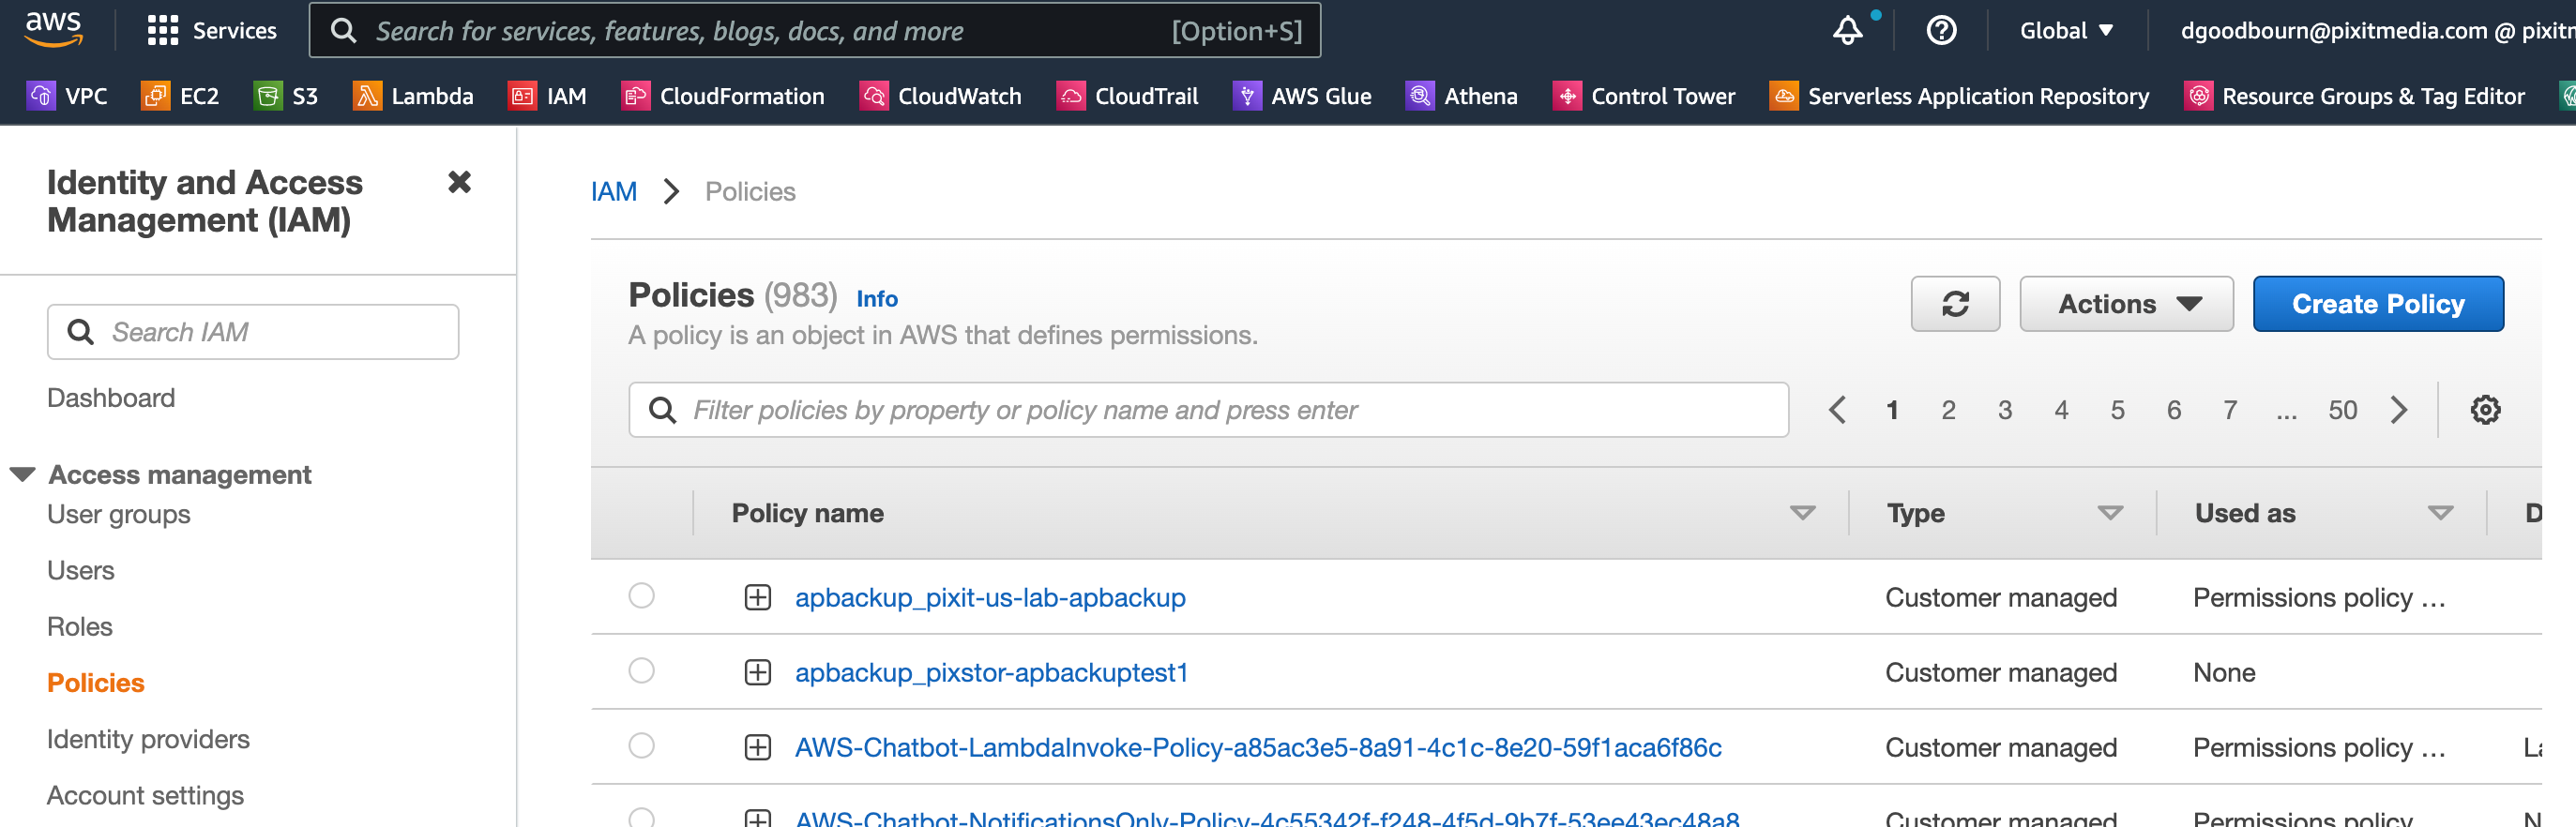
Select the Policies then Create Policy
Move to the JSON tab and replace the text with the following:
{
    "Version": "2012-10-17",
    "Statement": [
        {
            "Effect": "Allow",
            "Action": "logs:CreateLogGroup",
            "Resource": "arn:aws:logs:*:<<AWS_ACCOUNT_ID>>:*"
        },
        {
            "Effect": "Allow",
            "Action": [
                "logs:CreateLogStream",
                "logs:PutLogEvents"
            ],
            "Resource": [
                "arn:aws:logs:*:<<AWS_ACCOUNT_ID>>:log-group:/aws/lambda/<<LAMBDA_NAME>>:*"
            ]
        },
        {
            "Effect": "Allow",
            "Action": "iam:GetUser",
            "Resource": "*"
        }
    ]
}
Replace <<AWS_ACCOUNT_ID>> with your account id. This must be the Id without the - in the name, i.e. 123456789012, not 1234-5678-9012
Replace <<LAMBDA_NAME>> with the name of your Lambda function
Select Next
If you require a tag, add it now, otherwise just select Review
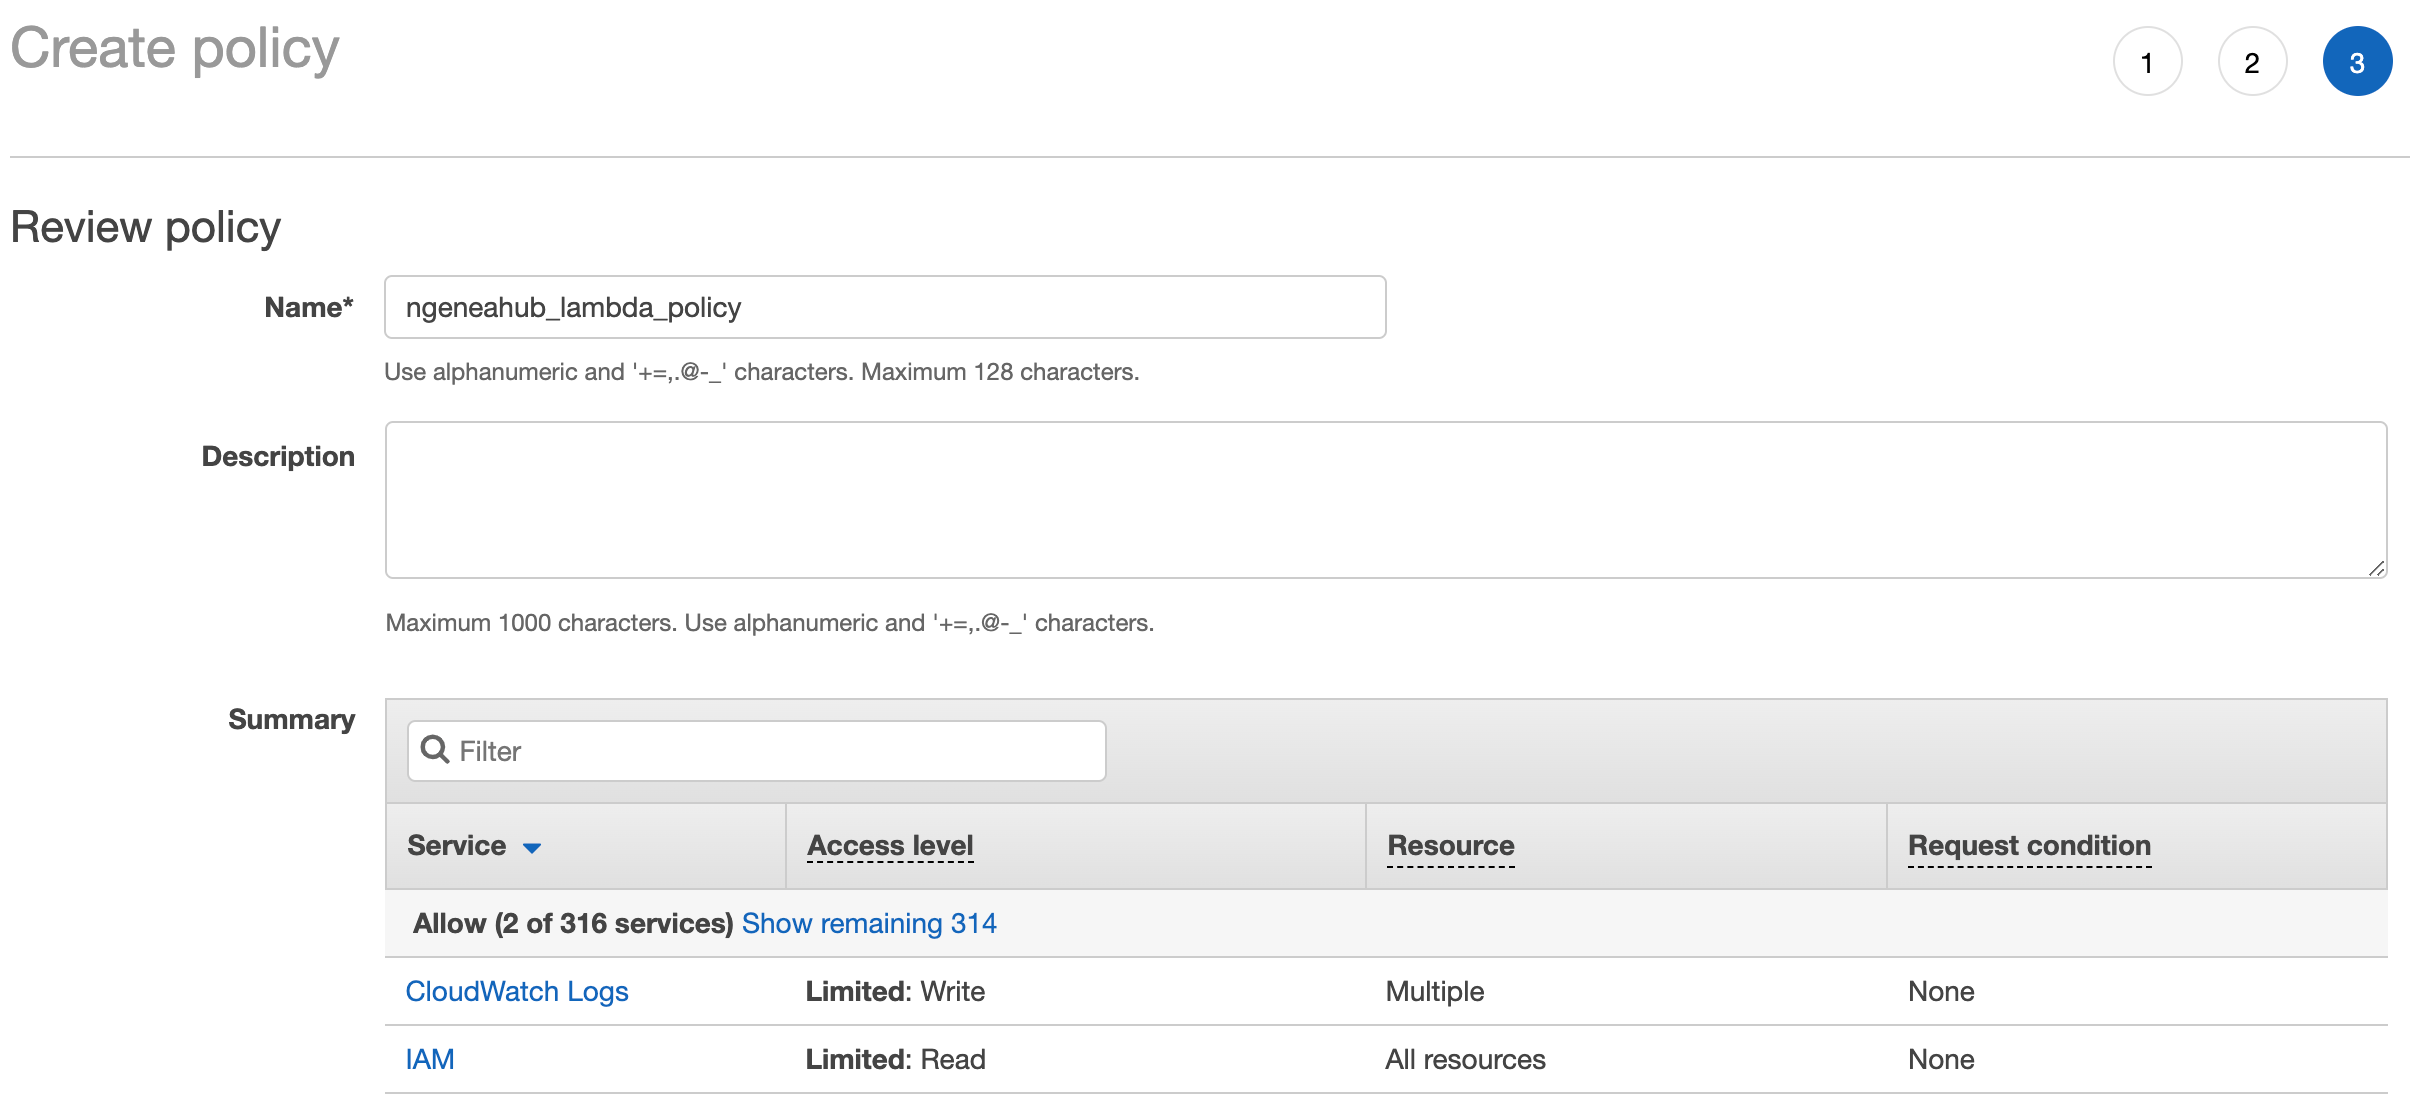
Name the policy ngeneahub_lambda_policy
Then select Create Policy
Next create a new Role
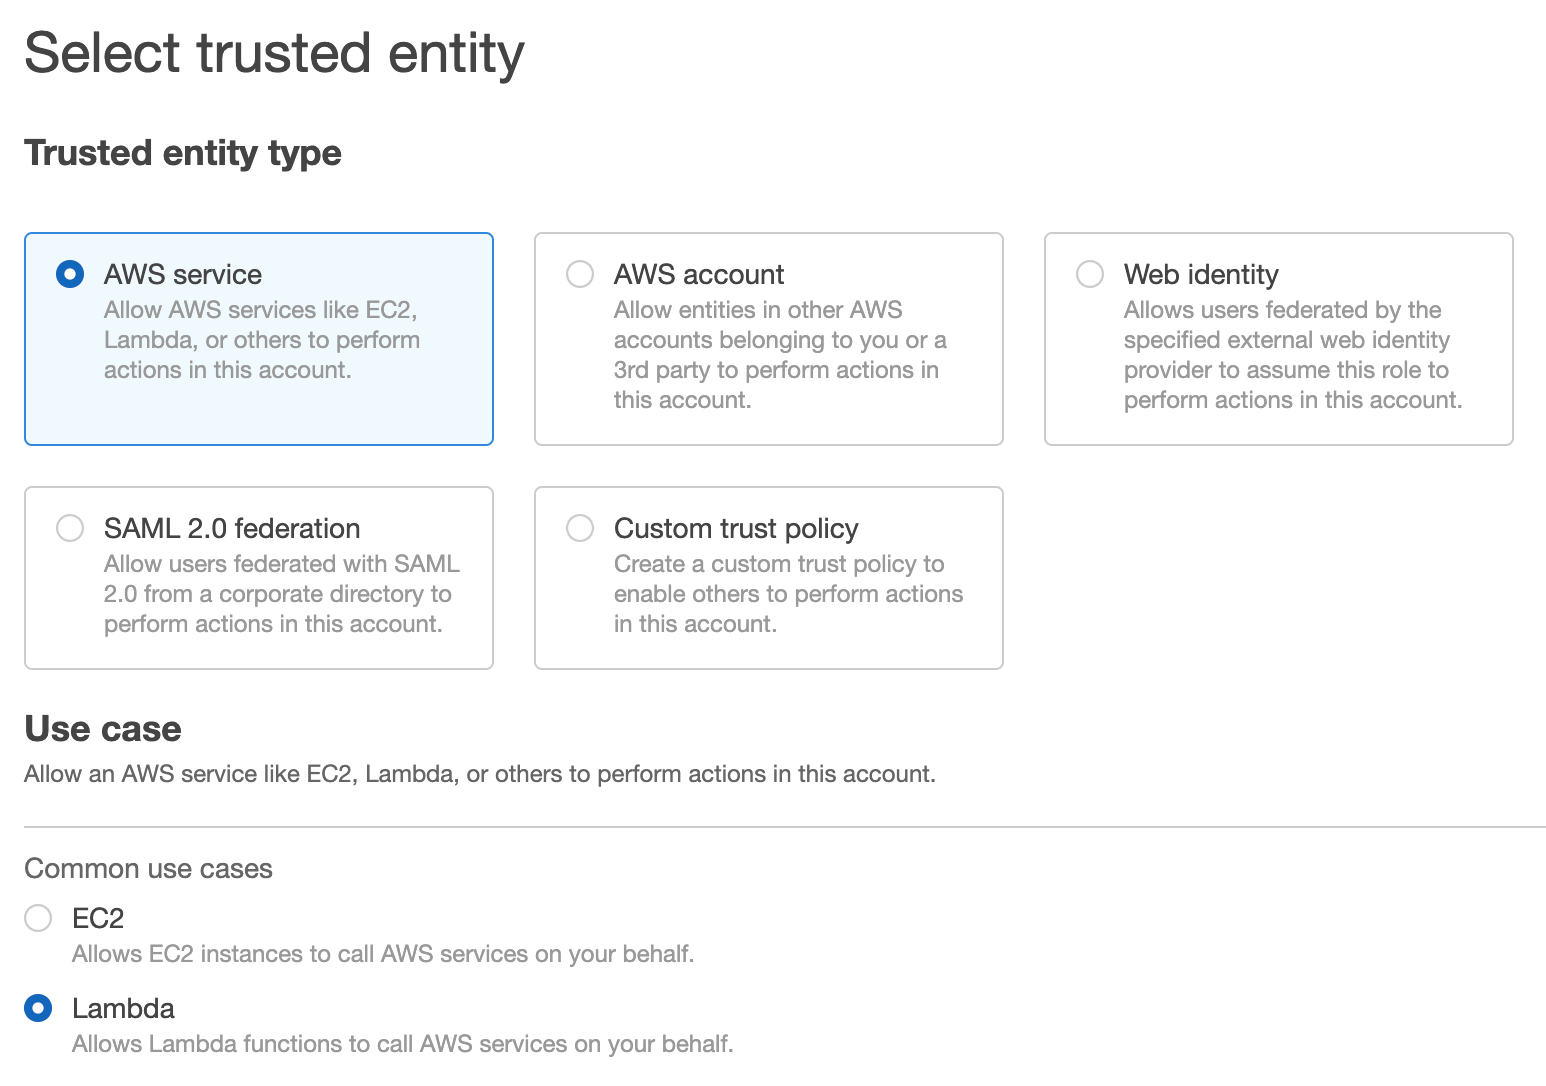
Select the AWS service for the trusted entity and a Lambda for the use case
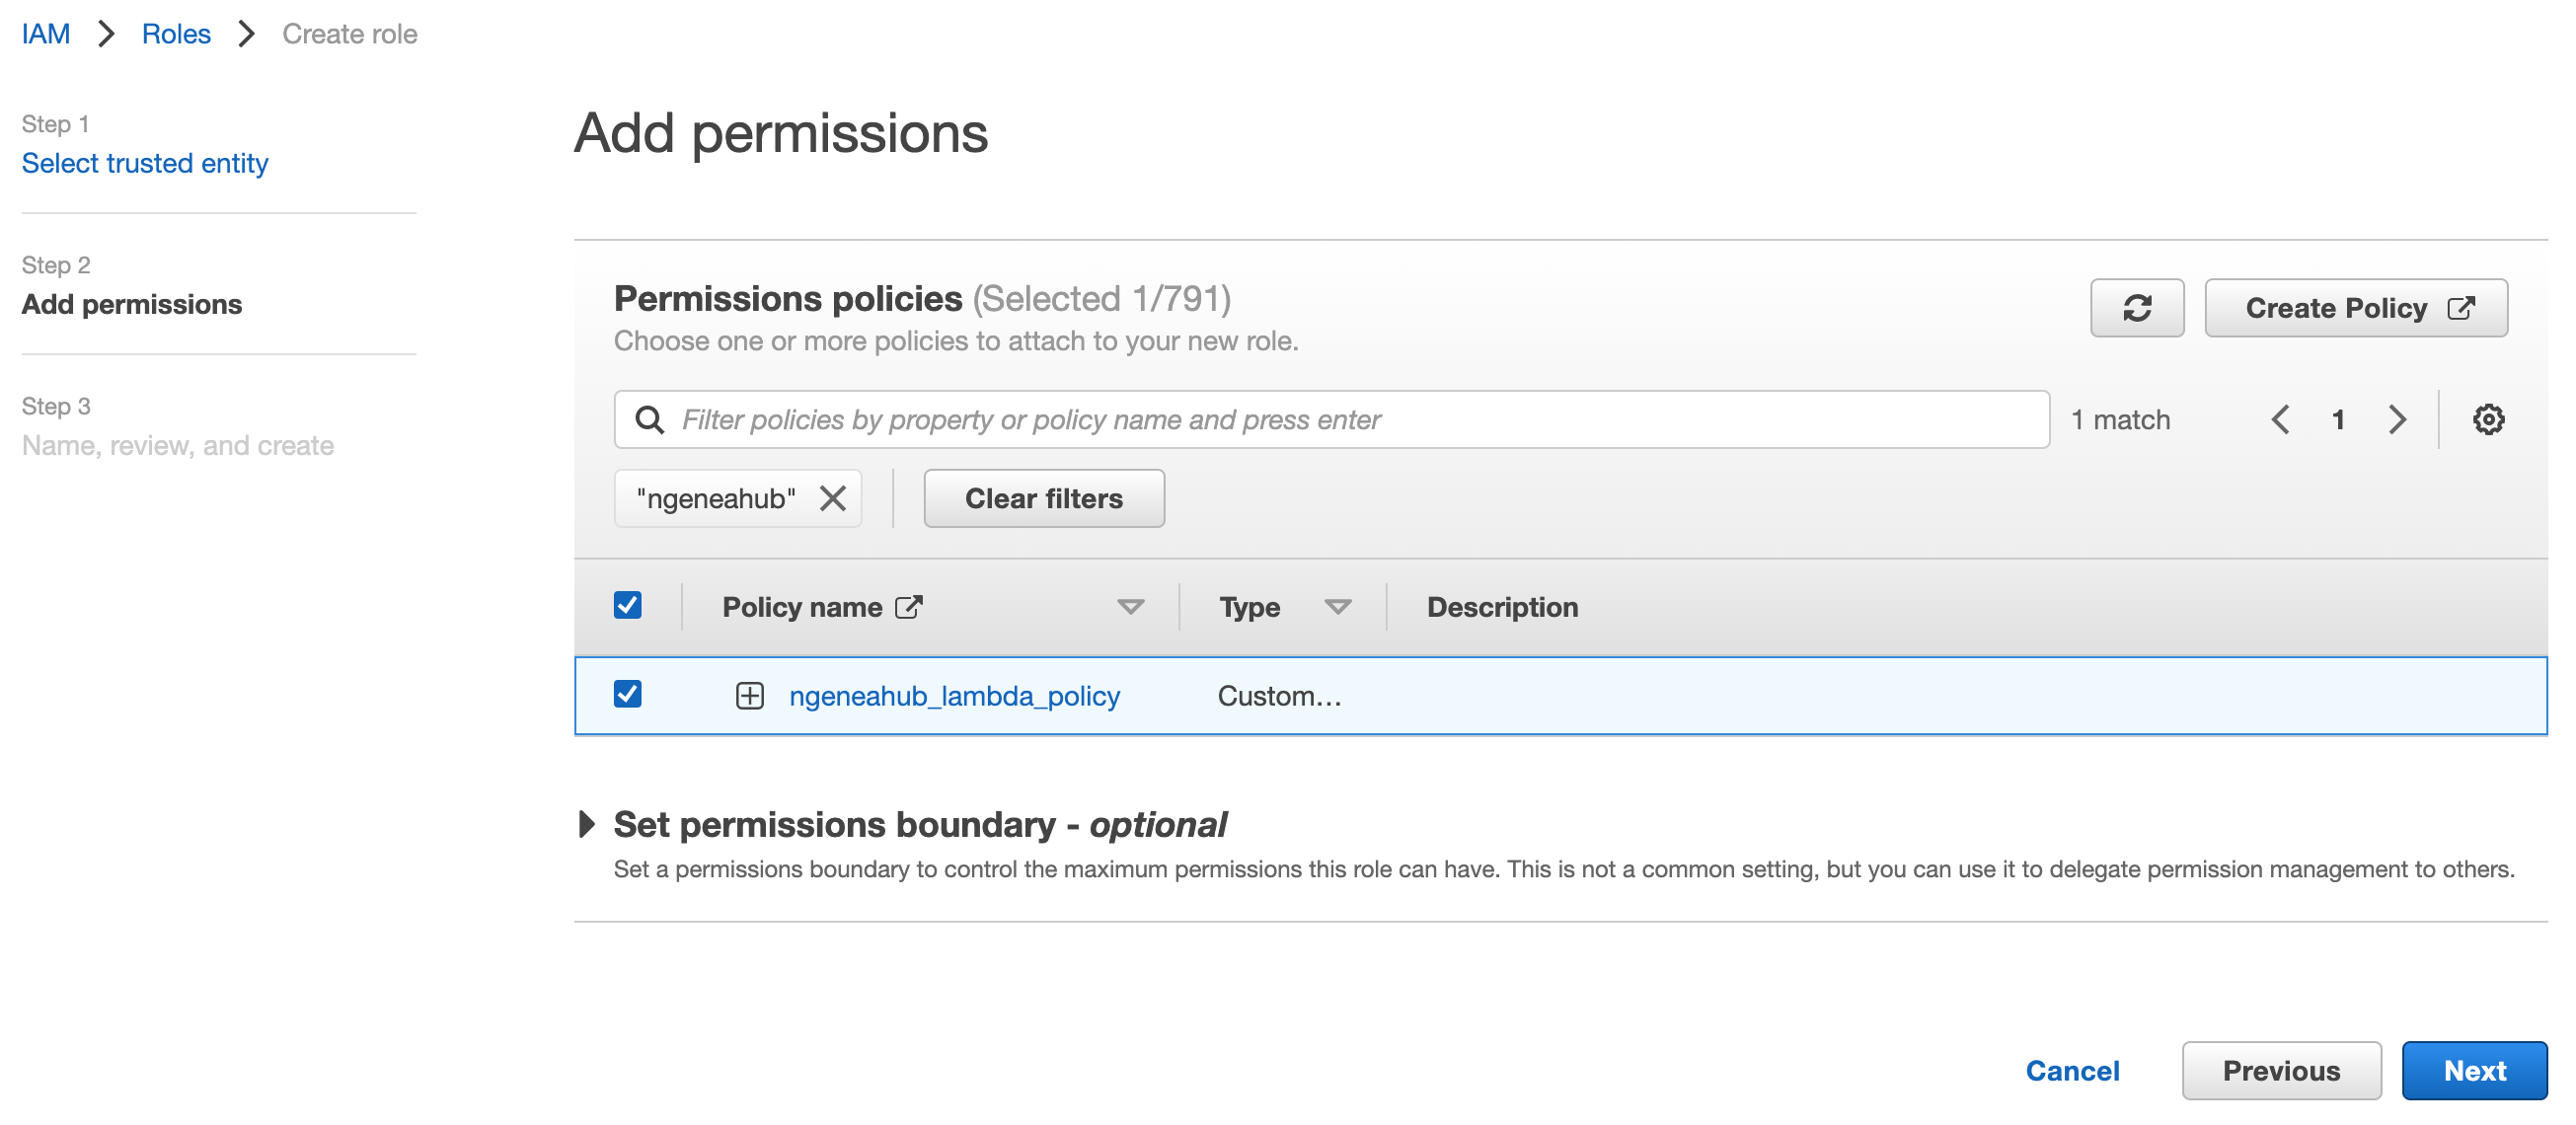
Search for the policy we just created above and select it, to attach the policy to this role. Then select Next
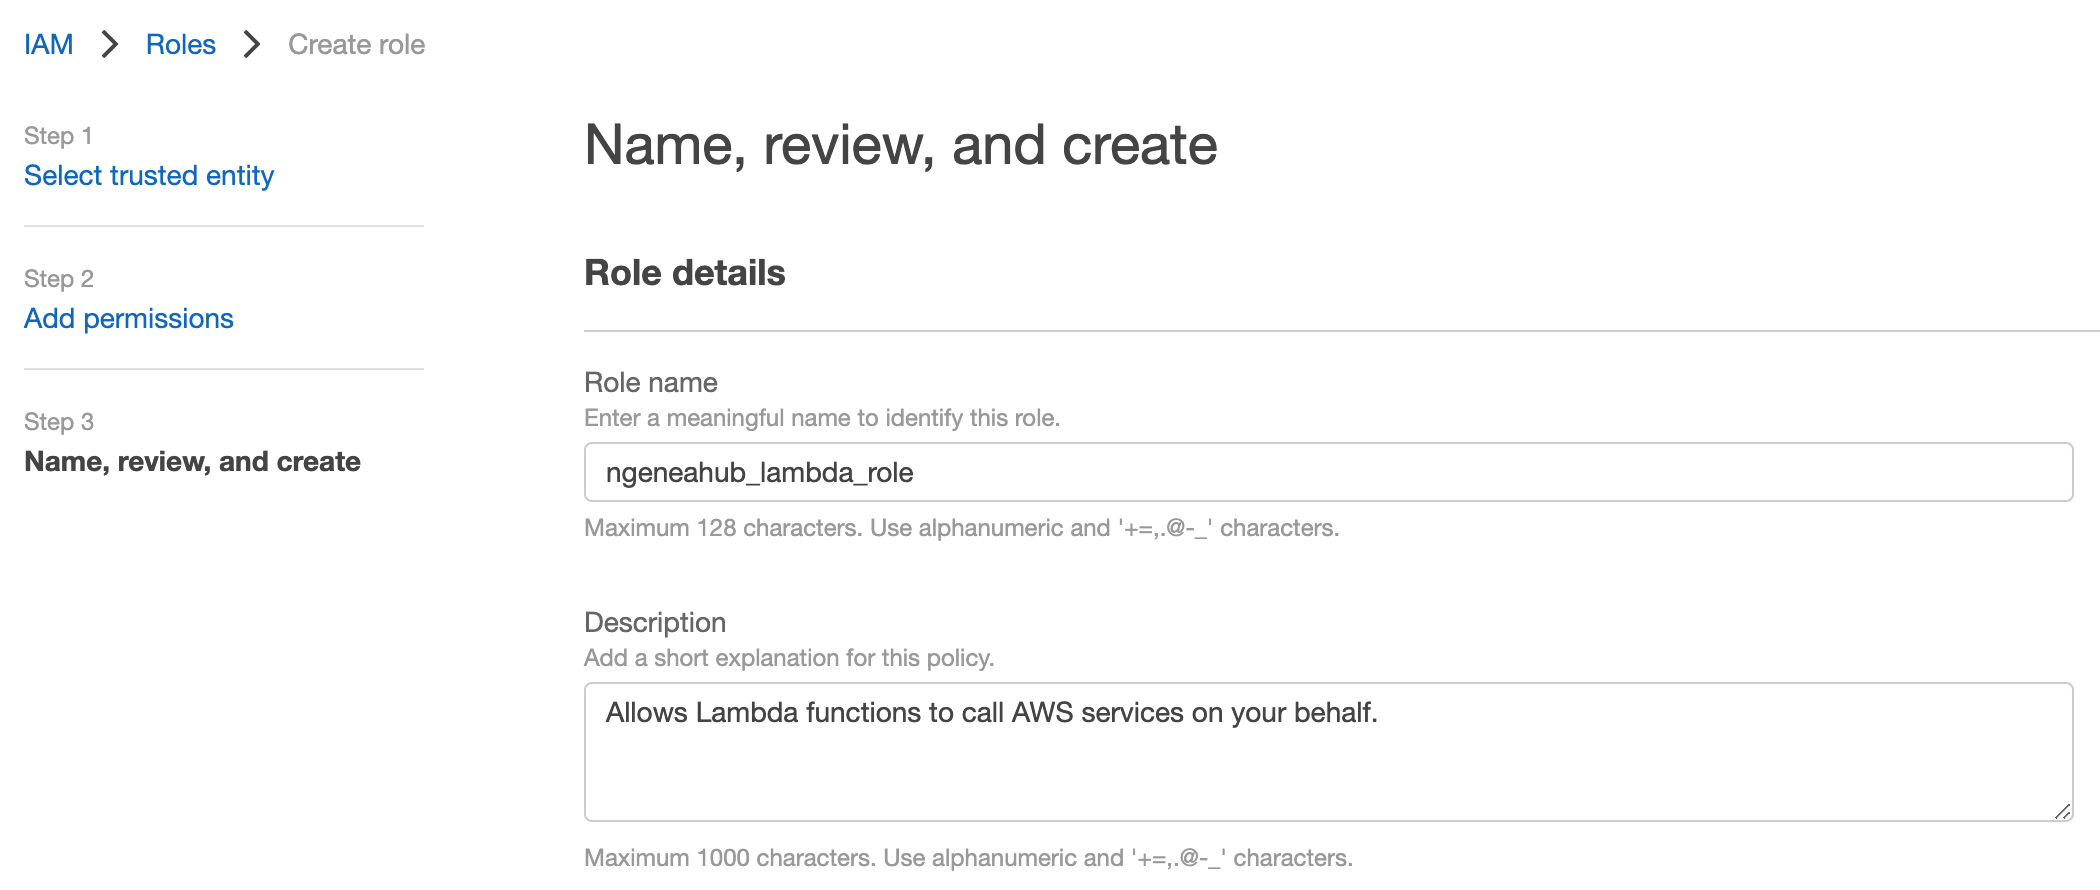
Name the role ngeneahub_lambda_role and select Create Role
4.2.2.2. Create the Lambda function
In the AWS console go to the Lambda service
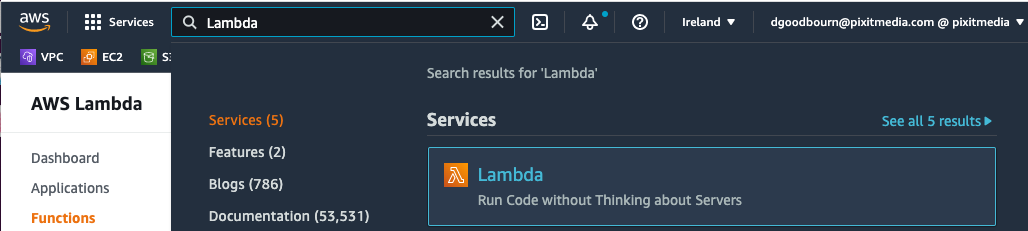
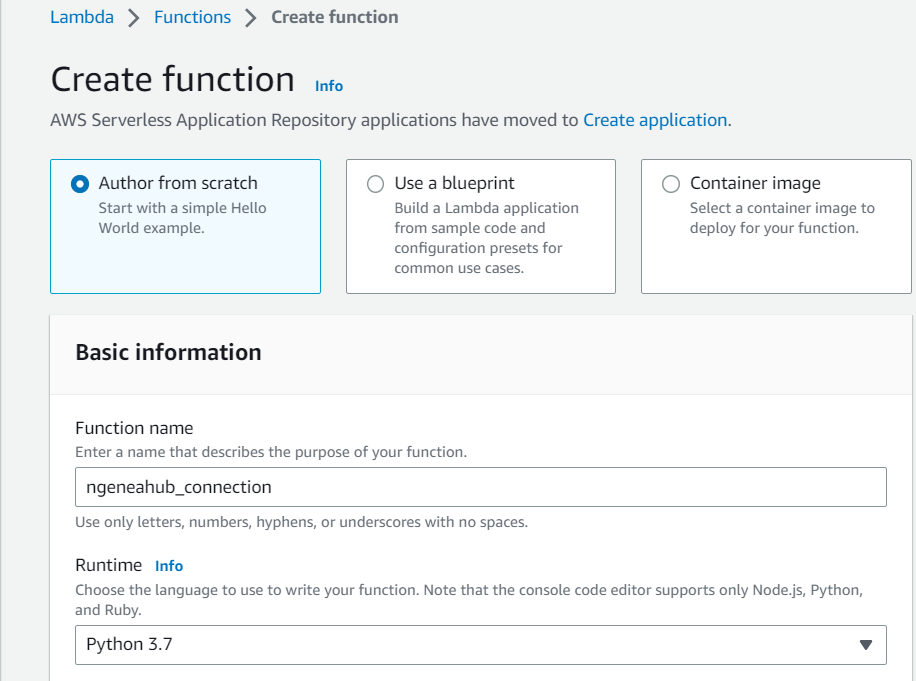
Click the Create function button
Create a new function with the Author from scratch option selected
Name the function
And select Python 3.7 from the Runtime list
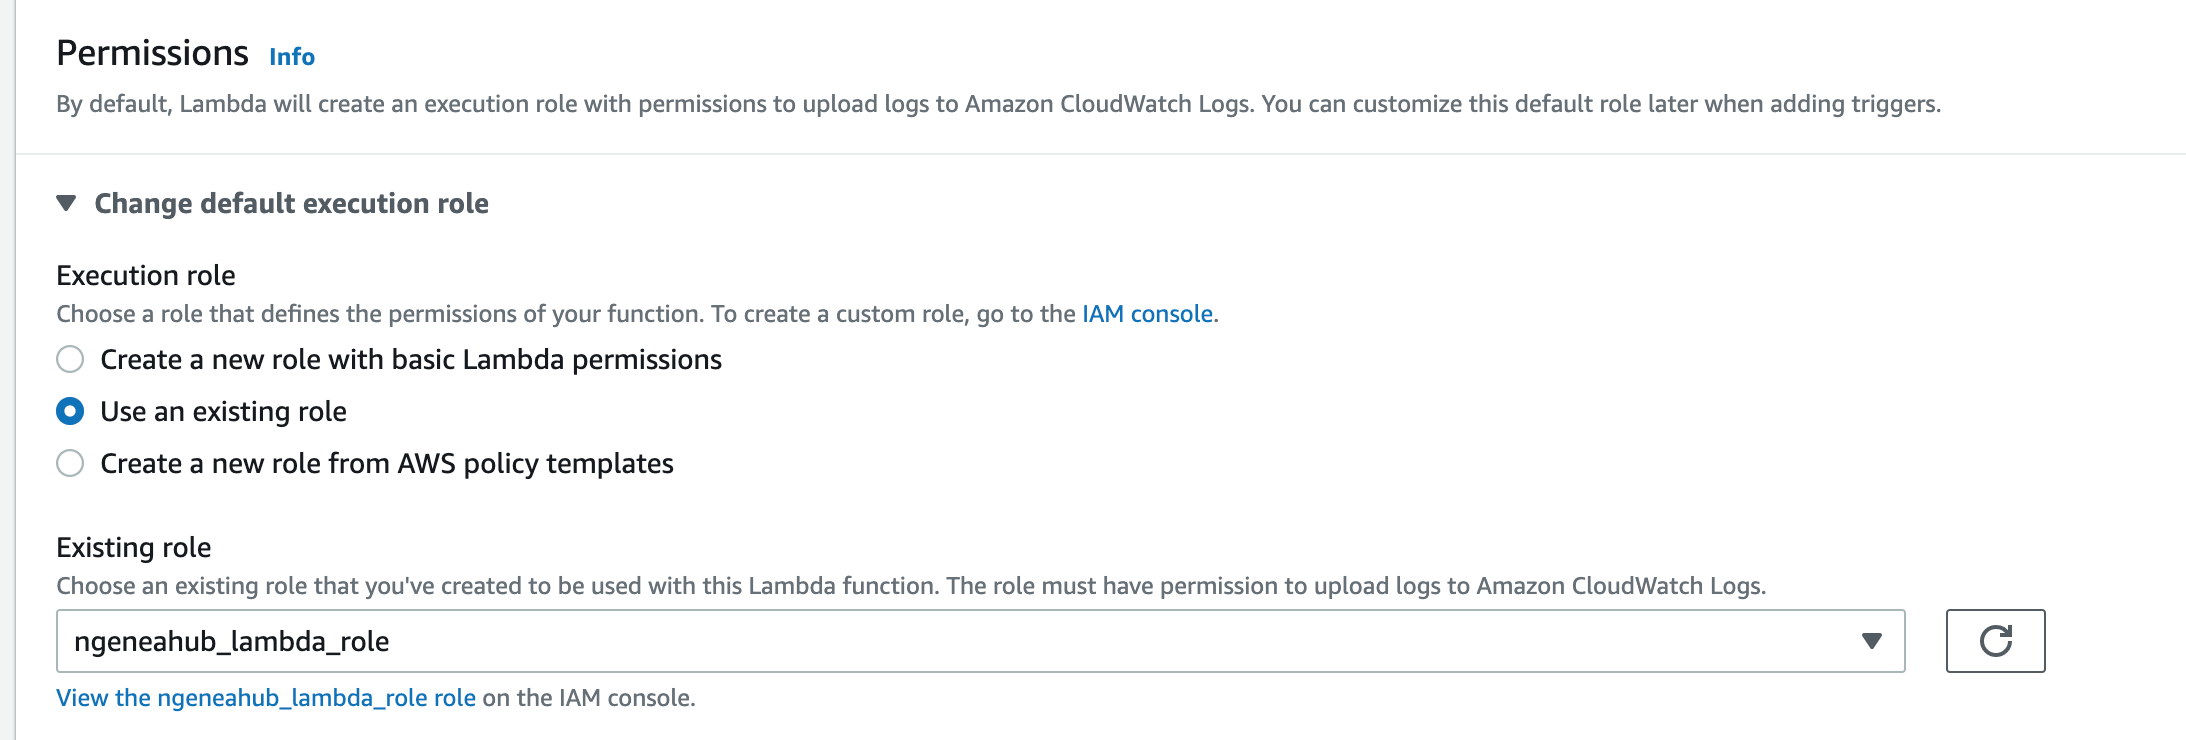
Under Change default execution role, select Use an existing role and find the role we created above
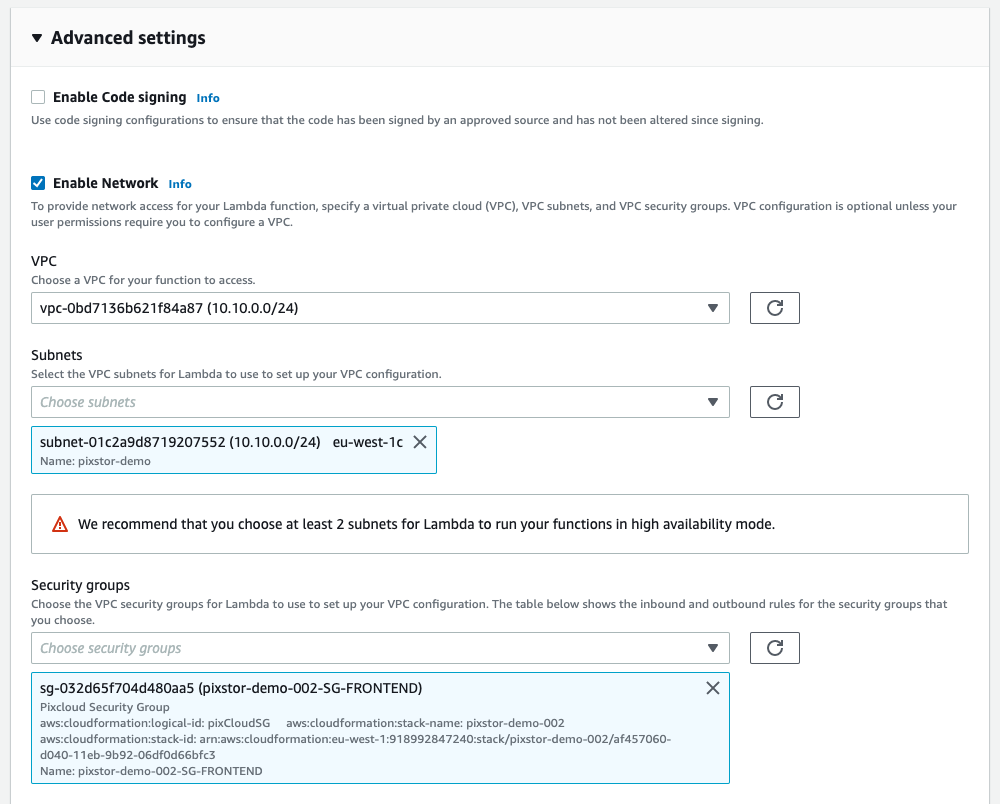
If your Ngenea Hub doesn’t have an external IP to connect to, you’ll need to select the Enable Network option under the Advanced settings
Select the VPC the Ngenea Hub is located in
Choose the Subnet it’s in
And select a Security group that gives access to the Ngenea Hub over port 8000
A policy will also have to be created to permit the function to traverse the VPC’s networking, this can be done by adjusting the previously created IAM policy:
{
    "Version": "2012-10-17",
    "Statement": [
        {
            "Effect": "Allow",
            "Action": "logs:CreateLogGroup",
            "Resource": "arn:aws:logs:*:<<AWS_ACCOUNT_ID>>:*"
        },
        {
            "Effect": "Allow",
            "Action": [
                "logs:CreateLogStream",
                "logs:PutLogEvents"
            ],
            "Resource": [
                "arn:aws:logs:*:<<AWS_ACCOUNT_ID>>:log-group:/aws/lambda/<<LAMBDA_NAME>>:*"
            ]
        },
        {
            "Effect": "Allow",
            "Action": "iam:GetUser",
            "Resource": "*"
        },
        {
            "Effect": "Allow",
            "Action": [
                "iam:GetUser",
                "ec2:DescribeNetworkInterfaces",
                "ec2:CreateNetworkInterface",
                "ec2:DeleteNetworkInterface"
            ],
            "Resource": "*"
        }
    ]
}
By adding this additional section, the function can traverse correctly.
With this configured, we can now create out function by selecting Create function
Once the function is created - This can take a few minutes if you’ve chosen to create the Network connection.
Under the Code tab, you’ll need to upload the zip file containing all the code
Choose the AWS zip previously downloaded from the ../../download page

Once the code is uploaded, you need to edit the config.json file with all the relevant details based on the docs from Cloud Functions
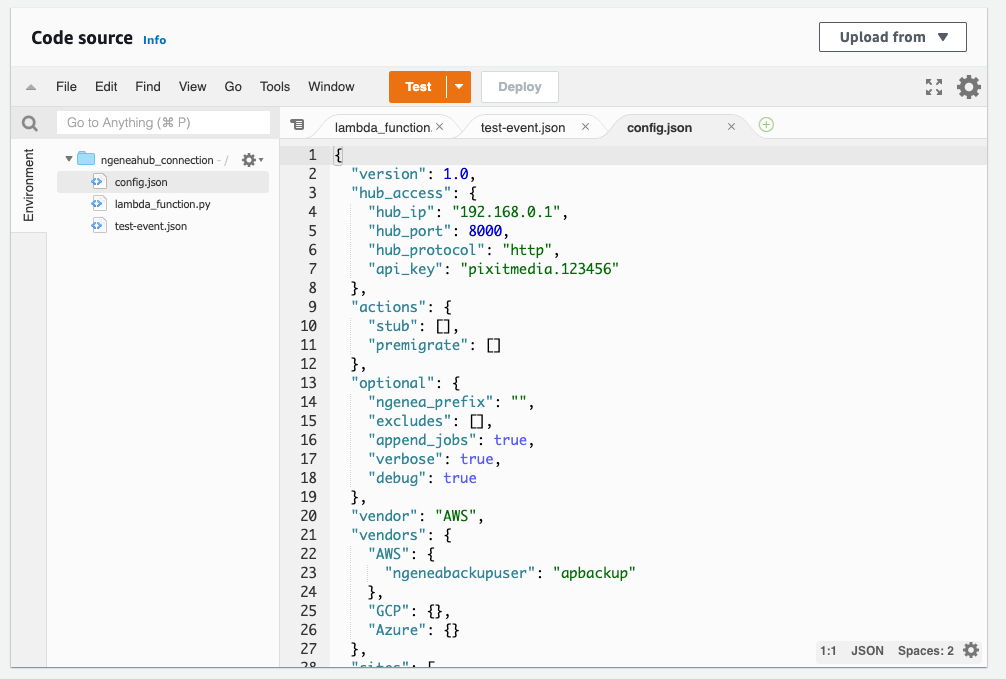
Once you’ve updated the config.json file, save it by selecting the Deploy button
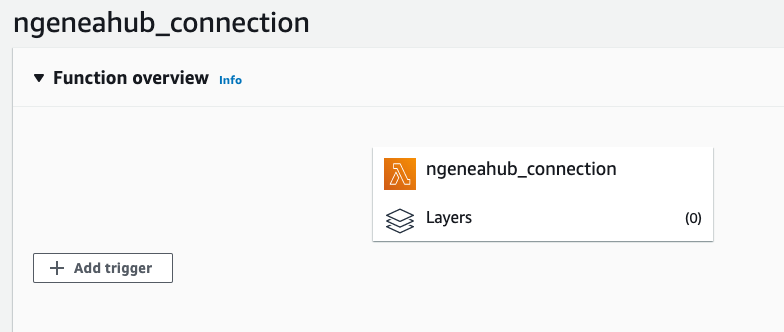
Now the Lambda function is created, we need to assign it to a bucket event. Select Add trigger under the Function overview
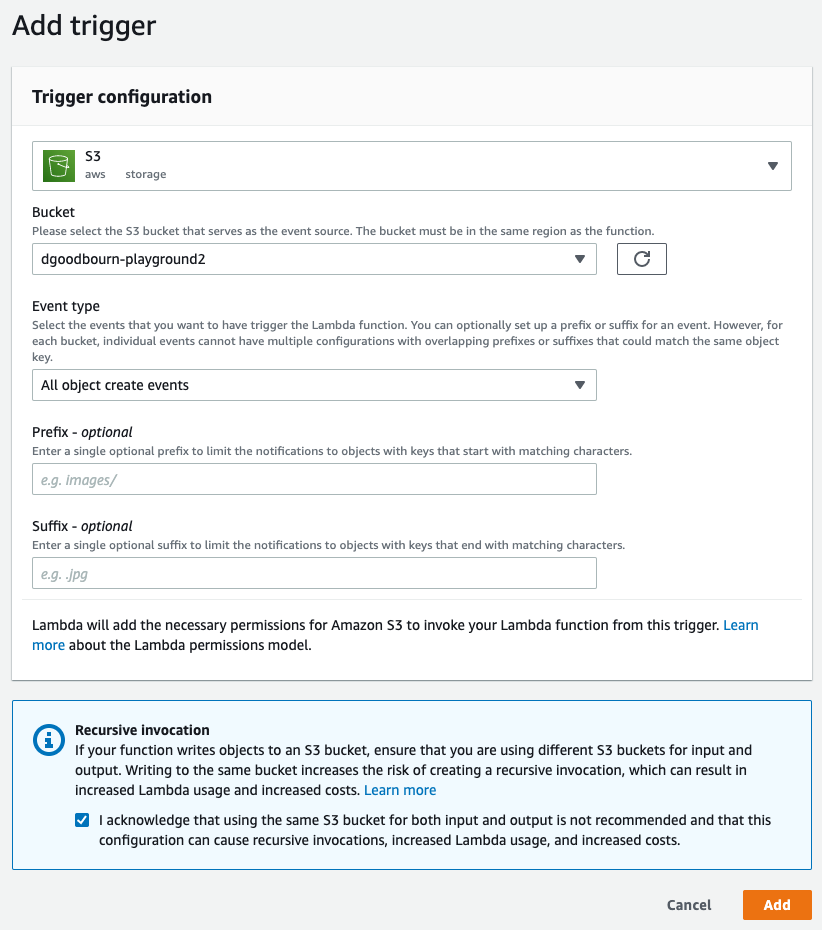
Choose:
S3 as the Trigger
Select your bucket
All object create events for the Event type
Check the Recursive Invocation checkbox warning
Then just press Add
You now have a trigger assigned to the Lambda function
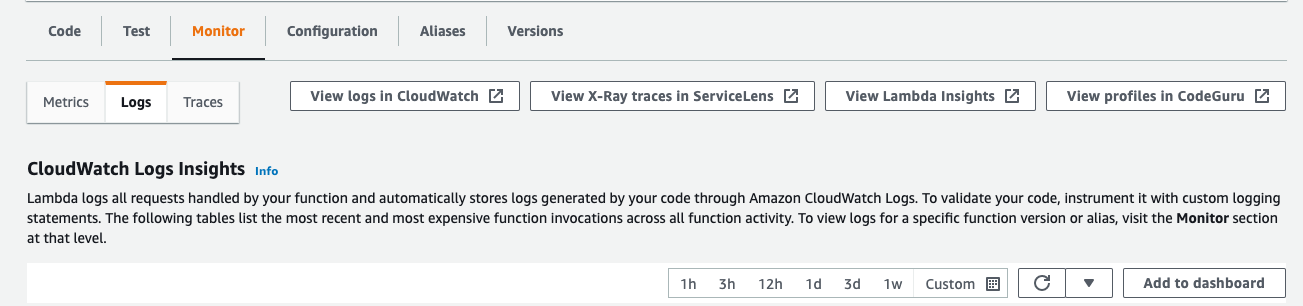
To monitor the Lambda function, under the Monitor tab you can see all different types of monitoring
Using the View logs in CloudWatch is the best place to see any out from the Lambda function